


Ridge Tool Company • Elyria, Ohio • U.S.A.
7
WARNING
Unit stability must be maintained using either
front or rear carrying handles.
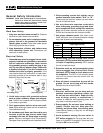
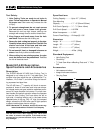
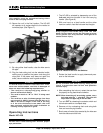
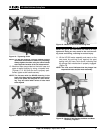
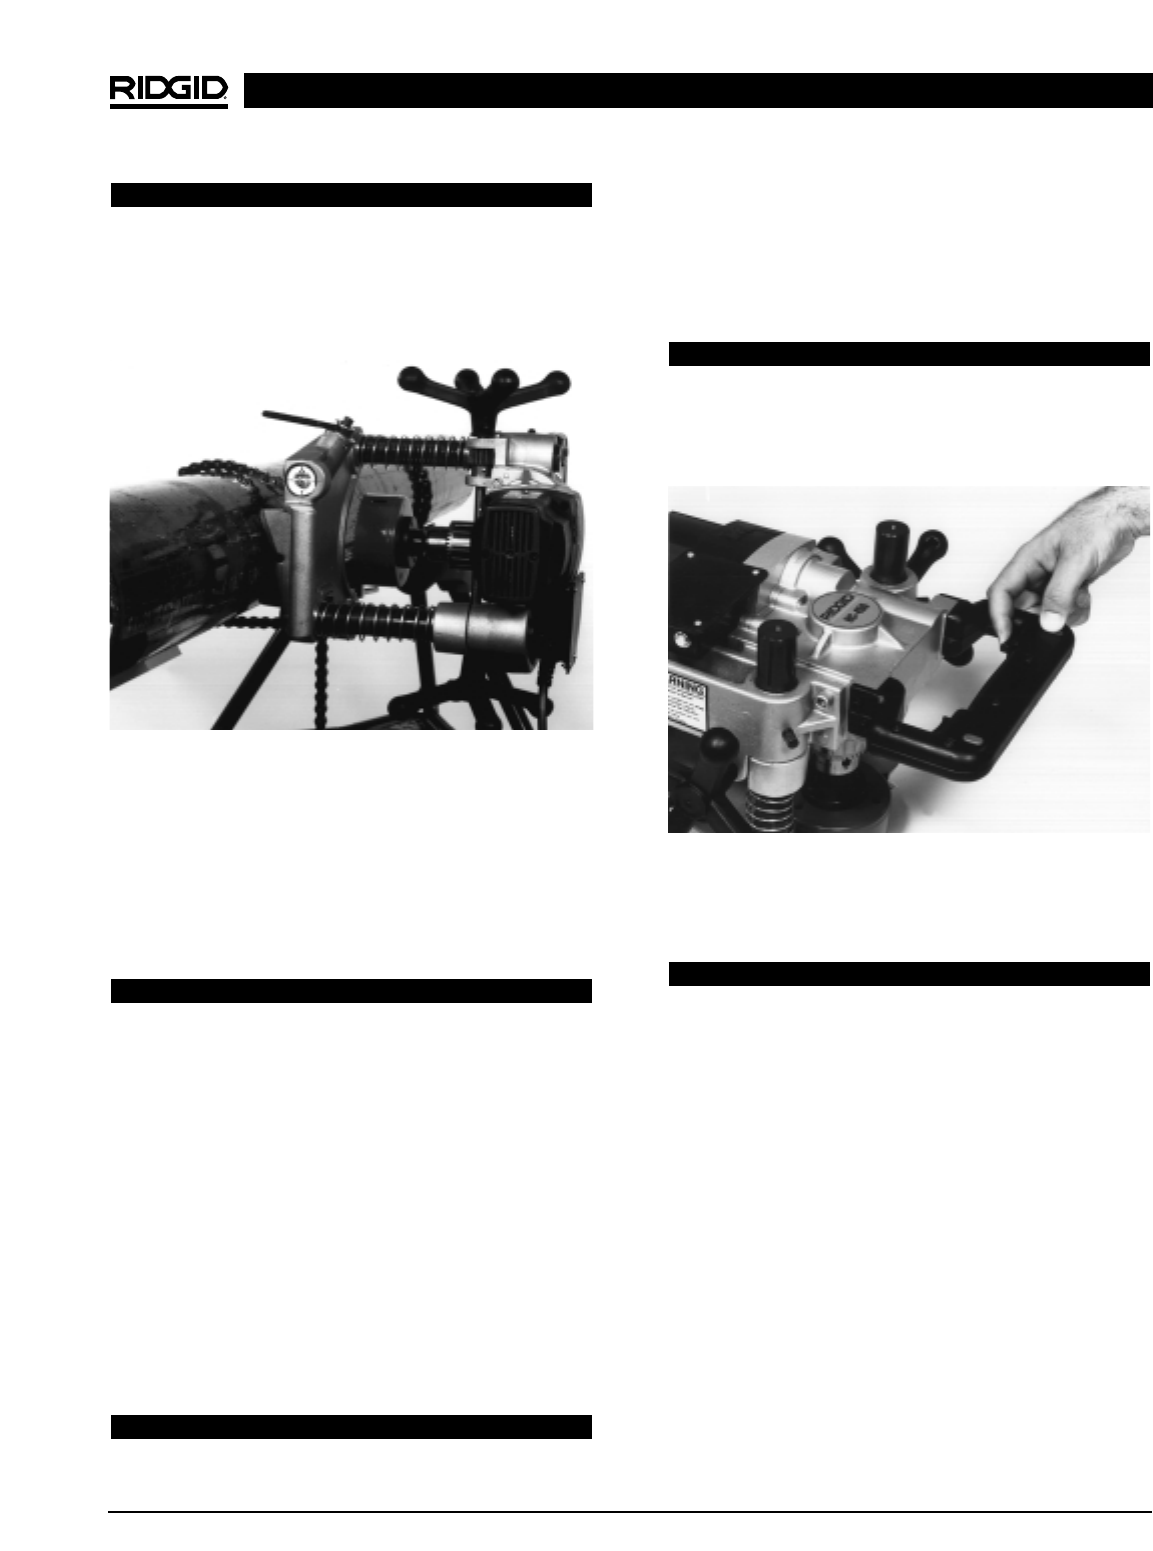
10. Secure the unit in the final location. The HC-450
will operate at all angles relative to the vertical or
horizontal pipe. (See Figure 7.)
11. By using either feed handle, raise the hole saw to
the pipe.
12. Plug the hole-cutting tool into the electrical outlet,
making sure to position the power cord along the
clear path. If the power cord does not reach the
outlet, use an extension cord in good condition.
WARNING
To avoid electric shock and electrical fires,
never use and extension cord that is damaged or
does not meet the following requirements:
• The cord has a three-prong plug similar to
shown in Electrical Safety.
• The cord is rated as “W” or “W-A” if being used
outdoor.
• The cord has a wire thickness gauge that does
not exceed 14 AWG if shorter than 30 feet or 12
AWG if 30 feet or longer. If the cord is too long
or if the wire thickness is too small, the cord
may overheat, melting the cord’s insulation or
causing nearby objects to ignite.
Operating Instructions
Model HC-450
WARNING
Do not use a hole-cutting tool without proper
eye protection.
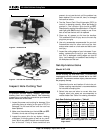
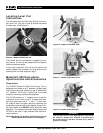
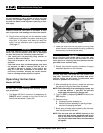
1. The HC-450 is actuated by depressing one of the
lock out switches located in the front carrying
handle. (See Figure 8.)
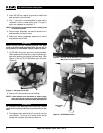
2. With one hand on a feed handle and the other
hand on a switch, feed the hole saw into the pipe.
WARNING
Keep fingers and hands away from the saw
blade. Do not reach across the hole saw or wear
loose gloves that may become entangled and
cause serious injury.
3. Rotate the feed handle to apply downward pres-
sure on the hole saw.
WARNING
Do not overfeed saw while cutting. Doing so will
result in premature saw failure and possible
serious injury.
4. After completing the hole cut, retract the saw from
the pipe by turning feed wheel clockwise.
NOTE! When branching off an existing system, use a
hole saw with the
1
/
4
″ pilot drill. The pilot drill
helps retain the pipe slug in the hole saw.
5. Turn unit OFF by releasing the actuator switch and
let hole saw come to a complete stop.
6. Remove unit by unclamping chain and using both
front and rear carrying handles.
7. Brush away all metal chips created by the hole saw
from the area around the hole.
HC-450/HC-300 Hole Cutting Tools
Figure 7 – HC-450 on a Horizontal Cut
Figure 8 – Model HC-450 Lock Out Switches