


12
13
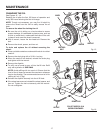
BUILT-IN
CORD WRAP
OPERATION
WARNING:
Do not allow familiarity with tools to make you
careless. Remember that a careless fraction of a
second is sufficient to inflict severe injury.
WARNING:
Always wear safety goggles or safety glasses with
side shields when operating tools. Failure to do
so could result in objects being thrown into your
eyes resulting in possible serious injury.
WARNING:
This equipment incorporates parts, such as snap
switches, that tend to produce arcs or sparks.
Therefore, when located in a garage, it should be
in a room or enclosure provided for the purpose,
or should be 18 in. or more above the floor.
CAUTION:
Do not use in an environment that is dusty or
otherwise contaminated. Using the air compressor
in this type of environment may cause damage to
the unit.
APPLICATIONS
Air compressors are utilized in a variety of air system applica-
tions. Match hoses, connectors, air tools, and accessories
to the capabilities of the air compressor.
You may use this air compressor for the purposes listed
below:
n Operating some air-powered tools
n Operating air accessories such as air nozzles and infla-
tors
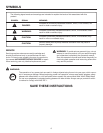
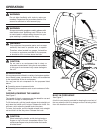
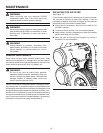
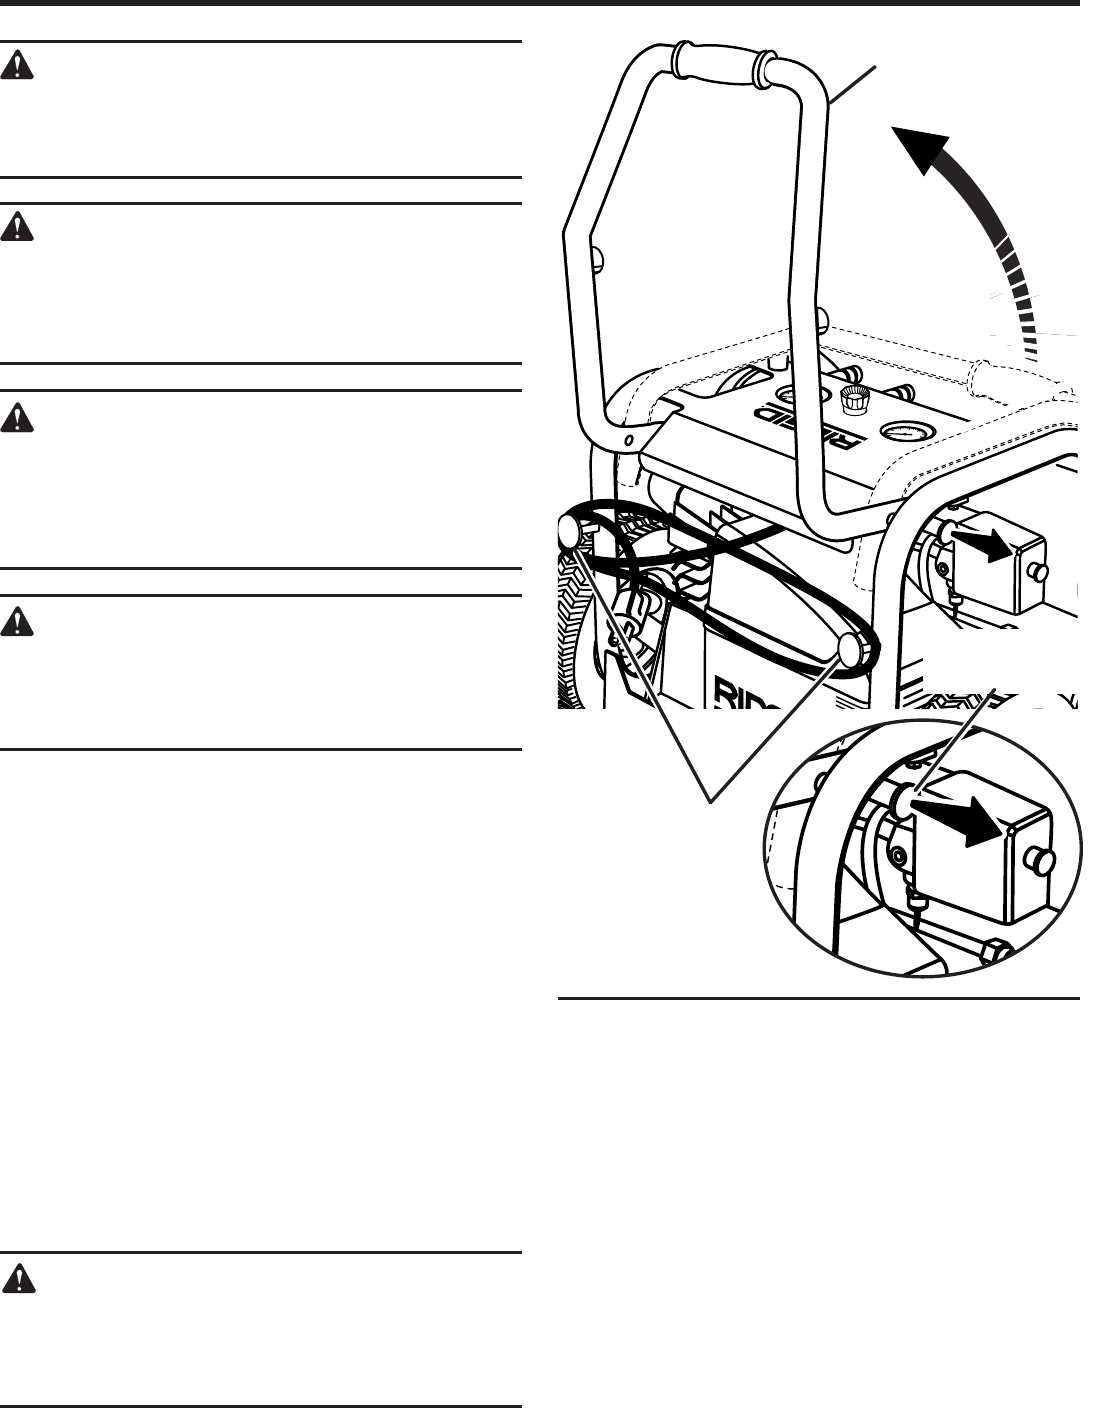
RAISING/LOWERING THE HANDLE
See Figure 7.
The handle of the air compressor can be raised for use and
lowered for storage or transportation.
To lift the handle, pull the handle release knob straight out
and raise the handle until it stops. Release the knob. You
will hear a click when the handle locks into place.
To lower the handle, pull the handle release knob straight
out and fold it all the way down. Release the knob.
CAUTION:
When lowering the handle, avoid placing hands or
fingers on top of the air compressor frame. This
could cause fingers to be pinched when the handle
is folded down.
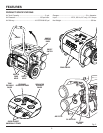
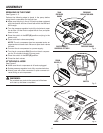
Fig. 7
HANDLE
HANDLE
RELEASE KNOB
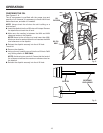
BUILT-IN CORD WRAP
See Figure 7.
A built-in cord wrap is provided for keeping the cord out of
the way when the unit is in storage or when it is being rolled
from one location to another.