


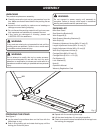
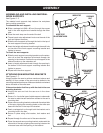
10 11
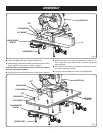
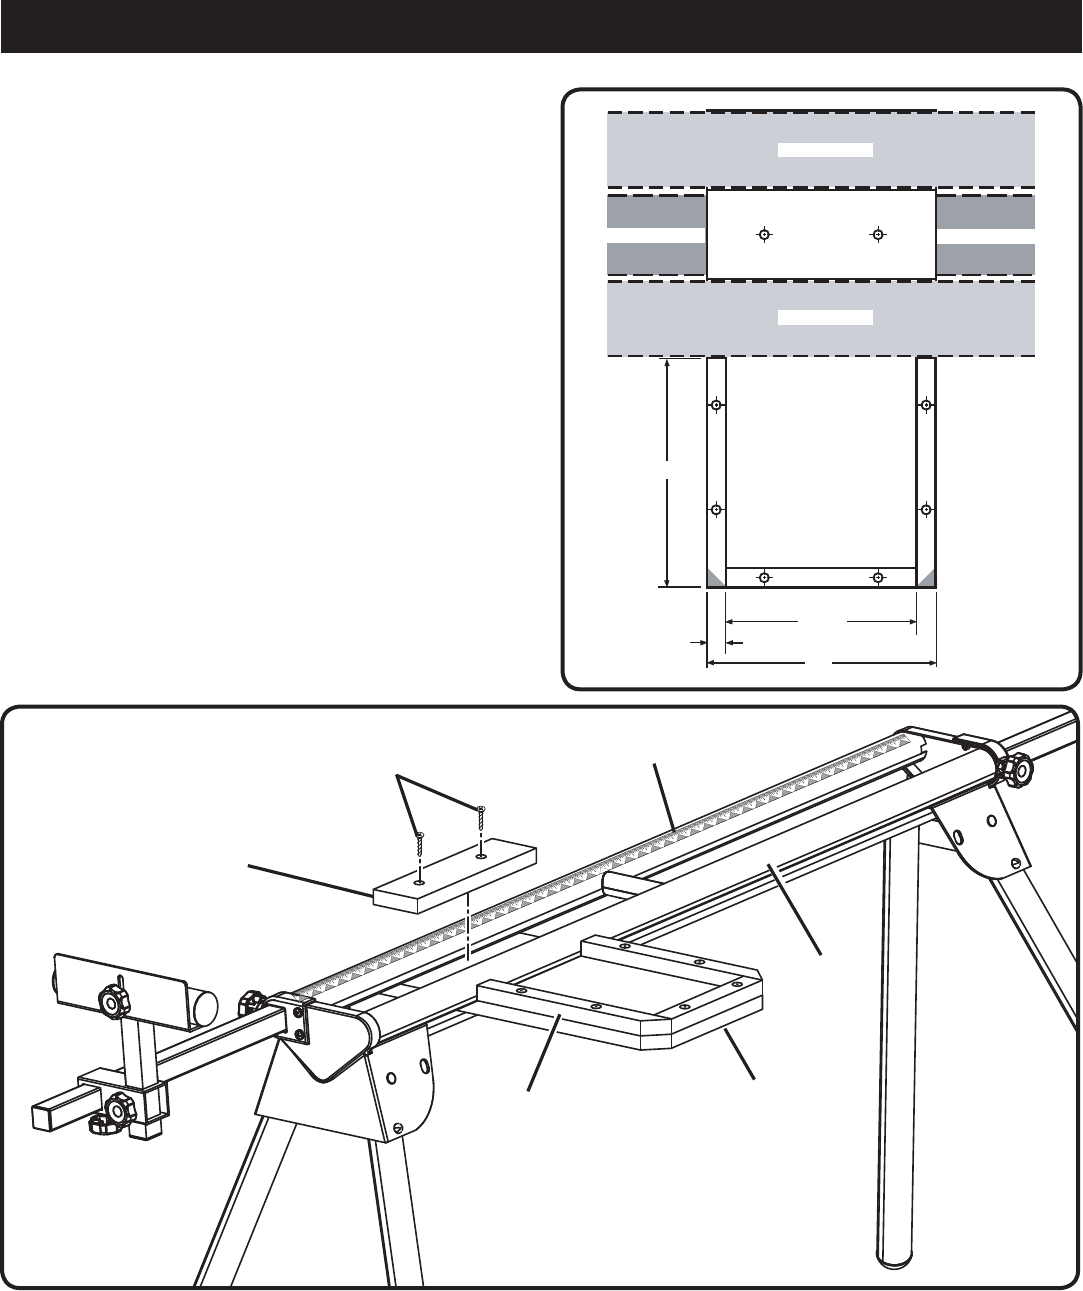
n Insert the 3/4 x 7-1/2 in. plywood strip horizontally be-
tween the 6 in. strips, making sure the long edge is flush
with the base.
n Pre-drill and countersink two holes; install screws.
NOTE: The corners of the shelf can now be mitered, if
desired, to remove sharp edges.
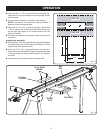
n Place the 3-1/2 x 9 in. piece of plywood horizontally
1-3/4 in. above the vertical plywood strips. Make sure
the left and right edges of the wood are flush with the
sides of the base.
n Pre-drill and countersink two holes in the center of wood
as shown.
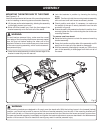
Installing the workshelf:
n Remove the 3-1/2 x 9 in. plywood and insert shelf between
top and bottom rails of miter stand until edge of vertical
strips touch miter stand front rail.
n Place the 3-1/2 x 9 in. plywood between the front and
back rails of the miter stand. Re-align the pre-drilled holes
in the top piece with the pre-drilled holes in the base of
the shelf.
n Install screws in pre-drilled holes to secure shelf.
Fig. 14
3-1/2 x 9 in.
PLYWOOD
1-3/4 in. WOOD
SCREWS
VERTICAL
STRIP
BACK
RAIL
FRONT
RAIL
SHELF BASE
Fig. 13
6"
3/4"
7 1/2"
9"
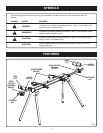
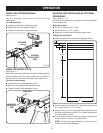
UPPER TUBE
LOWER TUBE
LOWER TUBE
UPPER TUBE
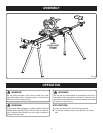
OPERATION