11
4 x36
4 x36
ADJUSTMENTS
WARNING:
Before performing any adjustment, make sure the belt/
disc sander is unplugged from the power supply and the
switch is in the OFF position. Failure to heed this warning
could result in serious personal injury.
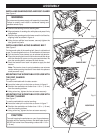
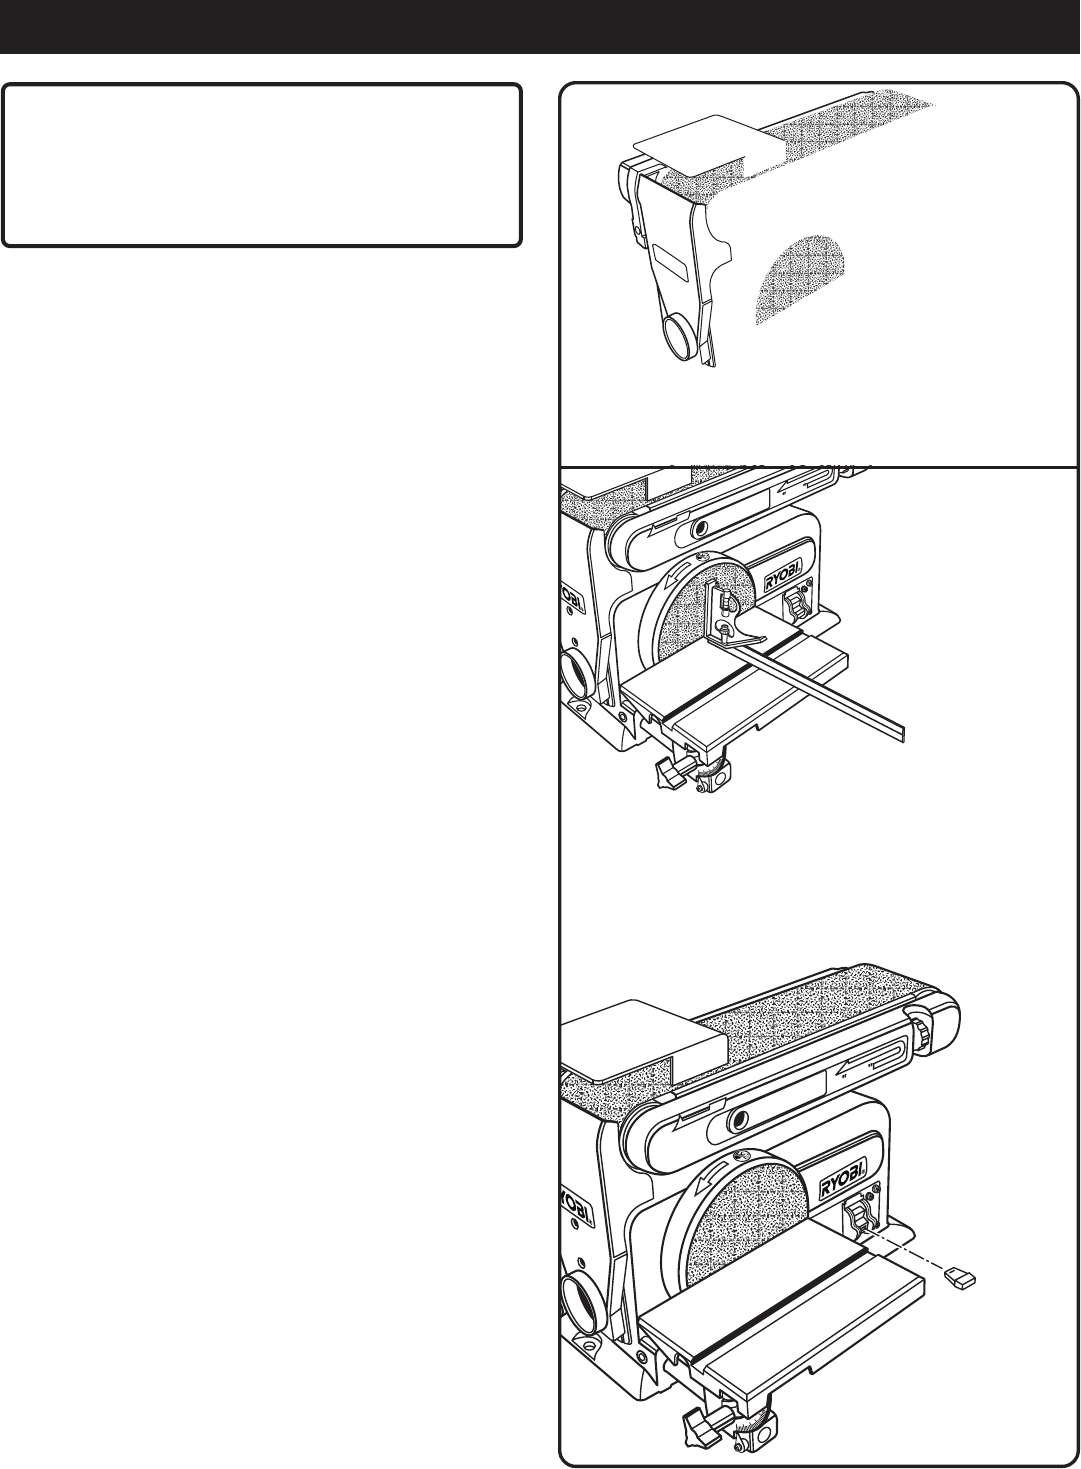
ADJUSTING THE BELT TRACKING
See Figure 11.
■ Plug in belt/disc sander.
To check belt tracking:
■ Turn the switch ON and then immediately turn it OFF. If
the belt tends to slide off the idler drum or drive drum, the
belt is not tracking properly.
To adjust belt tracking:
■ If the sanding belt moves toward the disc, turn the tracking
knob clockwise 1/4 turn.
■ If the sanding belt moves away from the disc, turn the
tracking knob counterclockwise 1/4 turn.
■ Turn the switch ON and then immediately OFF again,
noting belt movement. Readjust tracking knob if
necessary.
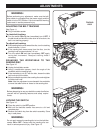
SQUARING THE WORKTABLE TO THE
SANDING DISC
See Figure 12
.
■ Unplug the belt/disc sander.
■ Using a combination square, check the angle of the
worktable with the sanding belt.
■ If the worktable is not 90° with the disc, loosen the table
lock knob and tilt the table.
■ Adjust worktable square to the sanding disc and retighten
the table lock knob.
Note: Use the adjustment screw beneath the worktable
to move the table further or closer to the sanding disc.
WARNING:
Before attempting to use your belt/disc sander familiarize
yourself with all operating features and safety require-
ments.
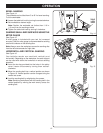
LOCKING THE SWITCH
See Figure 13.
■ Place the switch in the OFF position.
■ Wait until the belt/disc sander has come to a full and
complete stop.
■ Remove the switch key from the switch assembly. Store
key in safe place.
WARNING:
Do not reach across the sanding disc to turn the belt/disc
sander ON or OFF. Contact with the sanding disc can
result in serious personal injury.
See Figure 13.
TRACKING
KNOB
Fig. 11


