11
20
24
5
ADJUSTMENTS
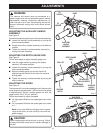
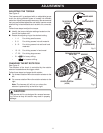
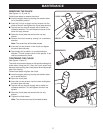
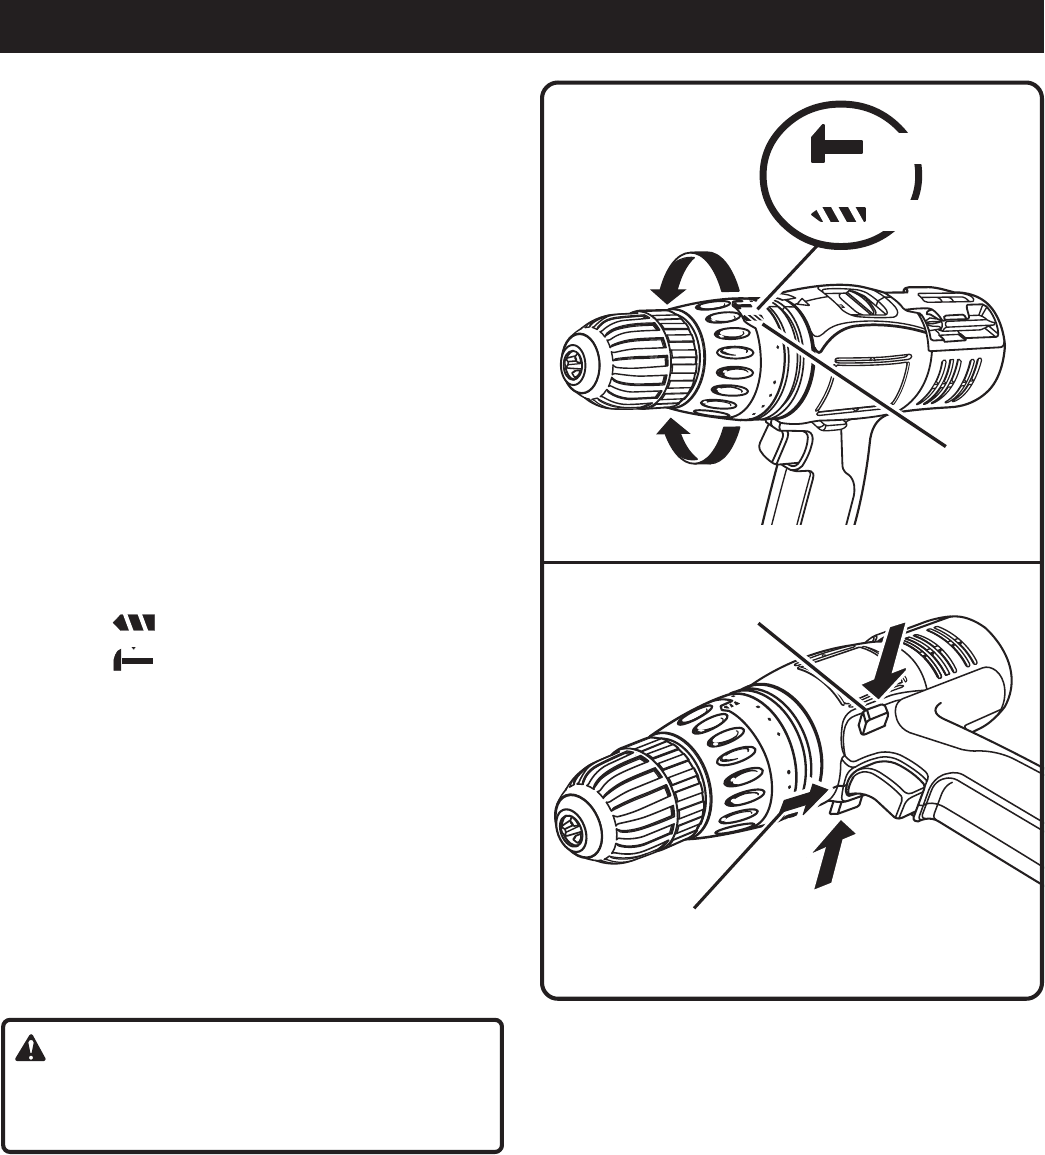
ADJUSTING THE TORQUE
See Figure 5.
The hammer drill is equipped with an adjustable torque
clutch for driving different types of screws into different
materials. Adjust the torque as necessary. We recommend
that you use carbide-tipped bits and select hammer mode
when drilling in hard materials such as brick, tile, concrete,
etc.
Follow these steps to adjust the torque.
■ Identify the torque indicator settings located on the
front of the hammer drill.
■ Rotate the adjusting ring to the desired setting.
• 1 - 4 For driving small screws.
• 5 - 8 For driving screws into soft material.
• 9 - 12 For driving screws into soft and hard
materials.
• 13 - 16 For driving screws in hard wood.
• 17 - 20 For driving large screws.
• 21 - For heavy drilling.
• For hammer drilling.
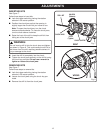
CHANGING THE BIT ROTATION
See Figure 6.
The direction of the chuck is controlled by the rotation
selector located above the trigger switch.
Follow these steps to change the bit rotation.
■
For forward rotation
: Move the rotation selector to the
left.
■
For reverse rotation
: Move the rotation selector to the
right.
Note: The hammer drill will not run unless the
selector is pushed fully to the left or right.
CAUTION:
The hammer drill is not designed for reverse hammer-
ing. Failure to obey this caution may result in property
damage.
20
5
Fig. 5
Fig. 6
TO DECREASE
TORQUE
TO INCREASE
TORQUE
TORQUE
ADJUSTING RING
FORWARD / REVERSE
SELECTOR
CENTER POSITION
(LOCK)
REVERSE
FORWARD
DRILLING MODE
HAMMER MODE


