


12
OPERATION
WARNING:
Always wear safety goggles or safety glasses with
side shields when operating this tool. Failure to do
so could result in dust, shavings, or loose particles
being thrown into your eyes, resulting in possible
serious injury.
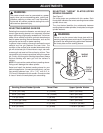
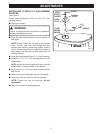
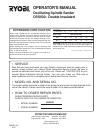
MOUNTING THE SANDER TO A WORK
SURFACE
See Figures 6 and 7.
Follow these directions to mount the sander to a work
surface.
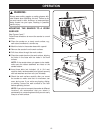
■ Place the sander on a sturdy work surface, e.g.,
work stand, workbench, counter top.
■ Mark the holes in the sander base with a pencil.
■ Remove the sander from the work surface.
■ Drill three holes through the work surface.
■ Place the sander back on the work surface, aligning
the holes in the base with the holes in the work
surface.
NOTE: If the sander does not appear to be stable,
make sure the rubber stabilizers are intact on the
sander bottom.
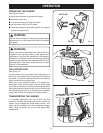
■ Insert three bolts (not included, 1/4 in. (6.4 mm)
machine bolts recommended) and tighten securely
with lock washers and hex nuts (not included).
■ Check the work surface carefully after you mount
the sander to make sure that no movement can
occur during use. If you notice any tipping, sliding,
or walking, secure the work surface to the floor
before operating the tool.
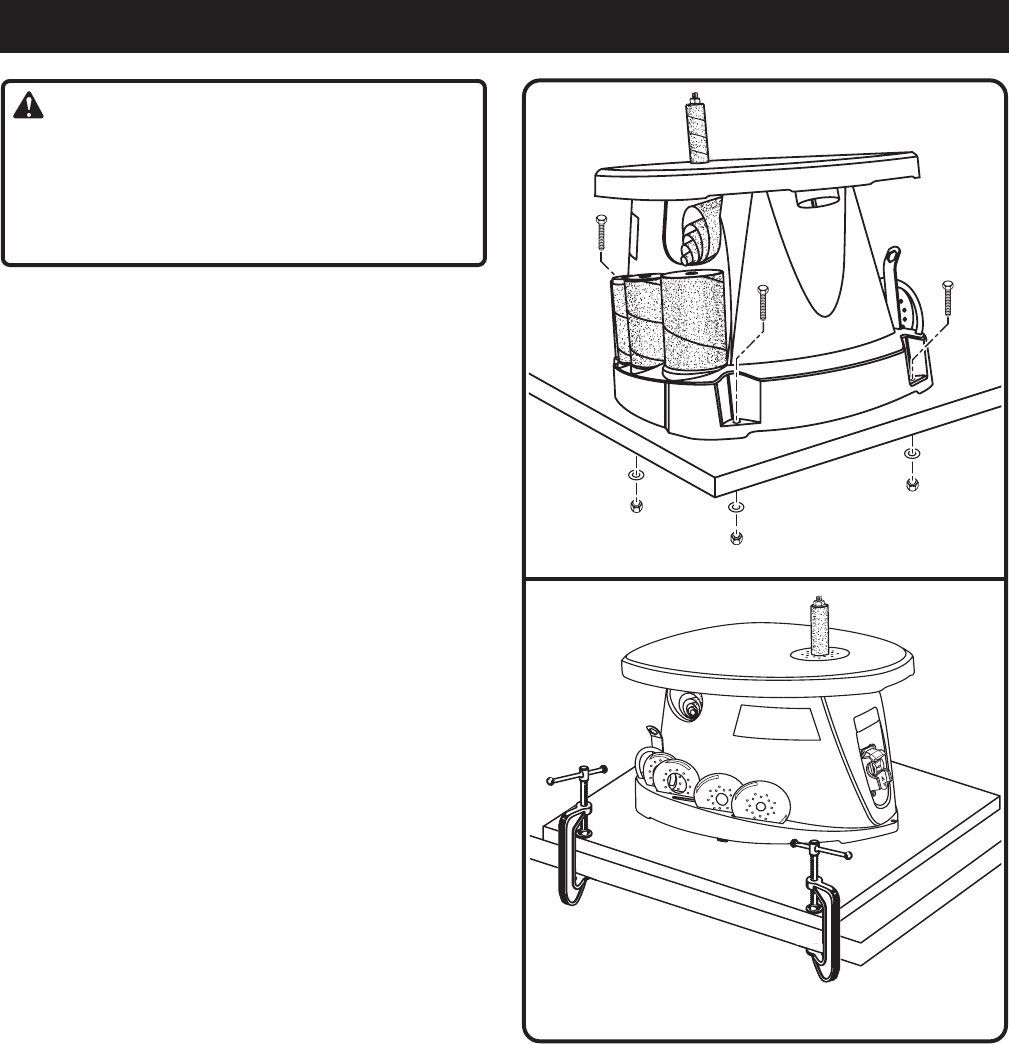
NOTE: If you plan to transport the sander to different
locations, we recommend that you attach it
permanently to a mounting board that you can easily
clamp to a work surface.
Fig. 6
Fig. 7