


13
OPERATION
OPERATING THE SANDER
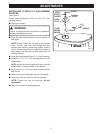
See Figures 8 and 9.
Follow these directions to operate the sander.
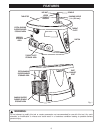
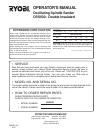
■ Insert the switch key.
■ Turn on the sander by lifting the switch.
■ Let the motor build to its full speed.
■ Feed the workpiece gradually against the sanding
sleeve from right to left.
WARNING:
Do not let the workpiece contact the sanding sleeve
before you turn on the sander and allow it to develop
full speed.
WARNING:
When you feed the workpiece from right to left, the
rotation of the sanding sleeve sands against the
workpiece. If you feed the workpiece in the opposite
direction, the rotation forces of the spinning sanding
sleeve tends to bounce the workpiece away from the
sanding sleeve. This action could cause you to lose
control of the workpiece.
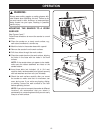
COLLECTING DUST
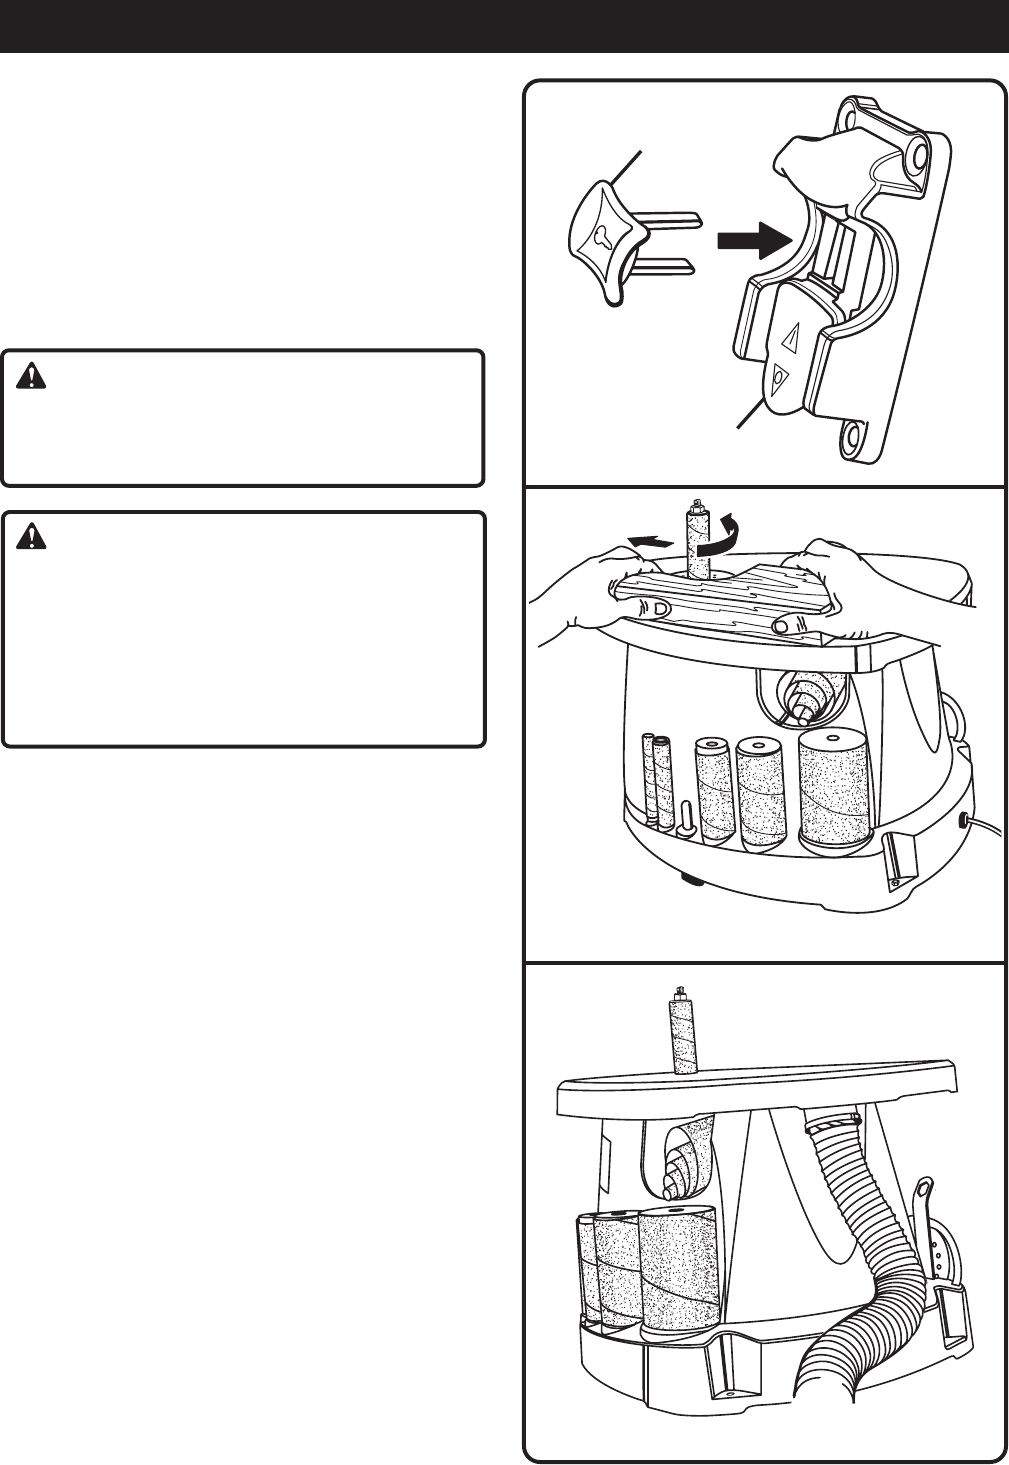
See Figure 10.
A dust exhaust port is provided to help keep dust to a
minimum. It is located under the table top on the back of
the sander. The end of a standard shop vacuum hose fits
tightly inside the dust exhaust port.
Even with a dust collection system, it is important to
periodically clean sanding dust from the throat plate
area. After extended use, sanding dust builds up under
the throat plate and forces its way into the throat plate
nest. Sanding dust build up in this area may cause the
throat plate surface to rise above the table surface.
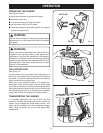
TRANSPORTING THE SANDER
In a portable application, you can lift and carry the
sander by the table top. When carrying the sander, be
careful not to dislodge the throat plates, wrench, and
upper spindle washers from their respective storage
areas. Also, be careful not to lose any parts when
transporting.
Fig. 8
Fig. 9
Fig. 10
SWITCH KEY
SWITCH