Page 11
OPERATION
POSITION THE FENCE OR MITER GAUGE
For any router operation, you will use either the fence or the
miter gauge to help guide your work through the cutter.
To position the fence: Loosen the fence lock knobs by
turning them counterclockwise. Loosen the fence lock
knobs just enough so that the fence moves freely. Position
the fence the proper distance from the cutter based on
the amount of material you plan to remove. Tighten the
fence lock knobs.
To position the miter gauge: Loosen the miter gauge
knob, rotate the miter gauge to the desired angle and
retighten the knob.
ADJUST THE STEP RISERS
The step risers, located on the outfeed side of the fence,
enable you to support your workpiece as it exits the cut-
ter. The step risers will provide support for routing opera-
tions that remove up to 1/8 in. of material. The step risers
are adjustable in 1/32 in. increments.
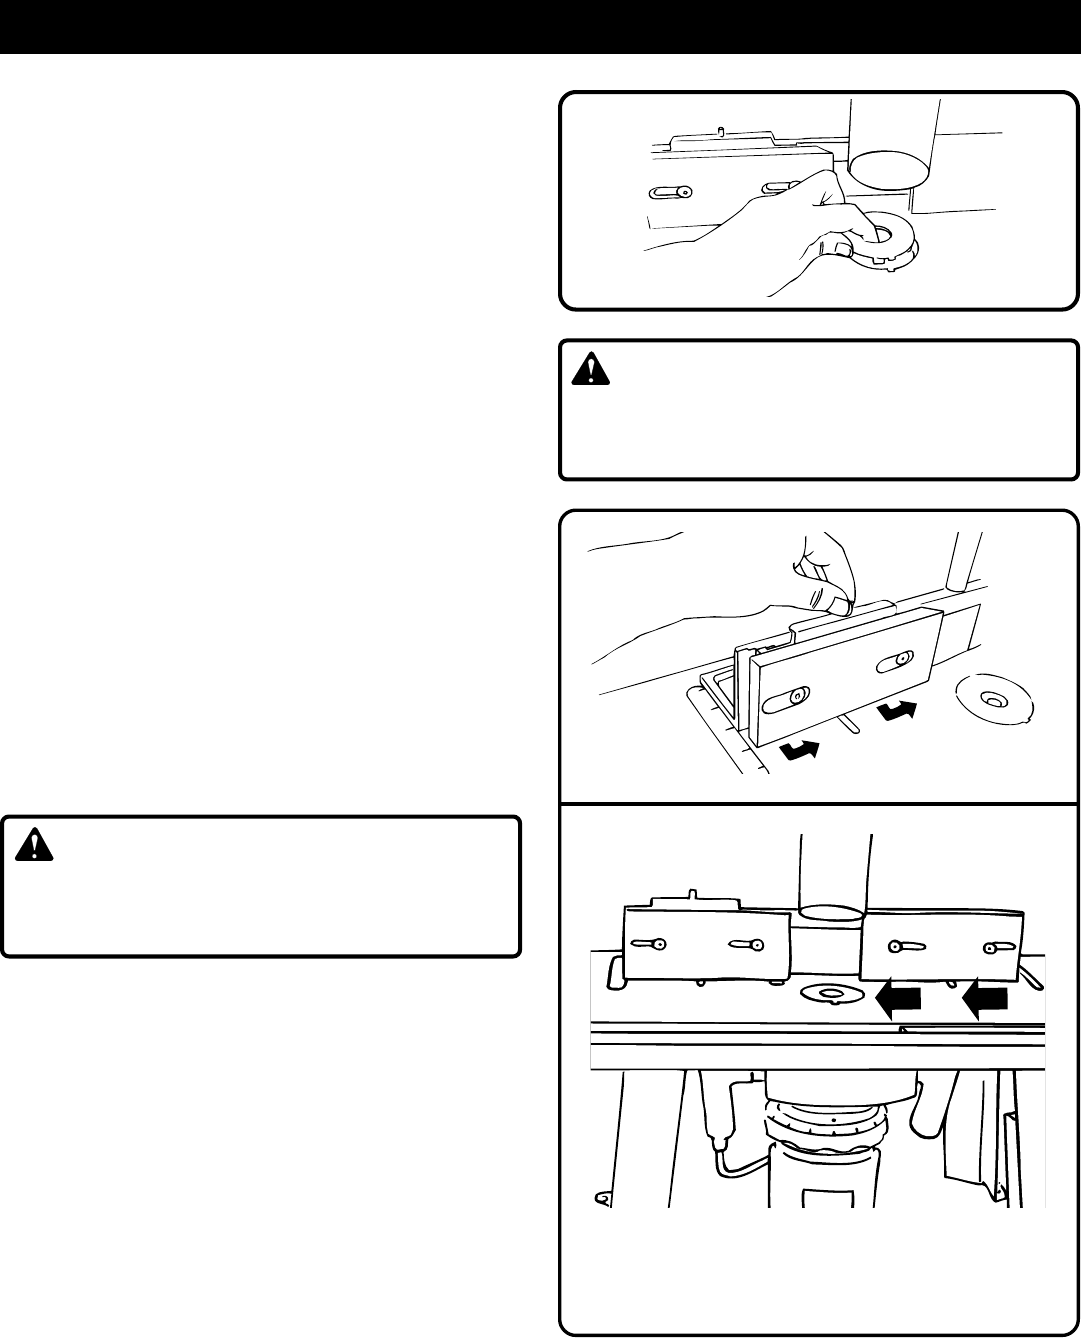
To adjust the step risers loosen the two knob bolts on the
rear of the fence and push the riser forward and toward
the throat.
See Figure 12.
Retighten knob bolts.
PERFORMING A ROUTING OPERATION
For the proper use of your Ryobi R161 router on your
RT100 router table, carefully read the entire Operator’s
Manual included with your Ryobi R161 router.
WARNING:
Direction of feed for workpiece is always against the sharp
edges of the cutter. Failure to feed workpiece against
sharp edges of cutter can result in serious personal injury.
PREPARING FOR OPERATION
Adjust the guard/dust cover so that it will not come in con-
tact with the workpiece or cutter during a cutting operation.
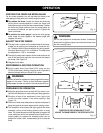
Direction of feed of the workpiece is from right to left
or with the cutter located in the fence opening.
See
Figure 13.
Direction of feed must always be so that the workpiece is
being fed against the sharp edges of the rotating cutter.
The workpiece must always be tight against the fence
assembly, unless a ball-bearing piloted cutter is being
used. The infeed fence should be adjusted to support the
uncut workpiece while the outfeed fence should be ad-
justed properly to support the workpiece after the cut
passes the router cutter, compensating for the removed
stock.
Fig. 11
WARNING:
Do not use cutters with undersized shanks. Undersized
shanks will not tighten properly and could be thrown from
the tool, causing injury.
Fig. 12
Fig. 13
DIRECTION OF FEED IS FROM RIGHT TO LEFT
AGAINST THE SHARP EDGES OF THE ROTATING CUTTER.


