


5
BEFORE USING YOUR BATTERY CHARGER
It is important to understand the charger’s requirements. This section explains the
charger’s electrical requirements and how to prepare a battery for charging.
PLUGGING IT IN
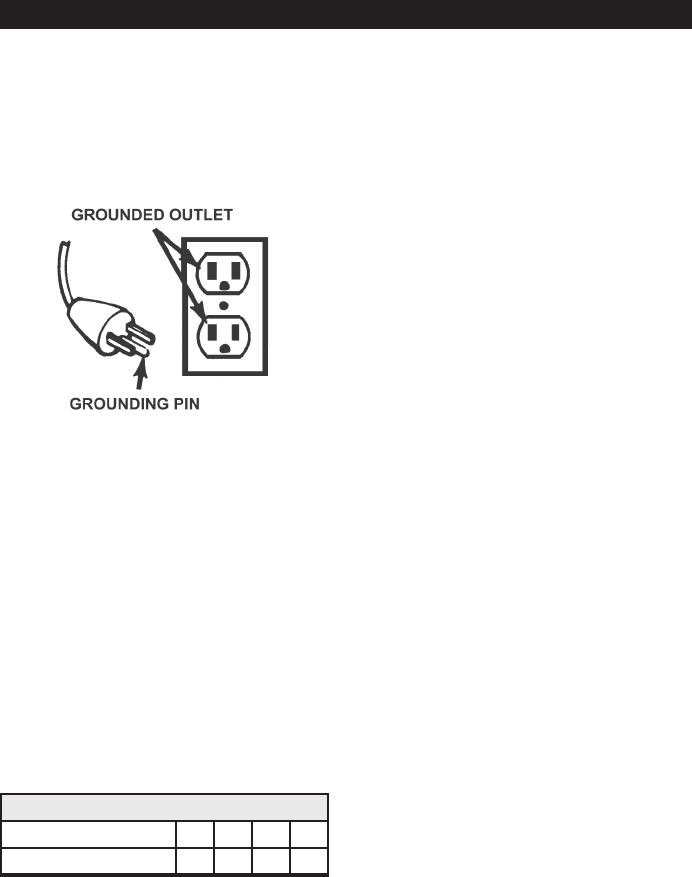
Your charger requires a 120V AC electri-
cal outlet installed according to all local
codes and ordinances.
USING AN EXTENSION CORD
The use of an extension cord is not
recommended. If you must use an ex-
tension cord, please make sure that you
follow these guidelines:
• Make sure that pins on plug of exten-
sion cord are the same number, size,
and shape as those of plug on charger.
• Check that the extension cord is
properly wired and in good electrical
condition.
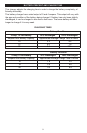
• Make sure that the wire size is large
enough for its length and for the AC
ampere rating, as specied in the
chart below.
MINIMUM RECOMMENDED EXTENSION CORD
Length of Cord, in Feet 25 50 100 150
AWG* Size of Cord 18 18 16 14
*AWG=American Wire Gauge
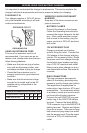
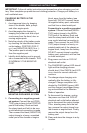
VERSATILE QUICK-DISCONNECT
HARNESS
Snap any of the three connectors into
place in seconds:
BATTERY CLAMPS
Connect the clamps to the charger.
Follow the Operating Instructions to
connect the output clamps to the bat-
tery. After a solid electrical connec-
tion is made to the battery, plug the
power cord into a 120V AC electrical
wall outlet.
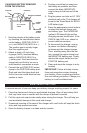
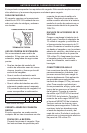
12V ACCESSORY PLUG
Charge or maintain your battery
without lifting the hood. Connect the
12V adapter to the charger and plug
into the 12V accessory outlet. Route
the power cord from charger through
the vehicle’s open window and plug
into a 120V AC electrical wall outlet.
Make sure to place charger on a dry,
non-ammable surface, like metal or
concrete.
RING CONNECTORS
The ring connectors permanently
attach to the battery providing easy
access to quickly charge your battery.
This application is appropriate for
motorcycles, lawn tractors, ATVs and
snowmobiles. To permanently attach
to a battery, loosen and remove each
nut from bolts at battery terminal.
Connect the red POSITIVE ring con-
nector ring to the POSITIVE battery
terminal. Connect the black NEGA-
TIVE connector ring to the NEGATIVE
battery terminal. Replace and tighten
the nuts to secure. Take care to keep
both wires and plug away from metal
and the engine hood. Plug the power
cord into a 120V AC electrical wall
outlet.