


14
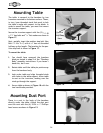
Mounting Table
The table is secured to the bandsaw by two
trunnions mounted to its bottom surface. These,
in turn, have threaded studs that work to lock
the table’s angle with respect to the blade. In
order to mount the table, you must first mount
the trunnion support.
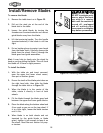
Secure the trunnion support with the (2)
5
⁄16"-18
x 1
1
⁄4" hex bolts and
5
⁄16" flat washers as shown in
Figure 17.
Next, partially insert the positive stop bolt (
Hex
Bolt
3
⁄8"-16 x 2
1
⁄2") with a
3
⁄8" hex nut threaded
halfway up the length. The location for the pos-
itive stop bolt is shown in Figure 17.
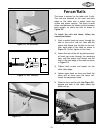
To mount the table:
1. You should have removed the bandsaw
blade as stated in step 2 of the “Bandsaw
Body” assembly instructions. If you haven’t
done this, do it now.
2. Rotate table until the table pin points away
from the bandsaw body.
3. Look under table and align threaded studs
with holes in the table support. Allow table
to rest on the trunnions, making sure the
studs go through the support.
4. Secure table as shown in Figure 18 with the
two hand knobs provided.
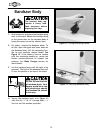
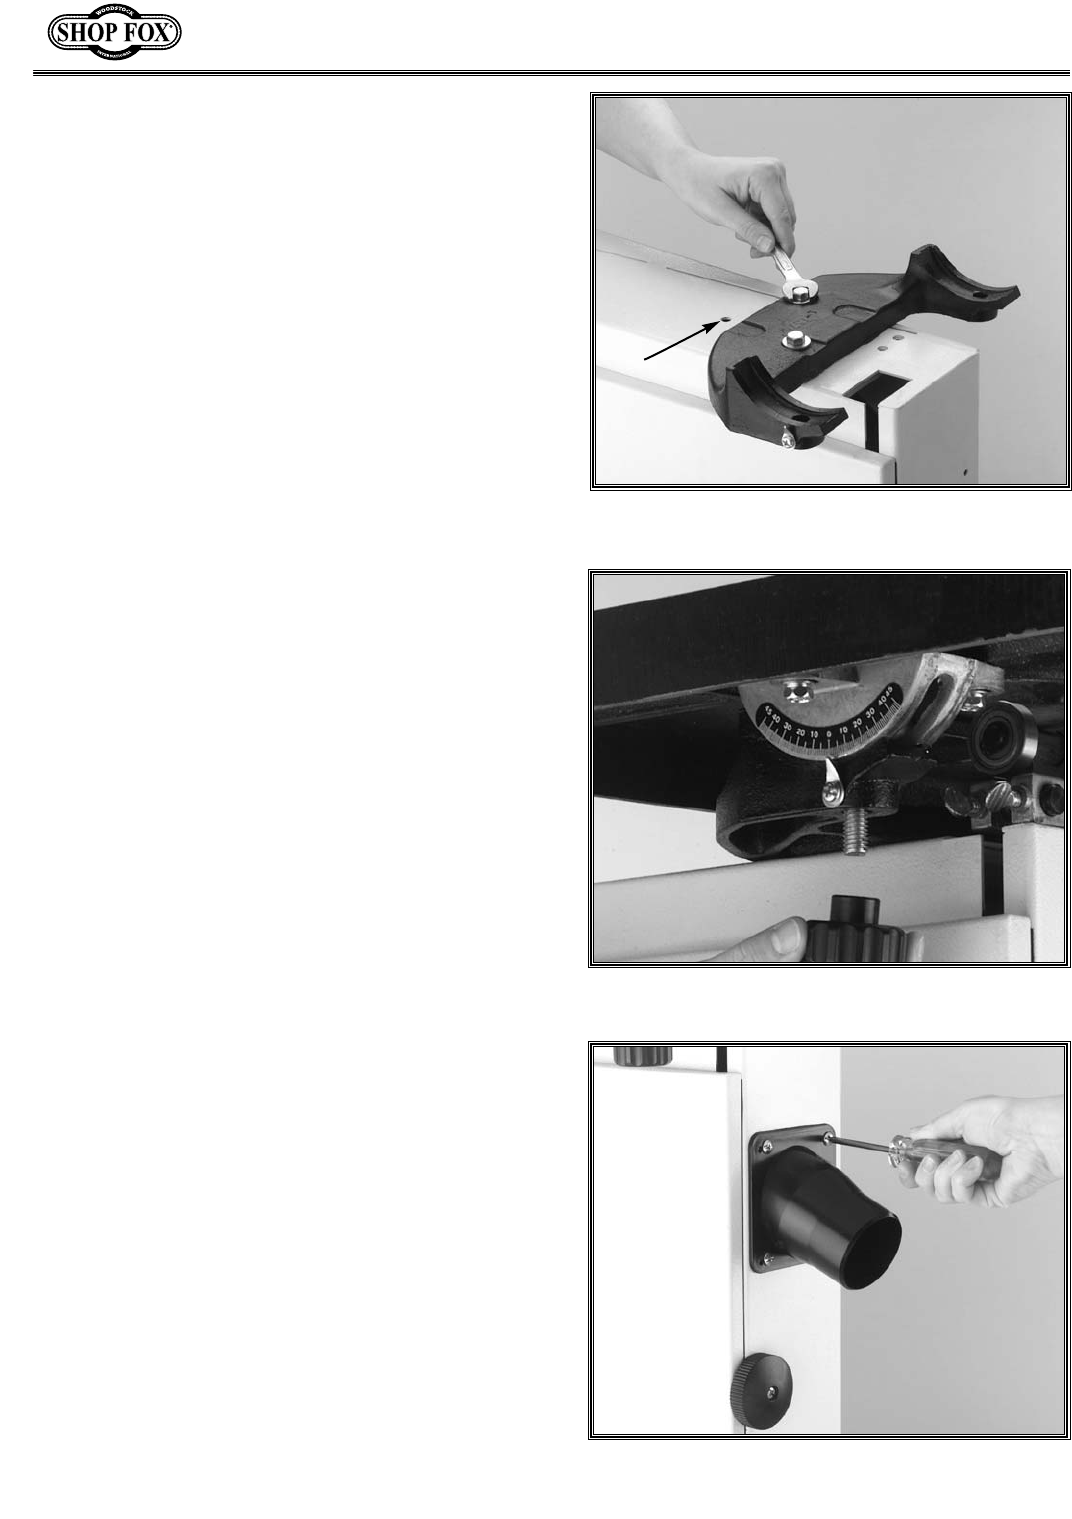
Figure 17.
Attaching trunnion support to body.
Figure 19.
Installing dust port.
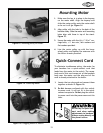
Figure 18.
Securing table with the hand knobs.
Mounting Dust Port
There is a vent in the body of the bandsaw
directly under the table. Attach the dust port
over this vent with the (4) 10-24 x
1
⁄2" Phillips
®
head screws as shown in Figure 19.
Positive
Stop Goes
Here