


-24-
W1761/W1762 12" Table Saw with Riving Knife
SET UP
ON/OFF Switch
Miter Gauge
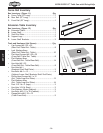
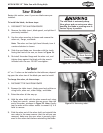
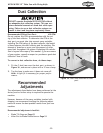
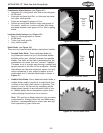
To install the miter gauge, do these steps:
1. Install the miter gauge handle and 8mm flat washer
onto the miter gauge as shown in
Figure 33.
2. Slide the miter gauge into the miter gauge slot to
the left of the blade; or store it temporarily on the
brackets near the blade angle handwheel.
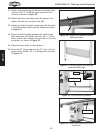
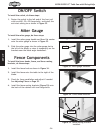
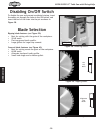
To install the switch, do these steps:
1. Fasten the switch to the left end of the front rail
with two M8-1.25 x 25 flange bolts, and install the
anti-start safety pin as shown in
Figure 32.
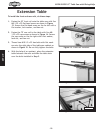
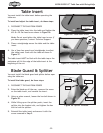
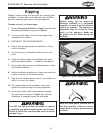
Fence Components
To install the fence knobs, fence, and fence resting
brackets, do these steps:
1. Install the fence knob as shown in Figure 34.
2. Install the fence onto the table to the right of the
blade.
3. Check for fence parallelism and adjust if needed.
See Adjusting Fence on Page 53.
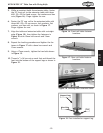
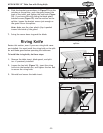
4. Install the fence resting brackets (Figure 35) onto
the back of the cabinet with two flange bolts.
Figure 33. Miter gauge installed.
Washer
Handle
Figure 32. Switch installed.
Figure 34. Fence knob installed.
Figure 35. Fence resting brackets
installed.
Brackets