


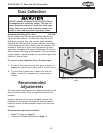

-33-
W1761/W1762 12" Table Saw with Riving Knife
OPERATIONS
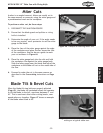
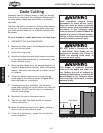
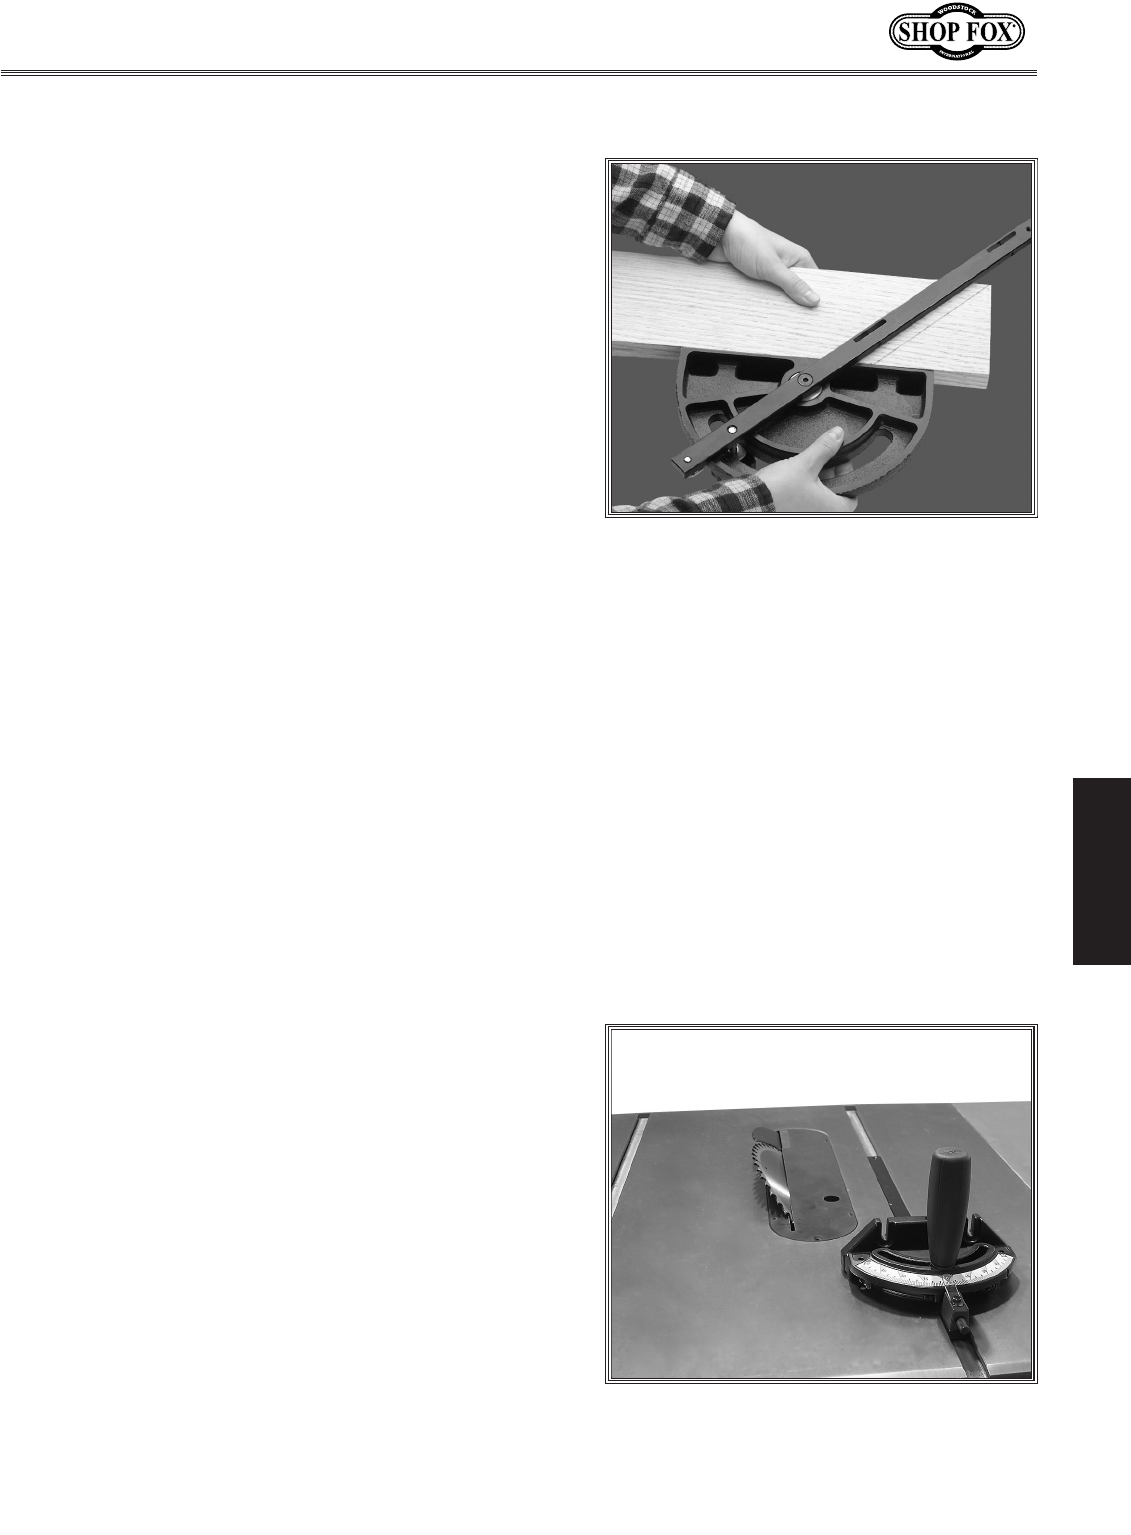
Figure 46. Example of marking miter line.
Miter Cuts
A miter is an angled crosscut. Miters are usually cut in
the same manner as crosscuts, using the miter gauge and
a predetermined mark on the workpiece.
To perform a miter cut, do these steps:
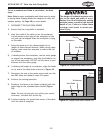
1. DISCONNECT THE SAW FROM POWER!
2. Ensure that the blade guard and splitter or riving
knife is installed.
3. Determine the angle of your cut. If the angle needs
to be very precise, use a protractor to set the miter
gauge to the blade.
4. Place the face of the miter gauge against the edge
of the workpiece and place the bar across the face
of the workpiece. Use the bar as a guide to mark
your cut as shown in
Figure 46.
5. Place the miter gauge back into the slot and hold
the workpiece firm against the miter gauge body.
Slide the miter gauge near the blade and adjust the
workpiece so the blade will cut on the waste side of
the line.
6. Proceed to make the cut in the same manner as
described in the
Crosscutting instructions on Page
32.
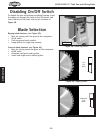
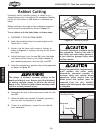
Blade Tilt & Bevel Cuts
When the blade tilt stop bolts are properly adjusted
(Page 49), the blade tilt handwheel allows the operator
to tilt the blade to the left, anywhere between 0° and
45°. This is used most often when cutting bevels, com
-
pound miters or chamfers. Figure 47 shows an example
of the blade when tilted to 45°.
Figure 47. Blade tilted to 45° for bevel
cutting on a typical table saw.