


-8-
Model W1822 (For Machines Mfg. Since 9/10)
SETUP
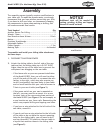
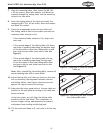
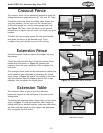
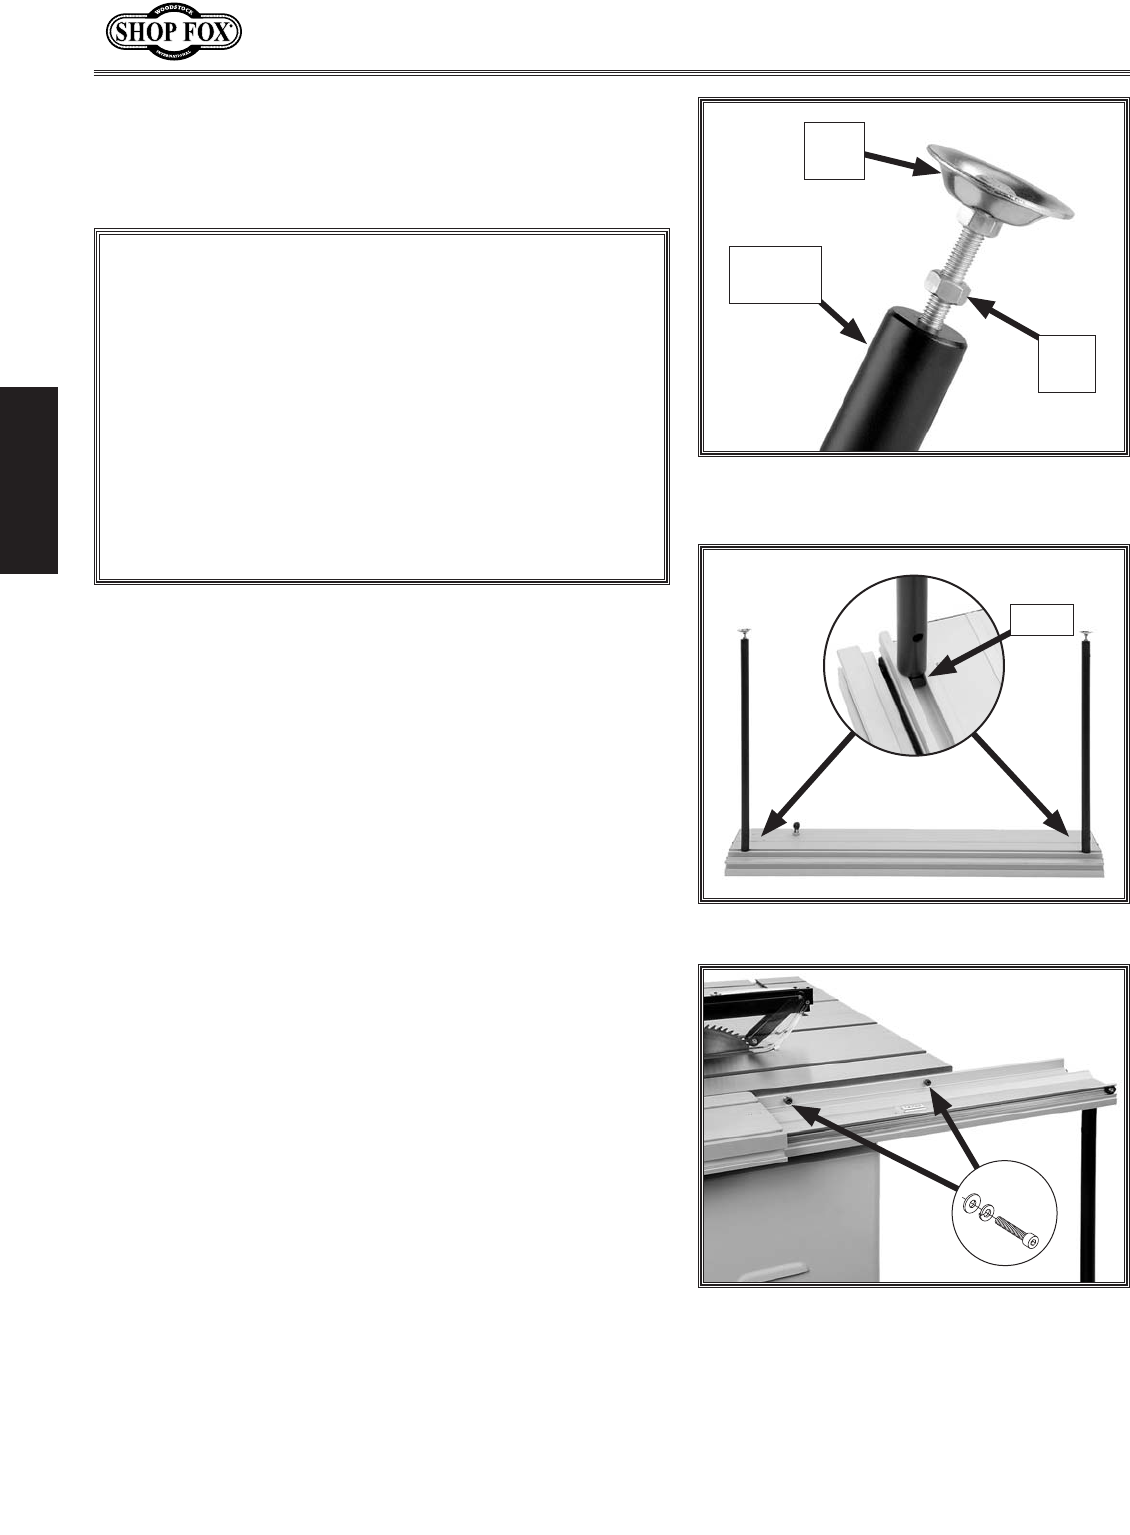
3. Thread the foot pad bolts into the bottom of the
support legs, as shown in Figure 6. For now, do not
tighten the jam nuts against the legs so that you can
adjust the height of the legs in a later step.
Figure 6. Foot pad bolt threaded into the
support leg.
Support
Leg
Jam
Nut
Foot
Pad
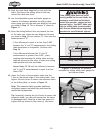
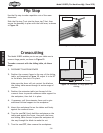
4. Turn the sliding table upside down, slide the support
leg T-nuts into the sliding table miter gauge slot (see
Figure 7), then hand-tighten the legs clockwise to
secure them in place.
Note: For the best support, position the support
legs near each end of the sliding table, as shown in
Figure 7.
Figure 7. Support legs installed.
T-Nut
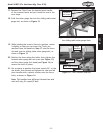
5. With the help of at least one other person to support
the weight, turn the sliding table assembly over,
then position it against the side of the saw table.
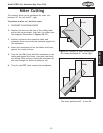
6. Pull out the locking pin that is underneath the
sliding table, then slide the top part to left to
expose two of the mounting holes, as shown in
Figure 8.
Figure 8. Mounting fasteners (2 of 3).
x 3
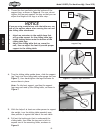
NOTICE
If you are using a mobile base with the table saw, use
one of the options above when moving the saw and
the sliding table attachment:
• Attach an extension to the mobile base that
will provide support for the sliding table legs.
• Install locking casters onto the bottom of the
sliding table legs.
• Adjust the sliding table feet up, move the
unit, then re-adjust the feet to provide proper
support to the sliding table.