


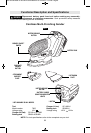

-16-
and remove it from the work before switching
the tool off. Operating your sander in this
manner will pro long switch and motor life, and
greatly increase the quality of your work.
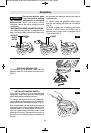
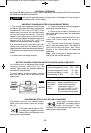
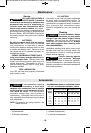
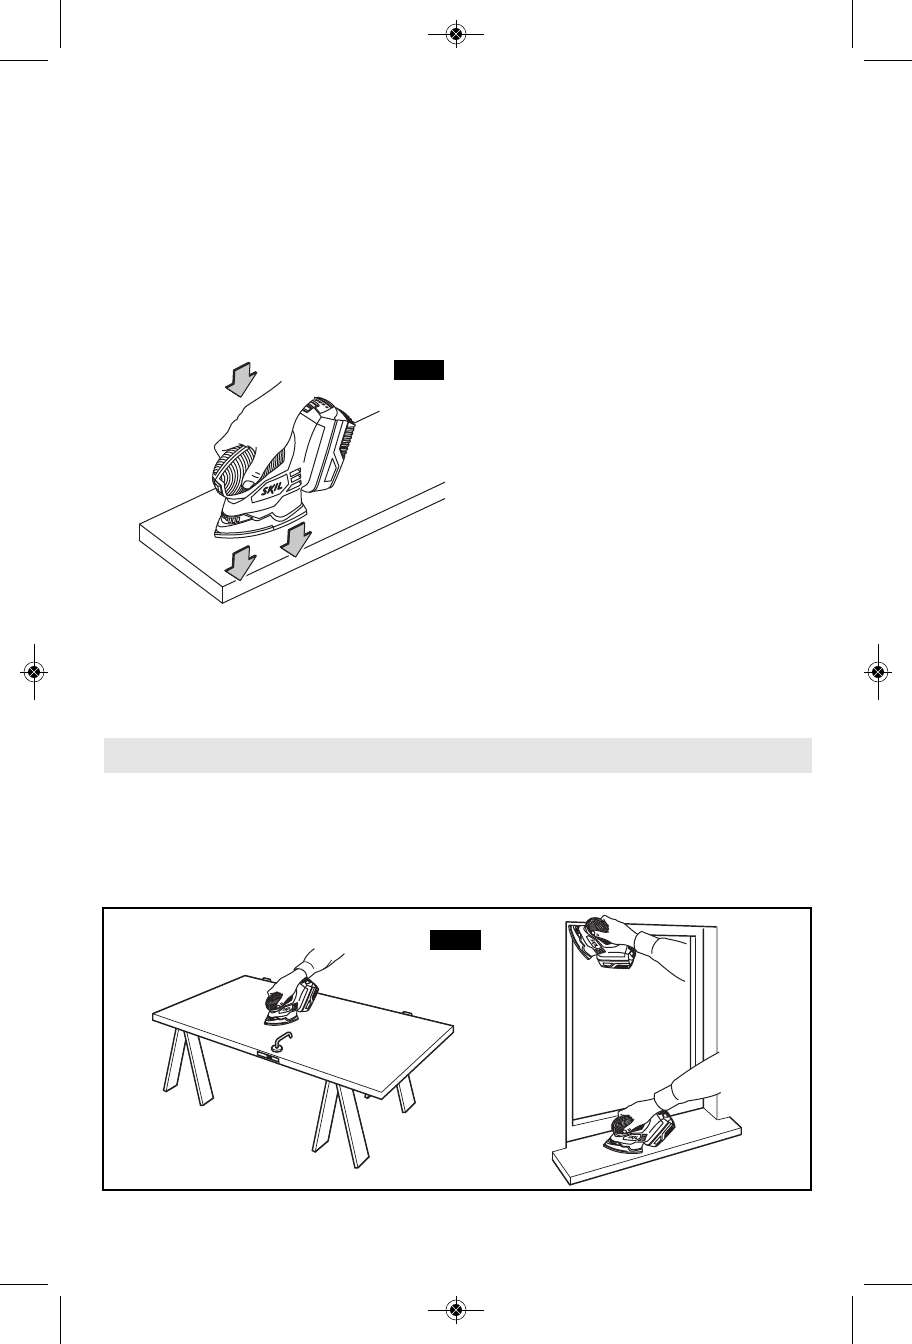
Move the sander in long steady strokes parallel
to the grain using some lateral motion to
overlap the strokes by as much as 75%. DO
NOT apply exces sive pressure — let the tool
do the work but always make sure the pad is
parallel to the work surface. Ex cessive
pressure will result in poor handling, vibration,
and unwanted sanding marks (Fig. 17).
If the surface is rough, begin with coarser grits
and then complete the surfacing with medium
and fine abra sives. To avoid uneven results, do
not skip more than one grit size when going
from coarser to finer, and do not sand in one
area for too long. When the job is completed,
gently lift the tool from the work surface and
s
lide switch to the "OFF" position.
POLISHING: Your Multi-finishing sander may
be fit ted with optional abrasive mesh or
polishing pads to polish or remove scratches or
corrosion from metal, painted, or other
surfaces. The tool is oper ated in much the
same way as when sanding, but the following
points should be observed;
Use light pressure and a circular or overlapping
mo tion to remove scratches and corrosion or
pol ish a surface. If using a compound, use only
as much as necessary and do not use the dust
ex trac tion feature.
When working in very confined areas or
louvered panels, the pad extension plate
should be used.
Clean the buffing or mesh pads with mild deter -
gents and warm water. DO NOT use solvents.
FIG. 17
==960.A6<;1C602
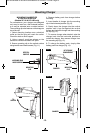
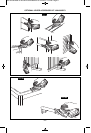
Use the tool with its standard backing pad for
large work surfaces, corners and edges
(Fig. 18).
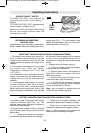
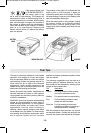
Use the tool with special sanding attachments
for hard to reach areas (Fig. 19).
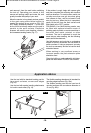
The flexible sanding attachment is intended for
rounding edged surfaces (Fig. 20a).
The flexible sanding can also be used on all
rounded surfaces with a maximum diameter of
10 cm (Fig. 20b).
FIG. 18
SM 1619X04464 05-09:SM 1619X04464 05-09 5/20/09 1:54 PM Page 16