


-40-
For Machines Mfg. Since 8/09
SB1024/SB1025/SB1026
OPERATION
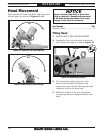
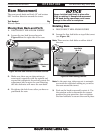
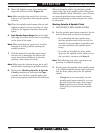
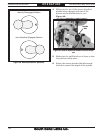
5. Move the high/low range lever back to the
right side of the head (see Figure 33.
Note: Make sure that the range lever is as far
back as it will go before starting the spindle
rotation.
Tip: When the spindle speed range selector and
high/low range lever are correctly set, they
will be in the opposite direction from each
other.
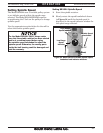
6. High Spindle Speed Range: Move the high/
low range lever forward so that it is pointing
to the front of the head.
Note: Make sure that the range lever is as far
forward as it will go before starting the
spindle rotation.
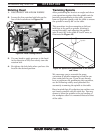
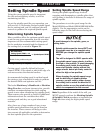
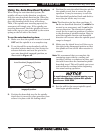
7. Pull the knob of the spindle speed range
selector out to disengage the detent pin,
rotate the selector clockwise to the rear
position, then release the knob.
Note: Make sure the selector detent pin is well
seated before starting the spindle rotation.
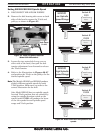
8. Perform the Meshing Spindle & Spindle
Clutch procedure as instructed on Page
to make sure the front spindle pulley and
pinion are properly seated into the bull gear.
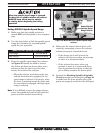
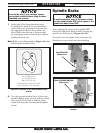
When setting the mill to use the high spindle
speed range, the front spindle pulley must mesh
with the spindle clutch. Otherwise, you will hear
an unusual grinding when spindle rotation is
started and damage to these components could
be the result.
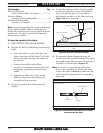
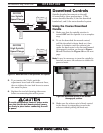
Meshing Spindle & Spindle Clutch
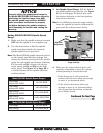
1. DISCONNECT MILL FROM POWER!
2. Set the spindle speed range control(s) for the
mill as instructed on the previous pages.
— If you hear/feel the front pulley drop
into the spindle clutch when you set the
control(s), this procedure is complete and
you can continued with spindle speed
setup.
— If you do not hear/feel the front pulley
drop into the spindle clutch when you set
the control(s), continue with Step 3.
Note: The following step takes experience and
patience to complete properly.
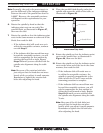
3. Firmly grasp the spindle, then quickly rotate
it in a back-and-forth motion until you hear/
feel the front pulley drop into the spindle
clutch.
— If Step 3 was not successful, use the
spindle speed range control(s) to re-set
the mill to the low range, then repeat
Step 3 until you are certain that the
front pulley is seated into the spindle
clutch.