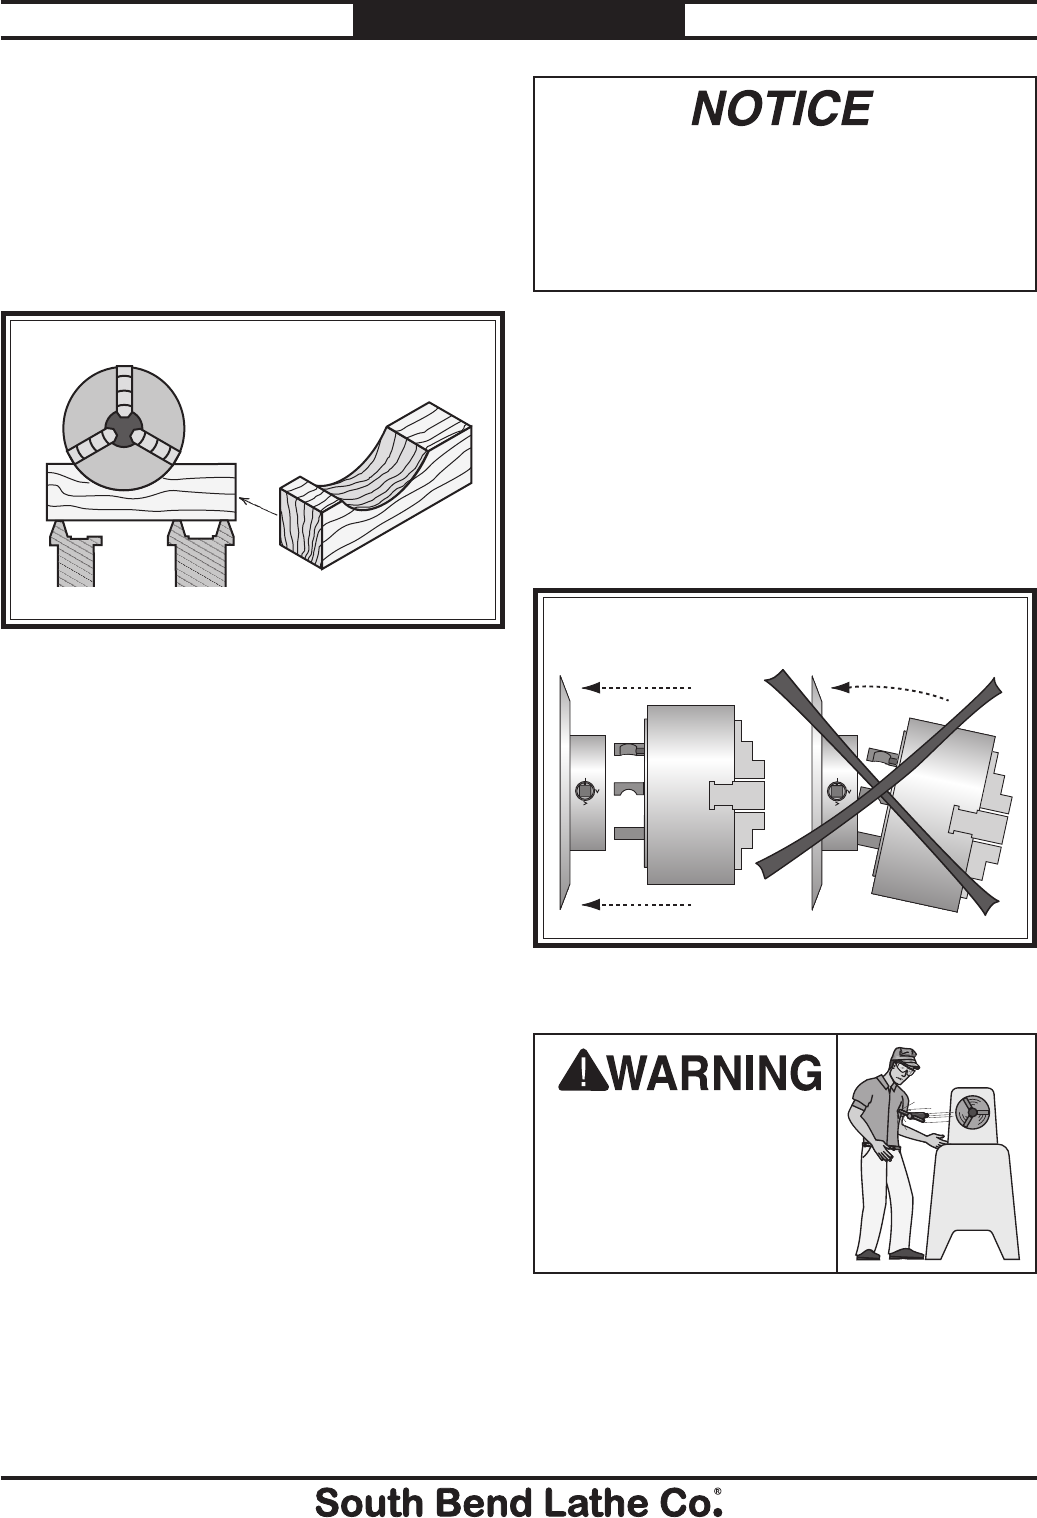
6. Withthehelpofanotherperson,orwiththe
helpofachuckcradle,alignthechuckwith
thespindlesothestudsandcamlockbores
arealignedcorrectly,andcarefullyslidethe
chuckontothelathespindle.Neverrestthe
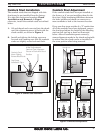
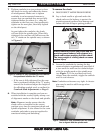
chuckonitslowerstuds,asshowninFigure
5,androllorpushthetopofthechuckinto
placeonthespindle.Thisisabadpractice
thatmaydamagethestudsandcamlock
bores.
Do not install the chuck without having
the camlock cap screws in place or fully
tightened. Otherwise, the camlock studs may
turn with the camlocks on release, resulting in
the chuck being permanently locked onto the
spindle.
Figure 5. Typical alignment of studs and camlock
bores.
3. Cleanawaydebrisandoilysubstancesfrom
thematingsurfacesofthespindleandthe
chucktoensurethebestfitpossible.
4. Inspectandmakesurethatallcamlock
studsareundamaged,clean,andlightly
oiled.
5. Makesurethatthecamlockstudretaining
capscrewsaresnug,butstillallowthestuds
toberotatedbackandforthslightlybyhand.
Thisfree-playiscriticaltoensurethatthe
camlockstightenandlockwiththestuds
completely,andwillreleasewithoutbinding.
—Ifaproblemisfoundwiththecamlock
lockingorrelease,removetheoffending
studandcleanitwithmineralspirits.
Compareitwithagoodstudforany
inconsistencies,andreplaceitifaproblem
isfound.Inspectthebore,capscrew,seat
depth,andthreadswithothersthatare
knowntobecorrect.Chaseallthreads,
andremoveanyburrsordingsintheseat.
Dryouttheborewithcompressedairand
lightly re-lubricate with a drop or two of
machine oil or way oil.
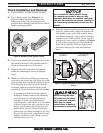
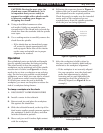
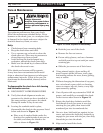
Figure 4. Wooden chuck support cradle.
Before turning the lathe
ON, make sure the chuck
key is removed! A thrown
chuck key can cause
serious injury or death to
the operator or bystanders.
1. DISCONNECTLATHEFROMPOWER!
2. Layachuckcradle(seeFigure 4) or
plywoodunderthechuckandoverthe
bedwaytoprotecttheprecisionground
surfacesfromdamageandreducetheriskof
fingersgettingpinched.
Chuck Installation and Removal
INCORRECTCORRECT
-4-
Mfg.Since5/10
Model SB1231
INSTRUCTIONS


