


9
OPERATION
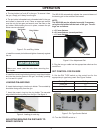
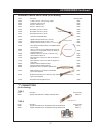
Pin Holder
Ring Holder
SWITCH
Dial
a. The ring holder is a "push t" to the gun. To remove it from
the gun, simply pull it away from the gun.
b. The pin holder is threaded onto a threaded shaft in the gun
and locked in place with a nut. Place an open end wrench
over the nut and an open end wrench over the ats on the
pin holder. While holding the nut in place, unscrew the pin
holder counter clockwise.
Figure 3. Pin and Ring Holder
c. Install the correct pin holder and tighten it securely against
the nut.
IMPORTANT
Make sure, never twist the axle when mounting the
pin holder.
d. Install the correct ring holder by placing it over the pin holder
and into the circular groove in the gun, and nally, pushing
on it to seat it in place.
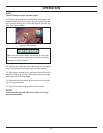
LOADING PIN AND RING
6. Insert the brazing pin into the pin holder. The rounded tip
should be facing away from the gun.
7. Insert the ceramic ring into the ring holder. The serrated
edge should be facing away from the gun. See gure 4.
Figure 4. Loading pin and ring
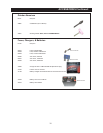
ADJUSTING BRAZING PIN DISTANCE TO
BRAZE SURFACE
The BG10100 automatically adjusts the correct distance of
the brazing pin to the surface to be brazed.
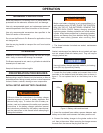
NOTE:
The BG10100 may be adjusted manually if necessary
using the dial located on the back of the gun. The set-
tings are as follows:
+ = 2.5 mm distance
0 = 2.0 mm distance (normal position)
- = 1.5 mm distance
Figure 2. Gun Adjustment Dial
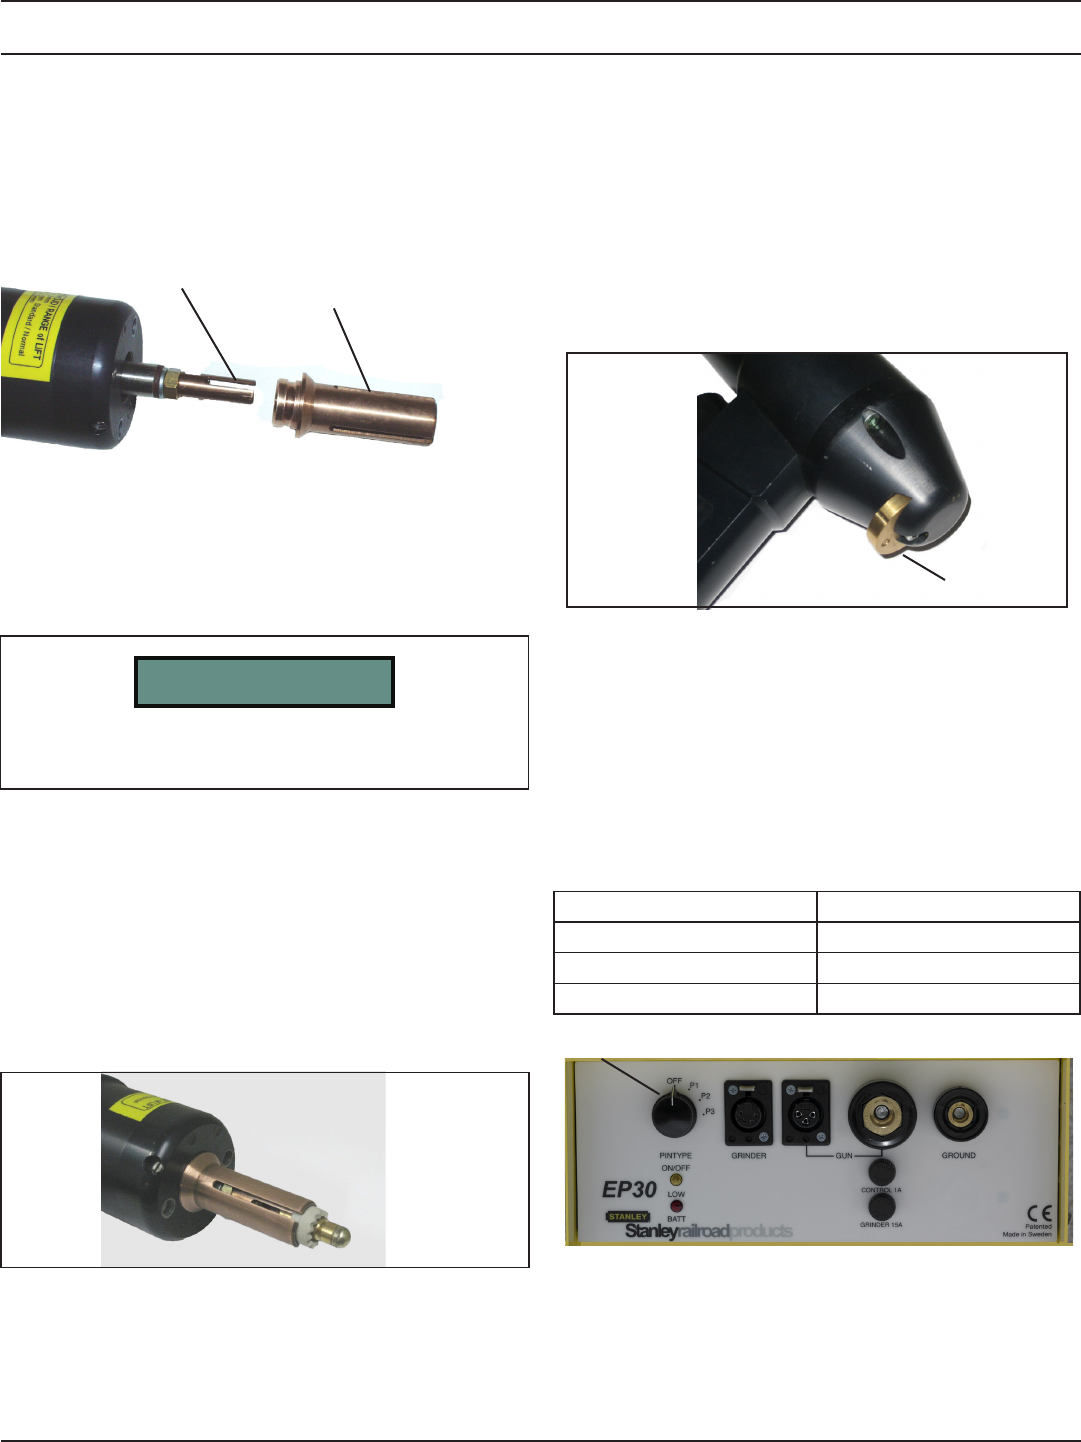
8. Plug the two gun cable into the appropriate outlets on the
control box.
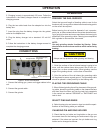
SET CONTROL FOR PIN SIZE
9. Set the PIN TYPE switch on the control box for the
appropriate pin type being used. See Figure 3 below.
Brazing Pin Setting
8 mm Std P1
8 mm Extra P2
9.5 mm P3
Figure 3. Pin Type Control Switch
10. Turn the POWER switch to 1.