


MBX15 User Manual ◄ 9
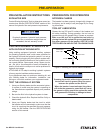
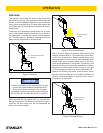
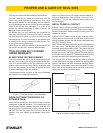
Piston not against
toolbitleavingspace
betweenthepiston
andbit.
ToolStop
LowerBushing
ToolBit
GreaseWill
FillThis
Space
Figure 2.
SECURING THE TOOL
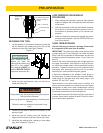
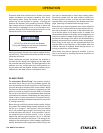
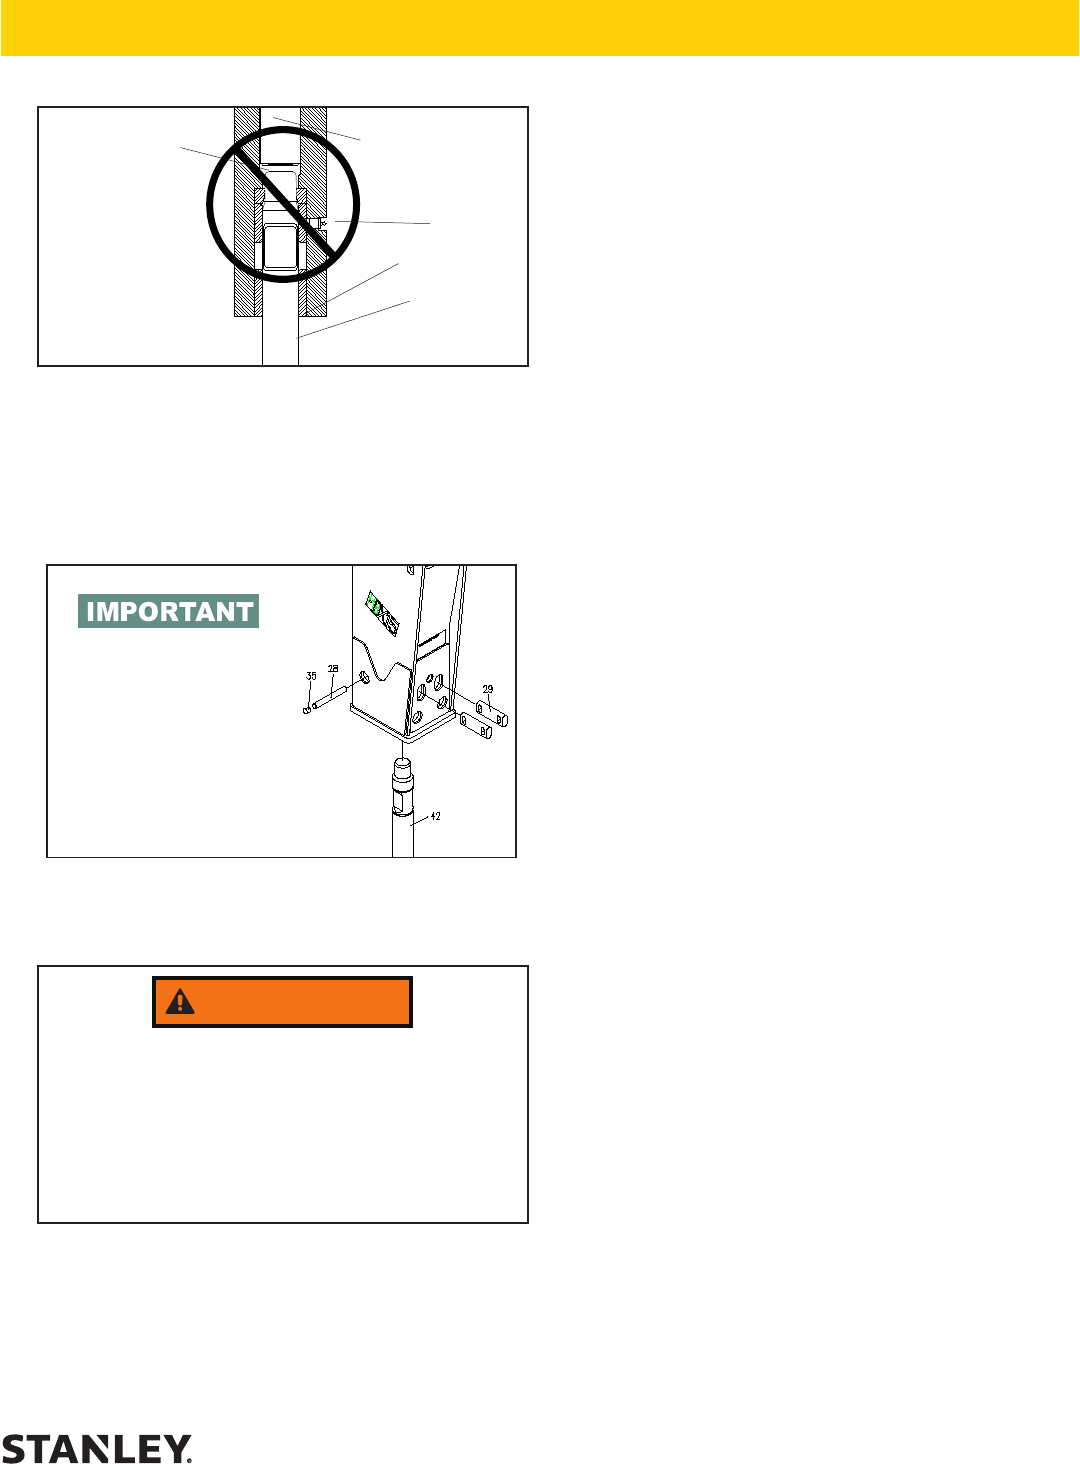
1. Laythebreakerinahorizontalpositiontoinstallthe
toolbit.Removetherubberplug(item35)andthe
retainerpin(item28),seeFigure3below.
Figure 3.
2. Usingapunchandhammer,driveoutthetoolre-
tainerpins(item29).
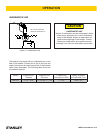
3.
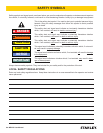
WARNING
Flyingdebrismaybecausedbystrikingtherodpins
withapunchorhammer.
Weareyeprotectionwheninstallingorremovingthe
rodpins.
Failuretoweareyeprotectionmayresultineye
injury.
Greasethetopareaofthetoolbitasshownonthe
previouspage.
4. Install the tool bit making sure the notches are
alignedwiththelowerbodytoolretainerpinholes.
5. Installthetoolretainerpins,retainerpinandrubber
plug.See“Important”Figure3.
LOW-TEMPERATURE WARM-UP
PROCEDURE
1. Afterstartingtheexcavator,warm-upthehydraulic
system at engine idle until hydraulic lines are warm
to the touch.
2. Withtheexcavatoratidleandthebreakersuspend-
edintheairorwithminimaldownpressure,turnon
thebreakertograduallywarmupitsinternalcom-
ponents.
3. Whenthehydraulicsystemandbreakerarewarm,
proceedwithoperation.SeetheOPERATIONsec-
tionofthismanual.
LONG TERM STORAGE
Use the following procedure if storage of the break-
er is expected to be more than 6 months.
IMPORTANT:Thepistonprotrudesoutthebottomofthe
cylinderwhennotinuse,althoughitisinsidethelower
bodyitwillstillbeexposedtotheelementsandwillrust
damaginginternalcomponentswhenitisputbackinto
service.
Removethetoolbitanddischargethenitrogengasfrom
theupperaccumulator.Usethetoolbittopushthepis-
toninsidethecylinderwhereitwillbeprotectedfromthe
elements.Greasethelowerendoftheexposedpiston
thoroughly.Alsothoroughlycoatthetoolbit,toolstop,
retainingpins,andlowerbushingwithgrease.
If hoses are attached to the breaker, install plugs on
thehoseends.Ifhosesareremovedfromthebreaker,
installplugsonthehoseendsandinstallplugsinthe
breaker“IN”and“OUT”ports.
Storebreakerinadryareaundercoverifpossible.Itis
besttostorethebreakerinanareathathasaconsistent
temperaturetohelpavoidwatercondensationcausing
rust.Storethebreakerinaverticalposition.Donotstore
thebreakerhorizontallyforextendedperiods.
Ifthebreakerhasbeenlaidhorizontallyformorethan6
months,checkand/orreplaceallseals.Checkforcorro-
sionofboltsbeforeoperation.
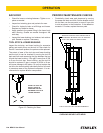
PRE-OPERATION
When installing the tool
retainer pin (item 28)
makesuretherubberplug
(item 35) is fully seated.
TherubberplugMUST be
installed BELOW FLUSH
toproperlysecurethepin.