Saving Waveforms and Setups
TDS 684A, TDS 744A, & TDS 784A User Manual
3–125
To make your hardcopies, use the procedures that follow.
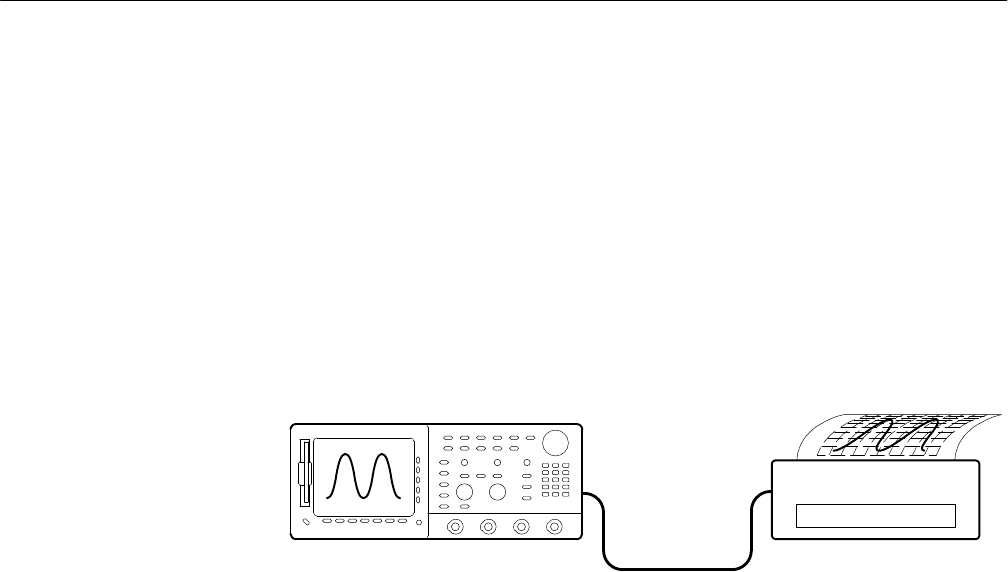
Connect to a Hardcopy Device. To connect the oscilloscope directly to a hardcopy
device, determine which interface and cable the device uses, and connect
accordingly. (See Figure 3–73.)
Some devices, such as the Tektronix HC100 Plotter, use the GPIB interface.
Many printers, such as the Tektronix HC200, use Centronics interfaces. Many
hardcopy devices, including the HC100 and HC200 with option 03, provide
RS-232 support. (Check the documentation for your hardcopy device.)
Digitizing Oscilloscope
GPIB, RS-232,
or Centronics Cable
Hardcopy Device
Figure 3–73: Connecting the Oscilloscope Directly to the Hardcopy Device
Print. To print a single hardcopy or send additional hardcopies to the oscilloscope
spool (queue) while waiting for earlier hardcopies to finish printing, press
HARDCOPY.
While the hardcopy is being sent to the printer, the oscilloscope will display the
message “Hardcopy in process — Press HARDCOPY to abort.”
Abort. To stop and discard the hardcopy being sent, press HARDCOPY again
while the hardcopy in process message is still on screen.
Add to the Spool. To add additional hardcopies to the printer spool, press
HARDCOPY again after the hardcopy in process message is removed from the
screen.
You can add hardcopies to the spool until it is full. When adding a hardcopy fills
the spool, the message “Hardcopy in Process—Press HARDCOPY to abort”
remains displayed. You can abort only the last hardcopy sent by pressing the
button while the message is still displayed. When the printer empties enough of
the spool to finish adding the last hardcopy, it does so and then removes the
message.
To Print Directly to a
Hardcopy Device


