


AMERICAN SANDERS TECHNOLOGY Apollo 8 Operator's Manual
Page 15
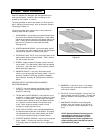
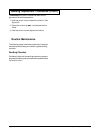
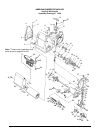
Figure 13
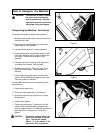
The machine is factory set and no adjustments should
be necessary. After any maintenance is performed to
the carriage system, pointer must be returned to original
mark (See figure 13).
If it is necessary to reset level after replacing wheels
follow this procedure:
1. Lower contact wheel and loosen all three clamp-
ing nuts.
2. Drive adjusting screw
in, to sand heavier on the
left (the drive belt side). Back adjusting screw
out, to sand heavier on the right (the side
opposite the drive belts). Make sure the bearing
carrier follows the adjusting screw.
3. Tighten the clamping nuts and test setting on an
even surface. Make further adjustments if
necessary.
4. Mark new pointer location on main frame
Belt Tracking
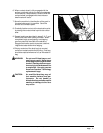
WARNING: Injury to the operator could
occur if any machine adjust-
ments are made while the
motor is running. Do not
attempt to make any adjust-
ments while the machine is
plugged in or running.
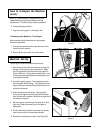
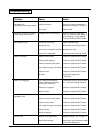
To adjust the belt tracking follow this procedure:
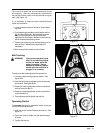
1. Locate the belt tracking adjuster screw. See
figure #14a.
2. Hold the belt tracking adjuster screw and loosen
the locknut. See figure #14b.
3. Rotate the tracking adjuster screw counterclock-
wise to move the belt in.
4. Rotate the tracking adjuster screw clockwise to
move the belt out.
5. Test adjustment and tighten the locknut.
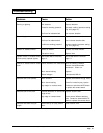
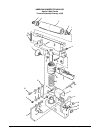
Operating Control
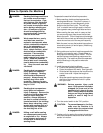
To increase the travel or extend the reach on the grip
control follow this procedure:
1. Hold the control rod and loosen the locknut. See
figure 15.
2. Screw the control rod in until the desired reach
is found.
3. Tighten the locknut.
Figure 15
Figure 14