


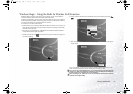

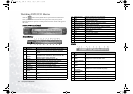

Using the Q-Media Bar 23
The Movie-Making Process
The digital movie production process involves a combination of artistry and tech-
nology, beginning with raw video footage and ending with a movie production.
PowerDirector provides the easiest way to produce your finished movie and pub-
lish it to the medium of your choice.
Pre-Production
Before you edit your movie using PowerDirector, you must first create (or gather)
its component parts: video clips, photos, music, and narrative voice-overs. You
may collect raw footage yourself with a camcorder or other recording device, or
you may simply use non-copyright protected media files that you have on hand.
Editing
When you have your raw footage on hand, you might expect to use PowerDirector
to trim video and audio content to a desired length, add a special effect to a video
clip, add transition effects between video clips..., etc.
Ready to Burn
When you are ready to burn your movie to disc, you should have several discs on
hand that are compatible with your burning drive. Make sure not only that the
media type is correct (i.e.: that you have DVDs for a DVD drive and CDs for a CD
drive), but that your discs are all in the correct format (for example, CD-R or
DVD+RW). Keep several discs on hand in case your drive encounters errors, or to
make duplicate copies when you are satisfied with the results.
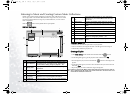
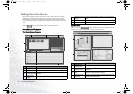
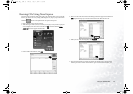
Step 1: Loading Clips into the Library
When loading media clips into PowerDirector's Library, you have two options: to
load media files individually, or to load an entire folder that contains media files
you want to use in your current project.
Load Individual Media Files
1. Click to open the Media Room in the Library.
2. Select the type of media you want to load (or All Media) from the Filter drop-
down list.
3. Click and select Load media file(s). A dialog opens.
4. Locate and open the file(s) you want to add. Thumbnails of each of the media
files you have selected appear in the Library.
Load a Media Folder
1. Click to open the Media Room in the Library.
2. Click and select Load a media folder. A dialog opens.
3. Locate the folder you want to open, then click OK. All of the media files in that
folder are loaded into the Library.
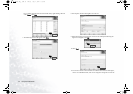
Step 2: Managing Clips in the Workspace
Once you have loaded media files into the Library, they are ready to be used in
your movie. You can load different types of media clips into the different tracks in
the workspace, move them to different locations in your story, and delete them
from the workspace.
Adding a Clip to the Workspace
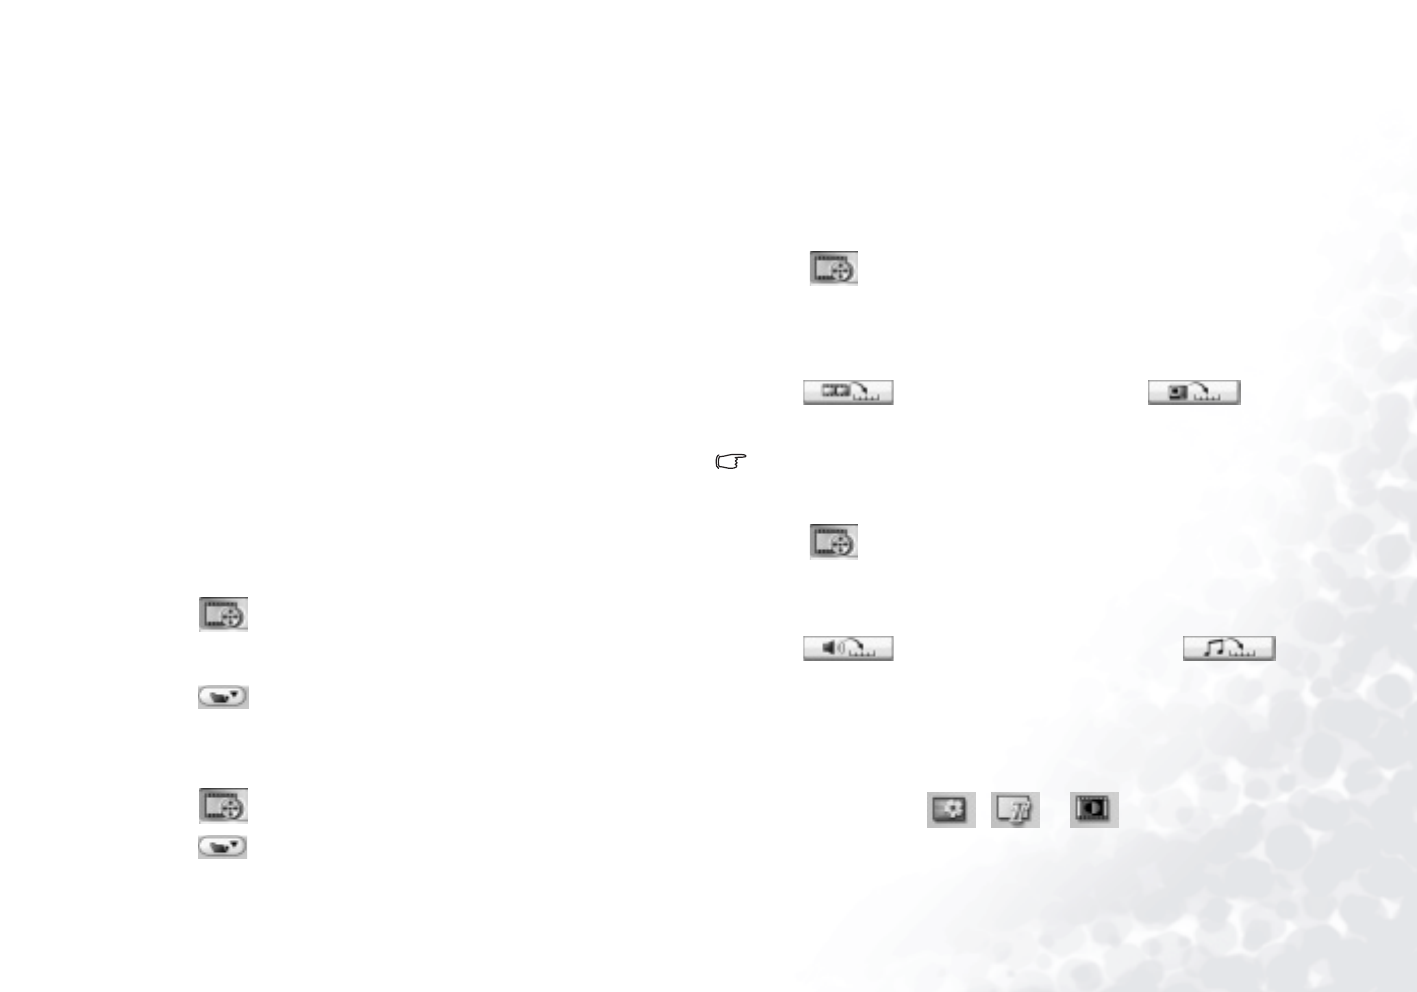
Adding Video & Image Clips
1. Click to open the Media Room in the Library.
2. Select Video, Image, or All Media from the Filter drop-down list to sort the clips
in the Media Room.
3. Select a clip, then add it to the workspace. You may do this in one of the follow-
ing ways:
• Click to add the clip to the Video track or to add
the clip to the PiP track.
• Drag clips to a desired position in the Video or PiP track.
You may select several clips and drag them together into the same track, provided
all of the clips are compatible with the destination track.
Adding Audio Clips
1. Click to open the Media Room in the Library.
2. Select Audio or All Media from the Filter drop-down list.
3. Select an audio clip, then add it to the workspace. You may do this in one of the
following ways:
• Click to add the audio clip to the Voice track or to
add the audio clip to the Music track.
• Drag one or more audio clips to a desired position in the Voice or Music track.
Audio clips can be added at any point in this track.
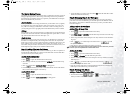
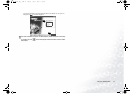
Step 3: Working with Effects
Adding a Video/Title/Transition Effect
1. Click an effect button ( , or ) to display the type of
effect you want to add in the Library.
JB5000G.book Page 23 Tuesday, July 27, 2004 11:13 AM