


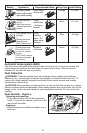


Large detail sanding base
With this sanding base, you can use the tool
as a detail sander or a flush sander.
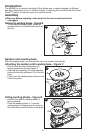
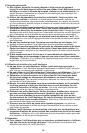
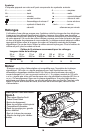
Attaching the large detail sanding
base - Figures E & F
For detail sanding, the pointed end should
face forward as in figure E.
For sanding large areas, the pointed end
should face to the back as in figure F.
•Attachthesandingbaseasdescribed
above under “Attaching the random orbit
sanding base”
•Pressinonthesandingbaseuntilyou
hear it click into place.
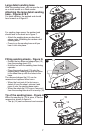
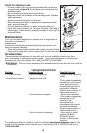
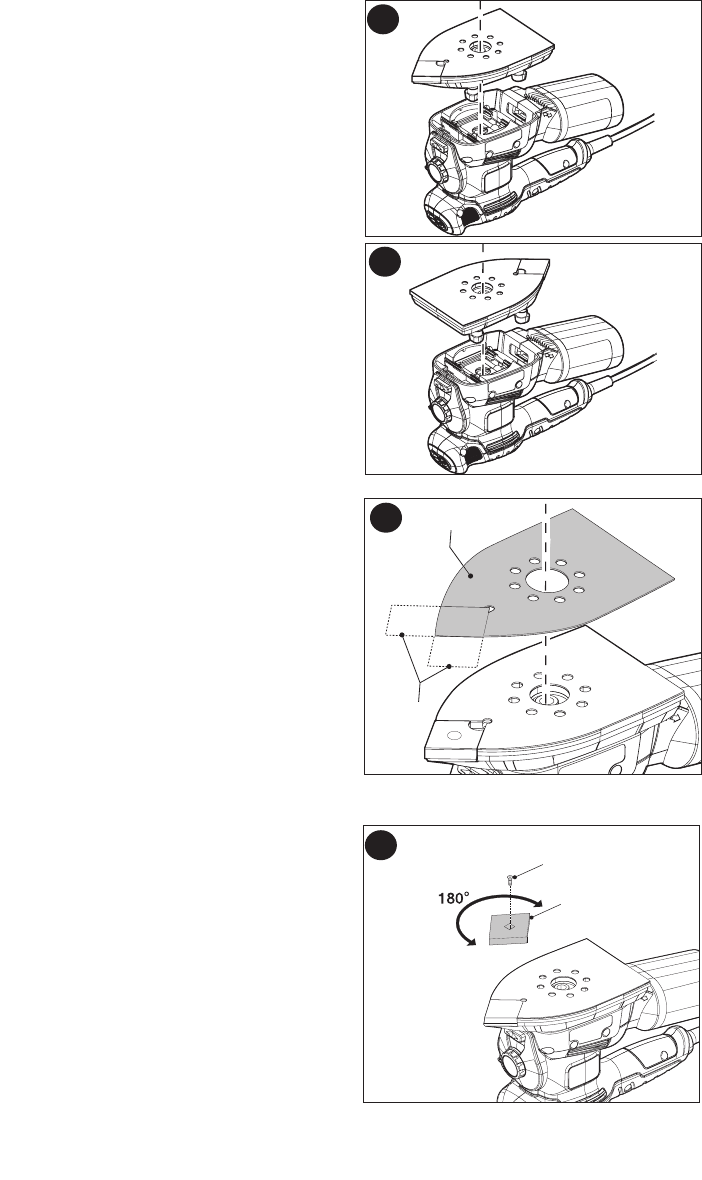
Fitting sanding sheets - Figure G
•Detachthetwodiamond-shapedtips(12)
from the sanding sheet (13).
•Holdthetoolwiththesandingbasefacing
upwards.
•Placethesandingsheet(13)ontothe
sanding base, making sure that the holes
in the sheet line up with the holes in the
base.
The diamond-shaped tip (12) can be
reversed and replaced when worn.
•Whenthefrontpartofthetipisworn,
detach it from the sheet, reverse it and
press it onto the sanding base again.
•Whenthewholetip(12)isworn,removeit
from the sanding base and fit a new tip (12).
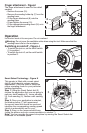
Tip of the sanding base - Figure H
When the sanding tip (14) is worn, it can be
reversed as shown in figure H.
•Thetip(14)canberemovedandreversed.
7
e
f
13
12
G
14
15
h