


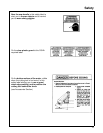
15
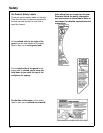
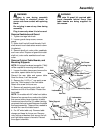
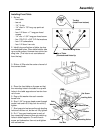
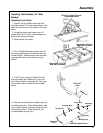
Installing Front Table
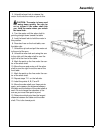
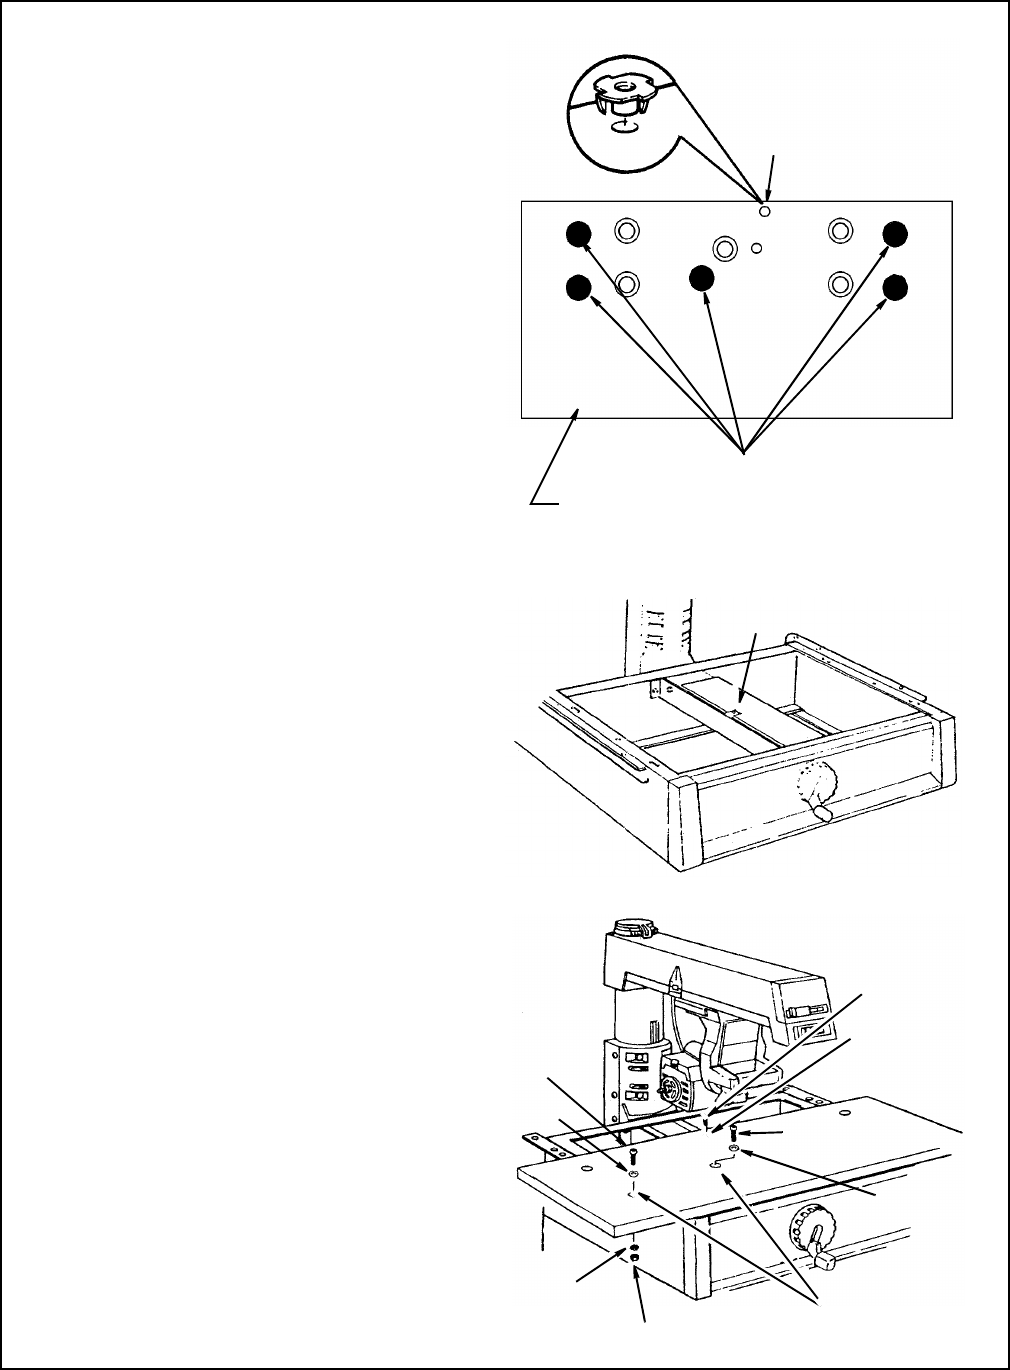
1. Set out:
- front table
- tee nut
- 1/4 " U-clip
- 1/4" diam. x 7/8" long cup point set
screw
- four 1/4" diam. x 1" long pan head
screws
- 1/4" dia. x 1-3/4" long pan head screw
- five 17/64" I.D. x 5/8" O.D. flat washers
- four 1/4" lockwashers
- four 1/4" diam. hex nuts
2. Identify top and bottom of table: top has
counterbored holes. Place table bottom side
up on solid surface. Hammer tee nut into lev-
eling hole. (This hole is not counterbored
from the top).
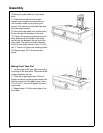
3. Slide a
U-Clip
onto the center channel of
the
saw
as shown.
4. Place the
front table
on the saw so that
the
mounting holes
in the table line up with
holes in the
table supports
and center chan-
nel of
saw
.
5. Drop a flat washer into each counter-
bored hole.
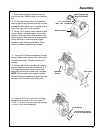
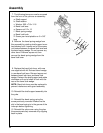
6. Start 1-3/4" long pan head screw through
center hole and into U-clip, but do not fully
tighten.
7. Start cup point set screw through leveling
hole and into tee nut, but do not fully tighten.
8. Put 1" long pan head screw in each of
four remaining holes and through matching
holes in table supports. On end of each
screw, put lockwasher then nut and tighten
with screwdriver.
Tee Nut
(Install from bottom)
Table Mounting Holes
Top of Table
(Counterbored Holes Up
~
U-Clip
Set Screw
Pan Head Screw
Leveling Hole
Washer
Hex Nut
Lockwasher
Washer
Bolt
Mounting Holes
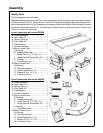
Assembly