


Battery Pack for TPS-6X Crestron TPS-6X-BTP
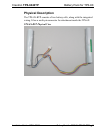
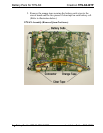
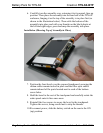
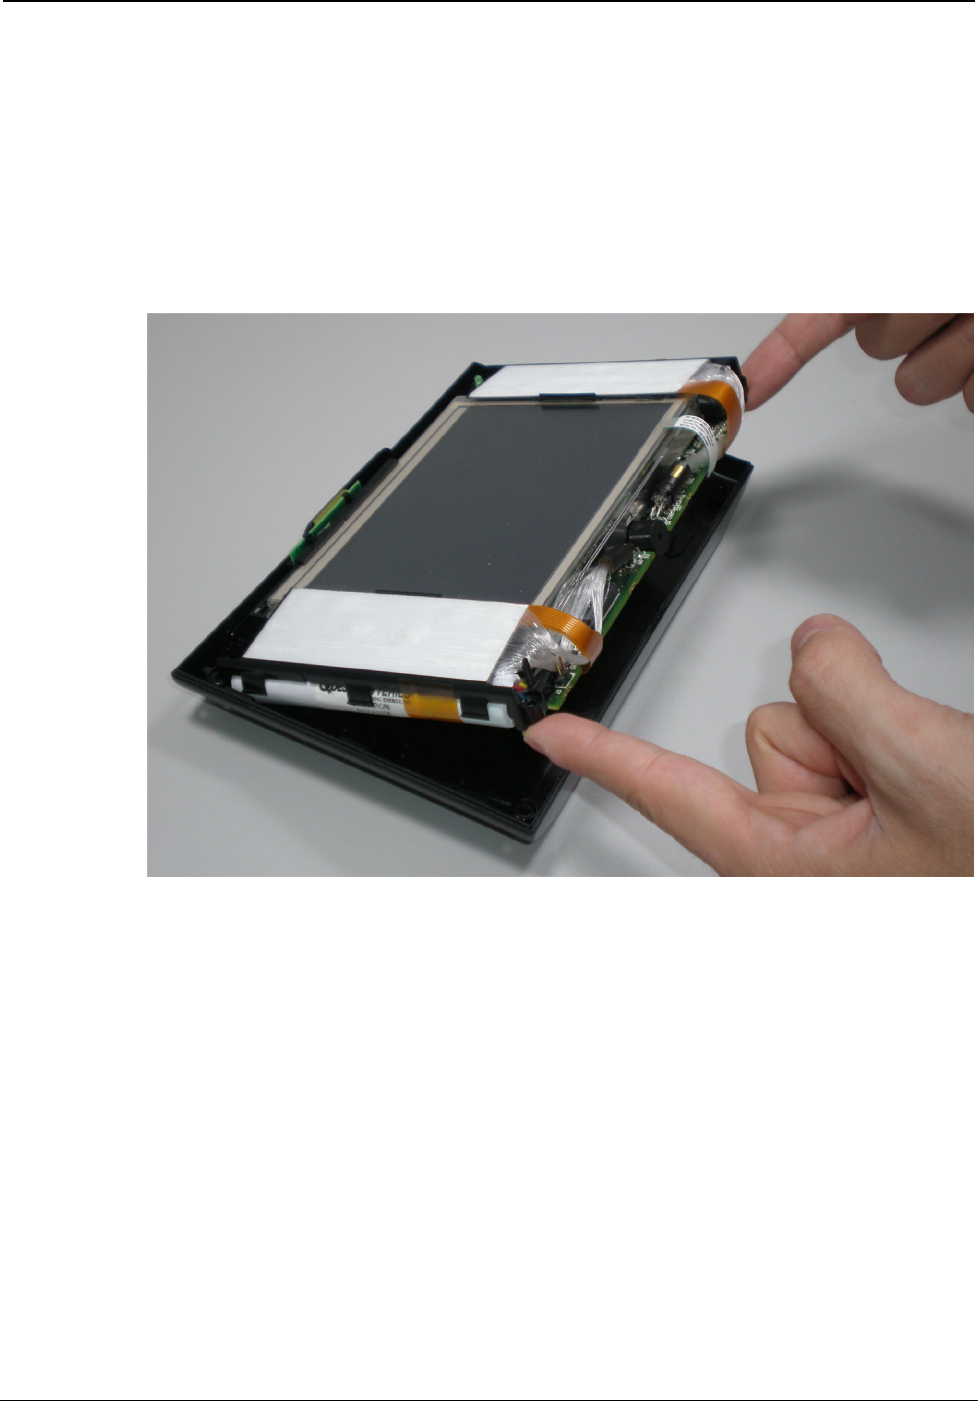
6. Carefully turn the assembly over, returning it to its normal, face-up
position. Then place the assembly into the rear half of the TPS-6X
enclosure, hinging it so the top of the assembly is in place first (as
shown in the illustration below). Then settle the bottom of the
assembly into place and with your thumbs on the black plastic at
the left and right edges, press and snap the assembly into place.
Installation (Showing Top of Assembly in Place)
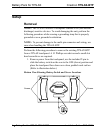
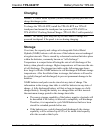
7. Position the front bezel over the exposed touchpanel, ensuring the
ribbon cables remain tucked in place and the fiber optic cables
remain inboard of the posts located next to each of the bottom
screw holes.
8. Hold the bezel to the rest of the touchpanel and carefully rotate the
entire panel onto its face once more.
9. Reinstall the four screws to secure the bezel to the touchpanel.
Tighten the screws, being careful not to strip the threads.
10. Re-connect power, slide the battery switch on the rear to the ON
(up) position.
10 • Battery Pack for TPS-6X: TPS-6X-BTP Installation Guide – DOC. 6740A