18
ADJUSTING THE
TABLE STOPS
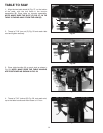
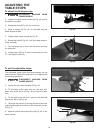
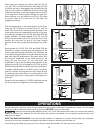
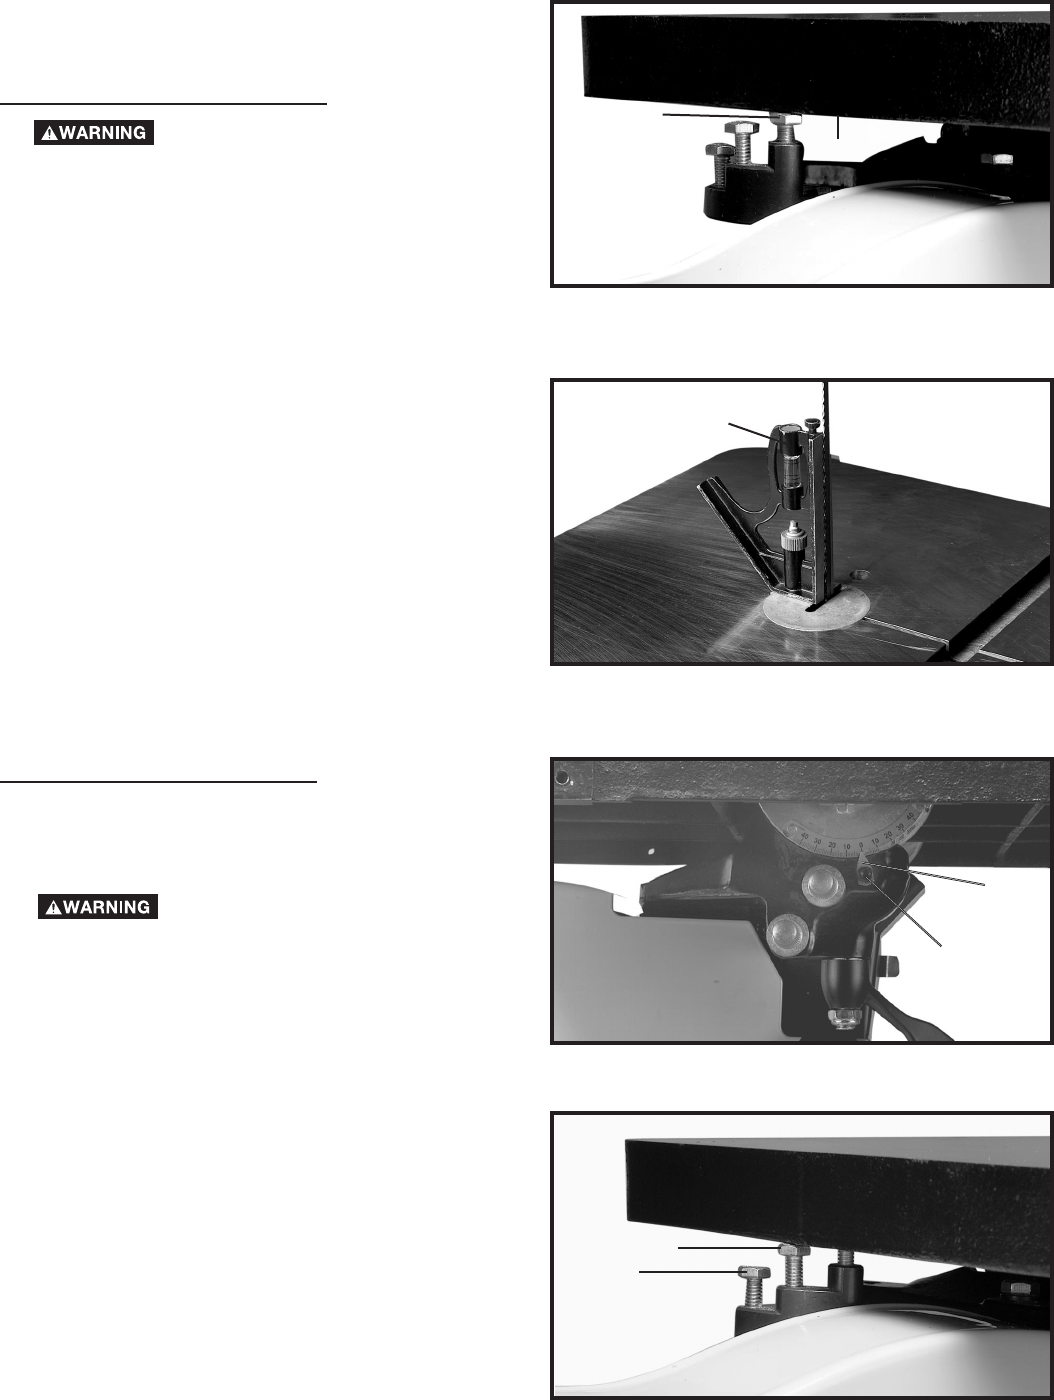
2. Loosen the table clamp handles (A) Fig. 43, and tilt
the table to the right.
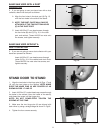
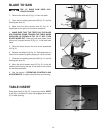
3. Rotate the stop (B) Fig. 45 out of the way.
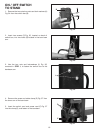
4. Place a square (G) Fig. 46, on the table and set
blade square to table.
5. Tighten table clamp handles (A) Fig. 43.
6. Rotate the stop (B) Fig. 45, until the tallest screw is
under the table.
7. Turn the screw up or down until the screw touches
the table skirt.
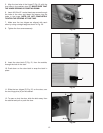
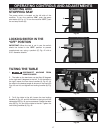
8. Loosen screw (K) Fig. 47 and move pointer (J) to the
“0”, and tighten screw (K).
To adjust the 90 degree stop
Fig. 45
Fig. 46
Fig. 47
To set the adjustable stops:
2. Loosen the two clamp handles (A) Fig. 43.
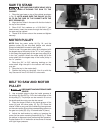
3. Tilt the table to the right, and turn the stop until
either stop screw (M) or (N) Fig. 48, is under the table
skirt.
4. Tilt the table to the left until it rests on the selected
stop screw (M) or (N) Fig. 48.
5. The angle can be set by turning the stop screw and
checking the angle on the side of the scale with pointer
(J) Fig. 47.
6. Adjust the other stop screw (M) or (N) Fig. 48, in the
same manner.
Fig. 48
DISCONNECT MACHINE FROM
POWER SOURCE.
DISCONNECT MACHINE FROM
POWER SOURCE.
M
N
J
B
F
G
K
1.
1.
The adjustable stops (quick stop table presets) can be
used to set the table any where from 0 to 9 degrees left
for beveling operations.


