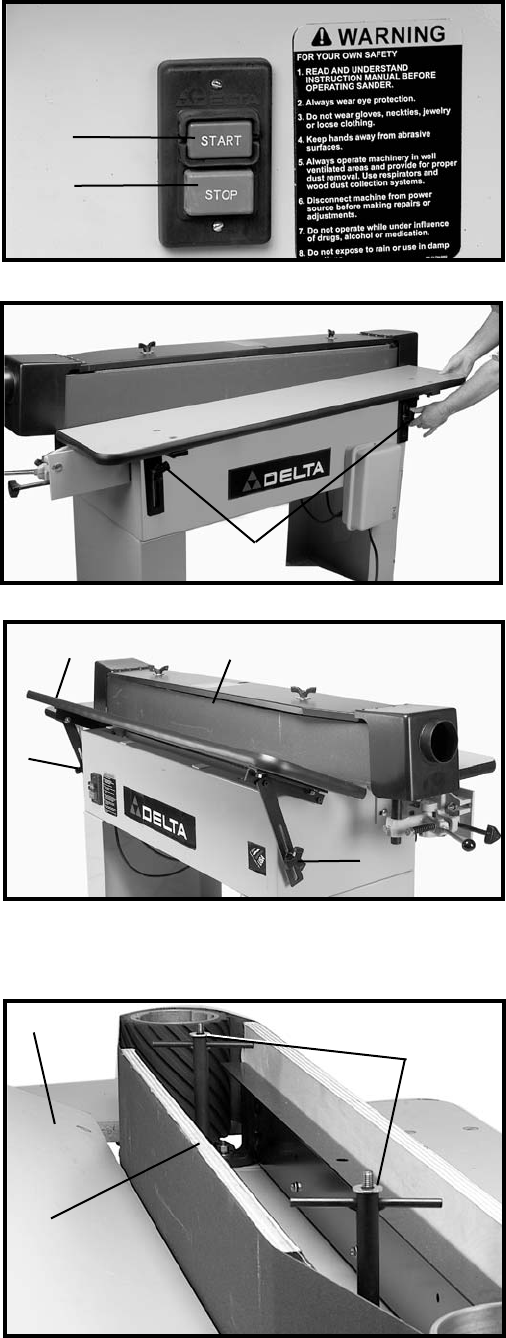
STARTING AND STOPPING EDGE
SANDER
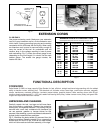
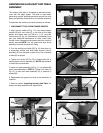
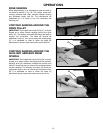
To start the tool, push the start button (A) Fig. 25; to stop
the tool, push stop button (B).
ADJUSTING TABLE POSITION
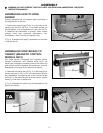
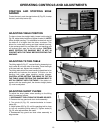
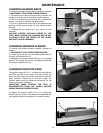
To raise or lower the straight table, loosen lock knobs (A)
Fig. 26, adjust table height and tighten knobs (A). NOTE:
When straight sanding, it is advisable to raise one end of
the table so it is higher than the other, as shown. This
allows for cooler belt running and less material burning.
It also prolongs belt life, provides effici- ent sanding and
will prevent spot wear on the belt surface. CAUTION:
MAKE CERTAIN THE SANDING BELT IS NOT IN
CONTACT WITH THE TABLE BEFORE STARTING THE
MACHINE.
ADJUSTING TILTING TABLE
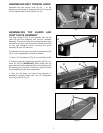
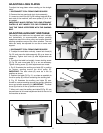
The tilting table (A) Fig. 27, can be tilted by loosening two
lock knobs (B) on each side of the table. Once the angle
of tilt has been set, tighten lock knobs (B).
The tilting table allows for bevel sanding operations to be
performed and reduces the amount of friction on the
sanding belt when edge sanding certain shapes.
CAUTION: AFTER SETTING THE ANGLE OF TILT ON
THE TABLE, MAKE CERTAIN THE SANDING BELT IS
NOT IN CONTACT WITH THE TABLE. If the table is in
contact with the sanding belt, the shorter straight platen
(C) must be adjusted.
ADJUSTING SHORT PLATEN
To adjust the short platen when sanding on the tilting
table, proceed as follows:
1. DISCONNECT TOOL FROM THE POWER SOURCE.
2. Remove the top guard and dust chute assembly.
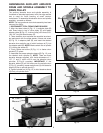
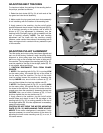
3. Turn studs (A) Fig. 28, counterclockwise to loosen
platen (B).
4. Adjust platen (B) Fig. 28, until the sanding belt is close
to, but not contacting tilting table (C). Tighten studs (A)
Fig. 28, after adjustments are made.
5. Reassemble top guard and dust chute assembly to
edge sander.
OPERATING CONTROLS AND ADJUSTMENTS
10
Fig. 25
Fig. 26
Fig. 27
Fig. 28
A
B
A
C
B
B
A
A
C
B


