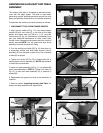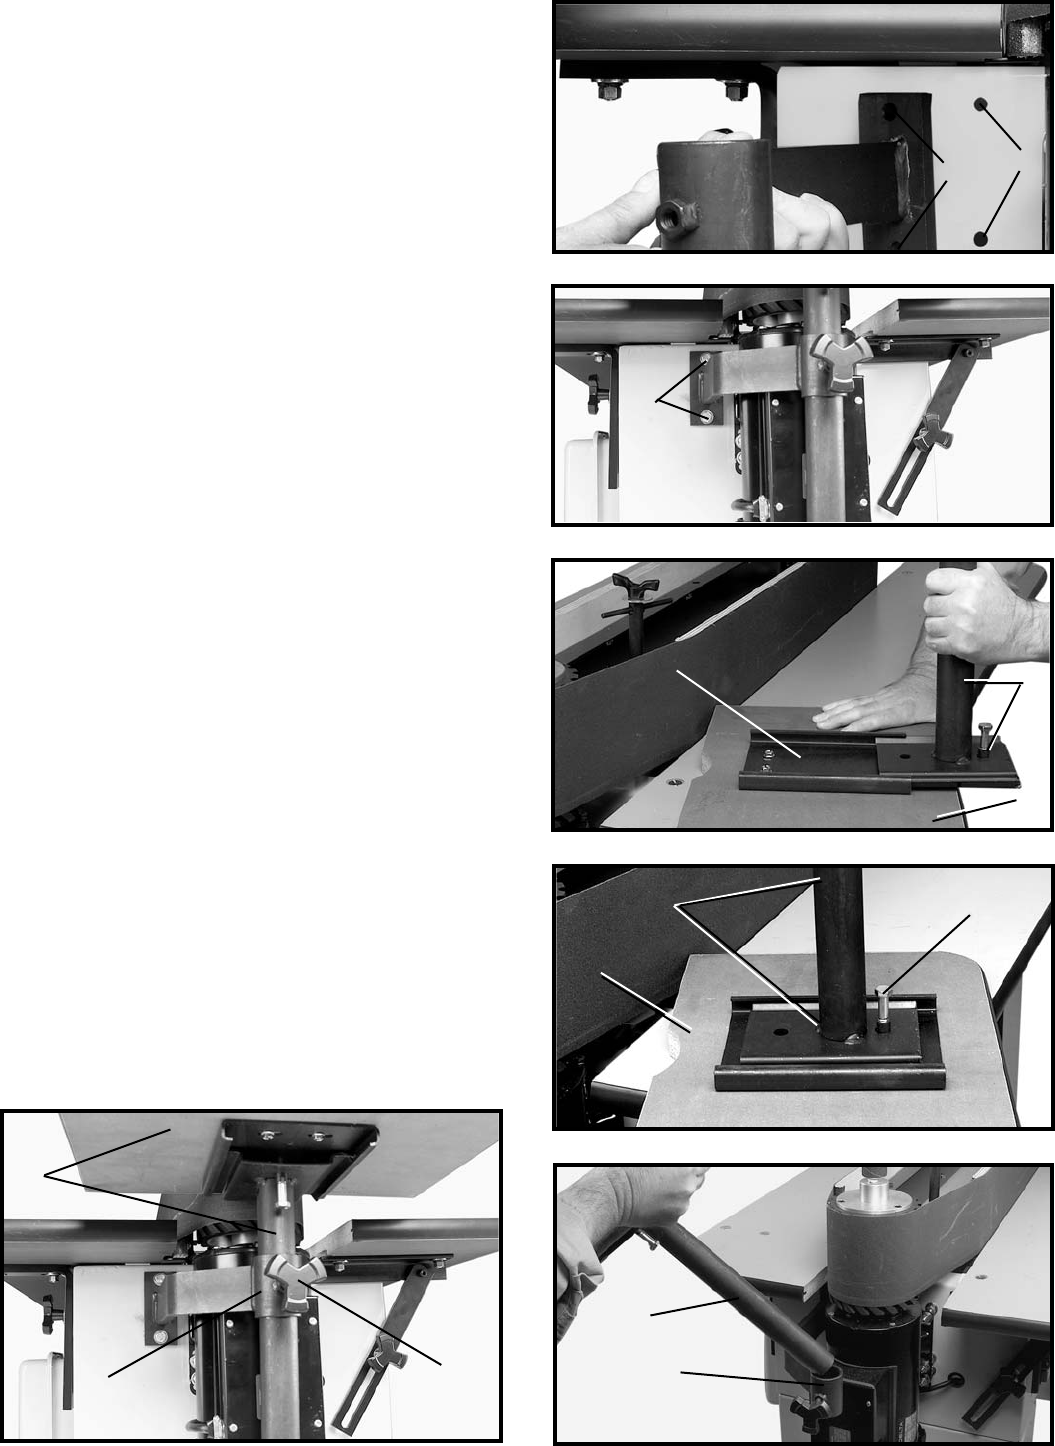
ASSEMBLING AUXILIARY END TABLE
ASSEMBLY
The auxiliary end table is furnished as standard equip-
ment with the edge sander. The table is used when
performing contour sanding operations around the drive
pulley and auxiliary abrasive drum and spindle assembly.
To assemble the auxiliary end table proceed as follows:
1. DISCONNECT TOOL FROM POWER SOURCE.
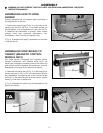
2. Align the two holes (A) Fig. 17 in end table support
bracket (B) with two holes (C) in the side of the edge
sander and fasten with two 3/8-16 x 1-1/4" long hex
head screws (D) Fig. 18, flatwashers, lockwashers, and
hex nuts. Assemble flatwashers on bolts. Insert bolts
through holes. Assemble lockwashers and hex nuts and
tighten securely.NOTE: The top guard and dust chute
assembly has been removed for clarity.
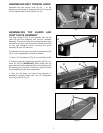
3. Turn the auxiliary end table (D) Fig. 19, face down on
a supporting surface and slide table support column
assembly (E) into channels of plate (F) on the underside
of table (D) as shown.
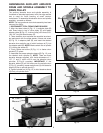
4. Tighten lock screw (G) Fig. 20, to fasten table (D) to
table support column assembly (E). NOTE: Adjustments
to table can be made later.
5. Insert end table assembly (H) Fig. 21, into bracket (B)
which was assembled in STEP 2. Tighten lock knob (J)
Fig. 22, to hold end table assembly (H) in position in
bracket (B).
6. Reassemble top guard and dust chute assembly to
machine.
7. Refer to section "Adjusting Auxiliary End Table" for
proper end table positions and adjustments.
9
Fig. 17
Fig. 18
Fig. 19
Fig. 20
Fig. 21
Fig. 22
C
A
D
D
E
F
E
D
G
H
B
H
B
J


