14
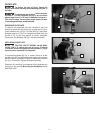
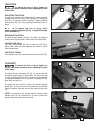
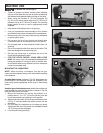
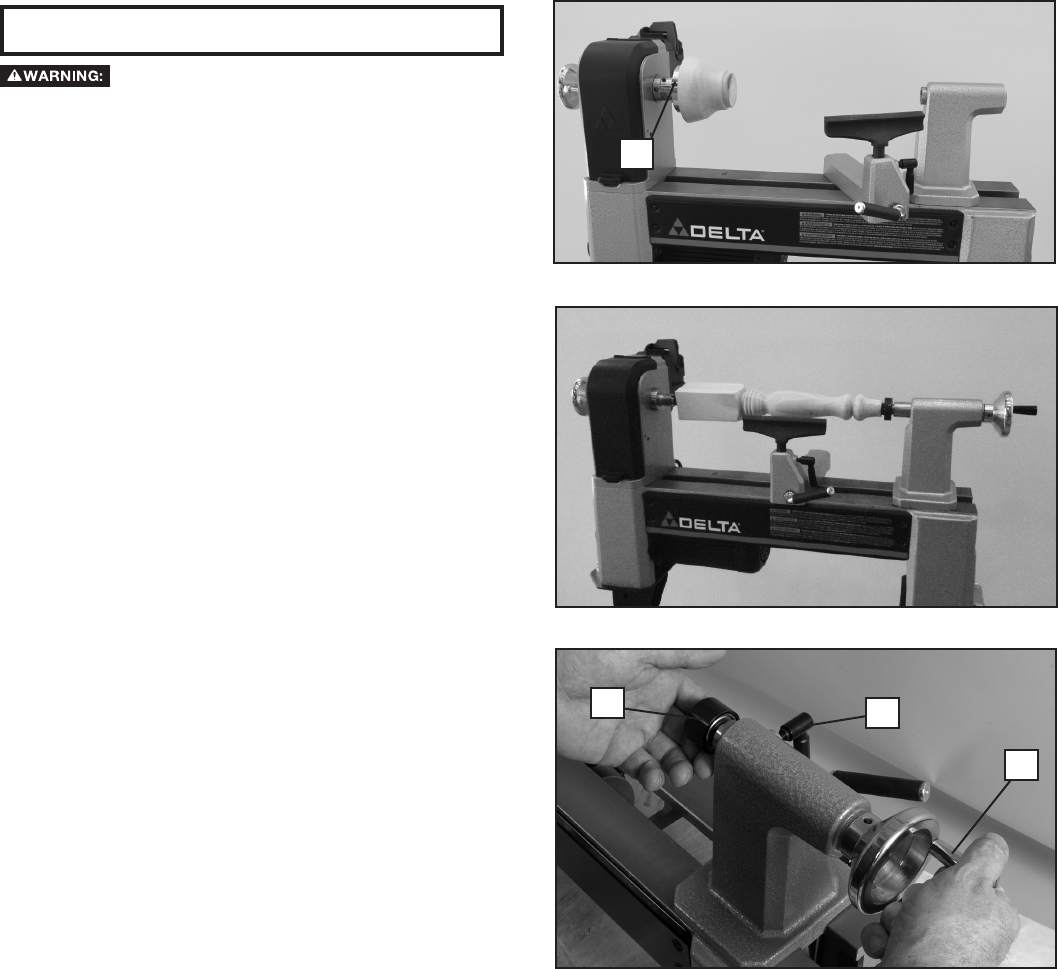
Fig. 25
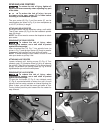
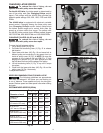
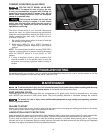
Fig. 26
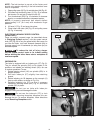
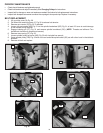
Fig. 27
MACHINE USE
To reduce the risk of injury:
• Tighten all screws and levers securely when adjusting
any part of the lathe. Also, be sure any lathe accessories
are fastened and tightened before turning on the lathe.
• When using the included 3" (76 mm) faceplate (B)
Fig.25, do not mount pieces larger than 6" (152 mm) in
diameter and up to 6" (152 mm) in length. For mounting
larger pieces, be sure to use an appropriately sized
faceplate.
• Keep hands off workpiece when it is spinning.
• Use only accessories recommended for this product
and follow all instructions included with the accessories.
• Be sure cord is not in the way of the spinning workpiece
or spinning lathe parts.
• Do not touch the tip of your turning tool directly after
it has been used on the workpiece as it may be hot.
• Do not apply water or other coolants to lathe when it is
spinning.
• Do not turn materials other than wood on this lathe. This
lathe was designed for wood turning only.
• Be sure any chuck keys or wrenches are out of the
chuck before operating the lathe.
• FOR THE DELTA
®
MODEL 46-460 MIDI-LATHE
ONLY: Be sure to only use accessories equipped with
locking set screws for turning the lathe in reverse. Also,
do not switch lathe turning directions until the workpiece
comes to a complete stop.
MOUNTING THE WORKPIECE
NOTE: When mounting a workpiece, first tap the spur
center into the workpiece using a soft mallet before installing
into headstock.
A typical bowl mount is shown in Fig. 25. Workpieces can
be mounted to the faceplate through the faceplate's four
holes using screws appropriate for the type of wood being
turned.
Another type of workpiece mount, where the workpiece is
xed between the spur and live centers, is shown in Fig.26.
Here are some tips on this mount:
1. Mount the workpiece by moving the tailstock to a
position about 1" or 1-1/2" (25 mm or 38 mm) from the
end of the workpiece and locking it in this position.
2. Advance the live center (E) by turning the tailstock crank
(P) Fig. 27 until the center cup makes contact with the
workpiece.
3. Do not support the workpiece on the center pin alone.
Always have the rim of the center cup imbedded at least
1/8" (3.2 mm) into the workpiece.
4. Lock the quill locking screw (O).
P
O
E
B


