Adding Auxiliary Fence Faces
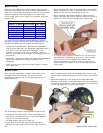
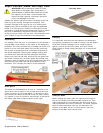
Auxiliary fence faces can be added to the Kapex fence. One of
the primary benefits of adding fence faces is to create a zero-
clearance fence opening for cutting smaller workpieces. The
term, “zero-clearance” means that there is no gap between the
sawblade and the fence. This is achieved by cutting the auxiliary
fence to final length after it is installed.
Supplemental User’s Manual 23
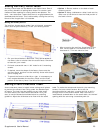
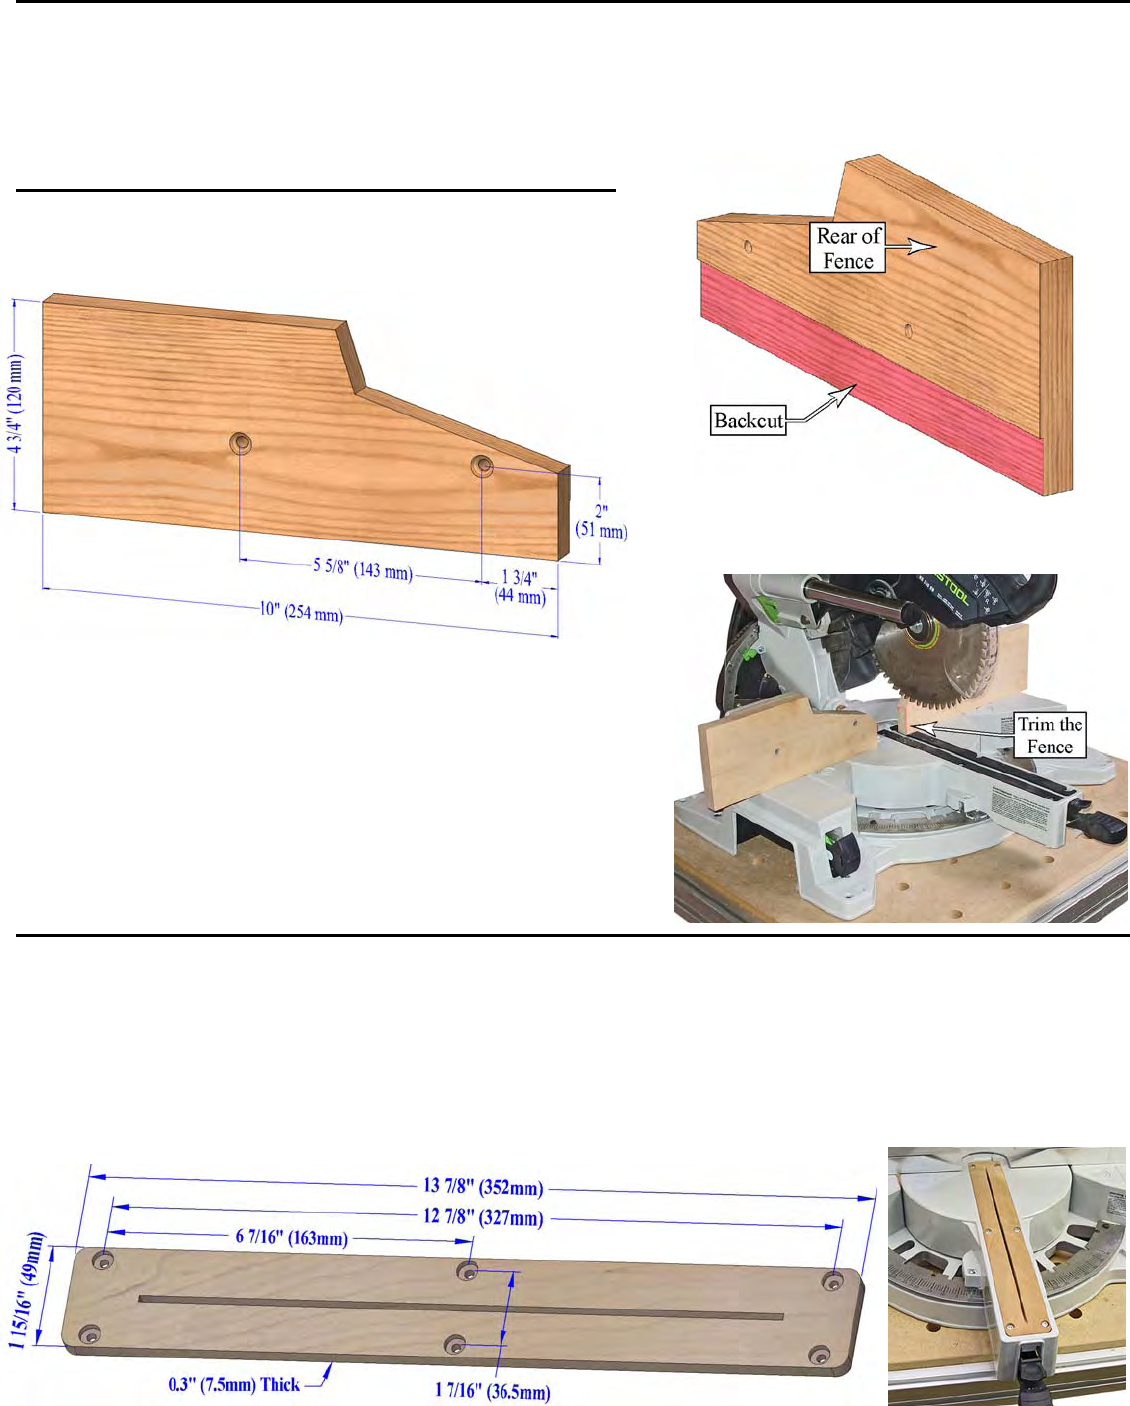
Making the Auxiliary Fences
The auxiliary fences can be made from solid wood, composite
wood (such as particle board), or soft (non-brittle) plastic.
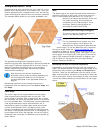
1. Cut your fence blanks to basic size. They can be wider or
narrower; taller or shorter than the actual fence. Size them
to best suit your needs.
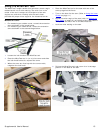
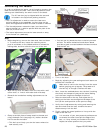
2. Drill and countersink two 11/64” holes for #10 mounting
screws.
3. If desired, trace the shape of the factory fence onto the
auxiliary fence, and then cut the auxiliary fence with a band
saw or coping saw.
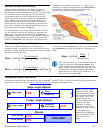
4. To permit the fence to slide left or right, it is necessary to
have a space between the auxiliary fence and the fixed
portion of the factory fence. Use one of the options listed.
► Option 1: Place a washer on the back of each
mounting screw.
► Option 2: Using a tablesaw or chisel, back-cut the
lower rear of the fence to clear the fixed portion of
the factory fence.
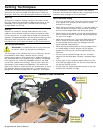
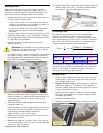
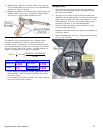
5. After mounting the auxiliary fence faces to the
saw, use the saw to trim the ends for a zero-
clearance fit. Trim one side at a time.
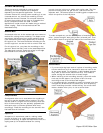
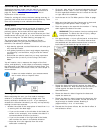
Making a Zero-Clearance Insert
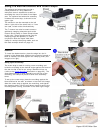
A zero-clearance insert is helpful when cutting small pieces
to prevent the offcuts from falling under the standard pair
of inserts. The insert can be made from any hard wood.
For best results, the insert should be custom fit to your
saw, so use the dimensions shown below as a starting
guideline. Adjust the thickness to be flush with the saw’s
table. To make the countersunk holes for the mounting
screws, first use a small forstner bit to drill the
countersunk holes, and then a regular drill bit to drill a
through-hole for the screw’s shank. After the insert is
installed and screwed down to the saw’s table, cut the kerf
opening with the saw using a standard push-cut.


