8 Kapex KS120 Miter Saw
Setup
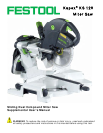
Setting Up a New Miter Saw
Congratulations on your purchase of a new Kapex Sliding
Dual Compound Miter Saw. Before using your new miter
saw, make sure you fully read and understand all of the
instructions, precautions, and safety information presented
in this manual.
WARNING! To avoid tipping the miter saw during
use, the miter saw must be placed on a stable
surface.
Note: There is a 2.5 mm hex key needed for
making adjustments located in the Styrofoam
packing material. Take care not to lose it.
Note: You may want to save the original box and
packing material in case you ever need to send in
the saw for service.
The KS120 miter saw is ready to use right out of the box,
but there are several placement options available,
depending on the intended use. These options include:
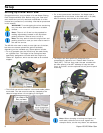
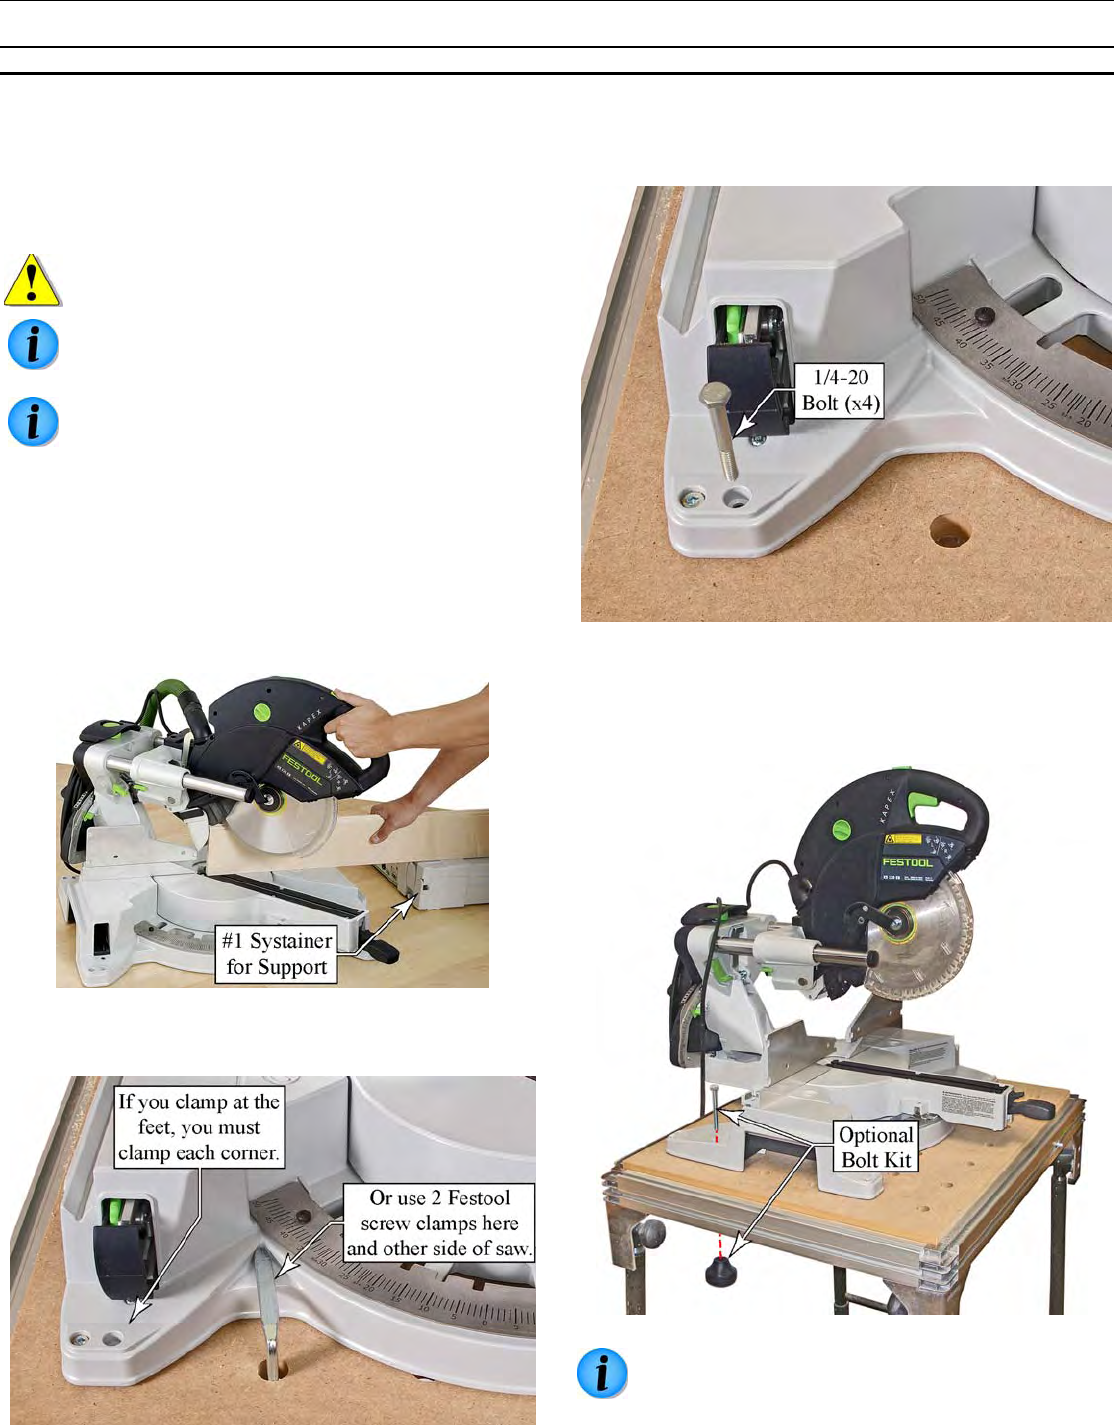
► For truly portable use, the KS120 may be used directly
on a jobsite floor. The height of the cutting bed was
specifically designed to coincide with the height of a
Festool #1 Systainer, which can be used as an outfeed
support.
► The KS120 can also be used on a level and stable jobsite
work table. The saw must be securely clamped to the
table to help prevent it from tipping or falling off.
► For a more permanent installation, the Kapex saw is
equipped with 4 bolt holes, to be used with ¼-20 (M6)
bolts to securely bolt the saw to a work table.
► The Kapex saw was specifically designed to be
compatible for operation on a Festool Multi-Function
Table (MFT). The four feet under the saw coincide with
the hole spacing of an MFT tabletop to keep the saw
firmly in position, and the optional bolt kit permits quick
mounting.
Note: When clamping or bolting the Kapex to a
work table, take care not to over tighten the
clamps or bolts, as this may distort the saw base.


