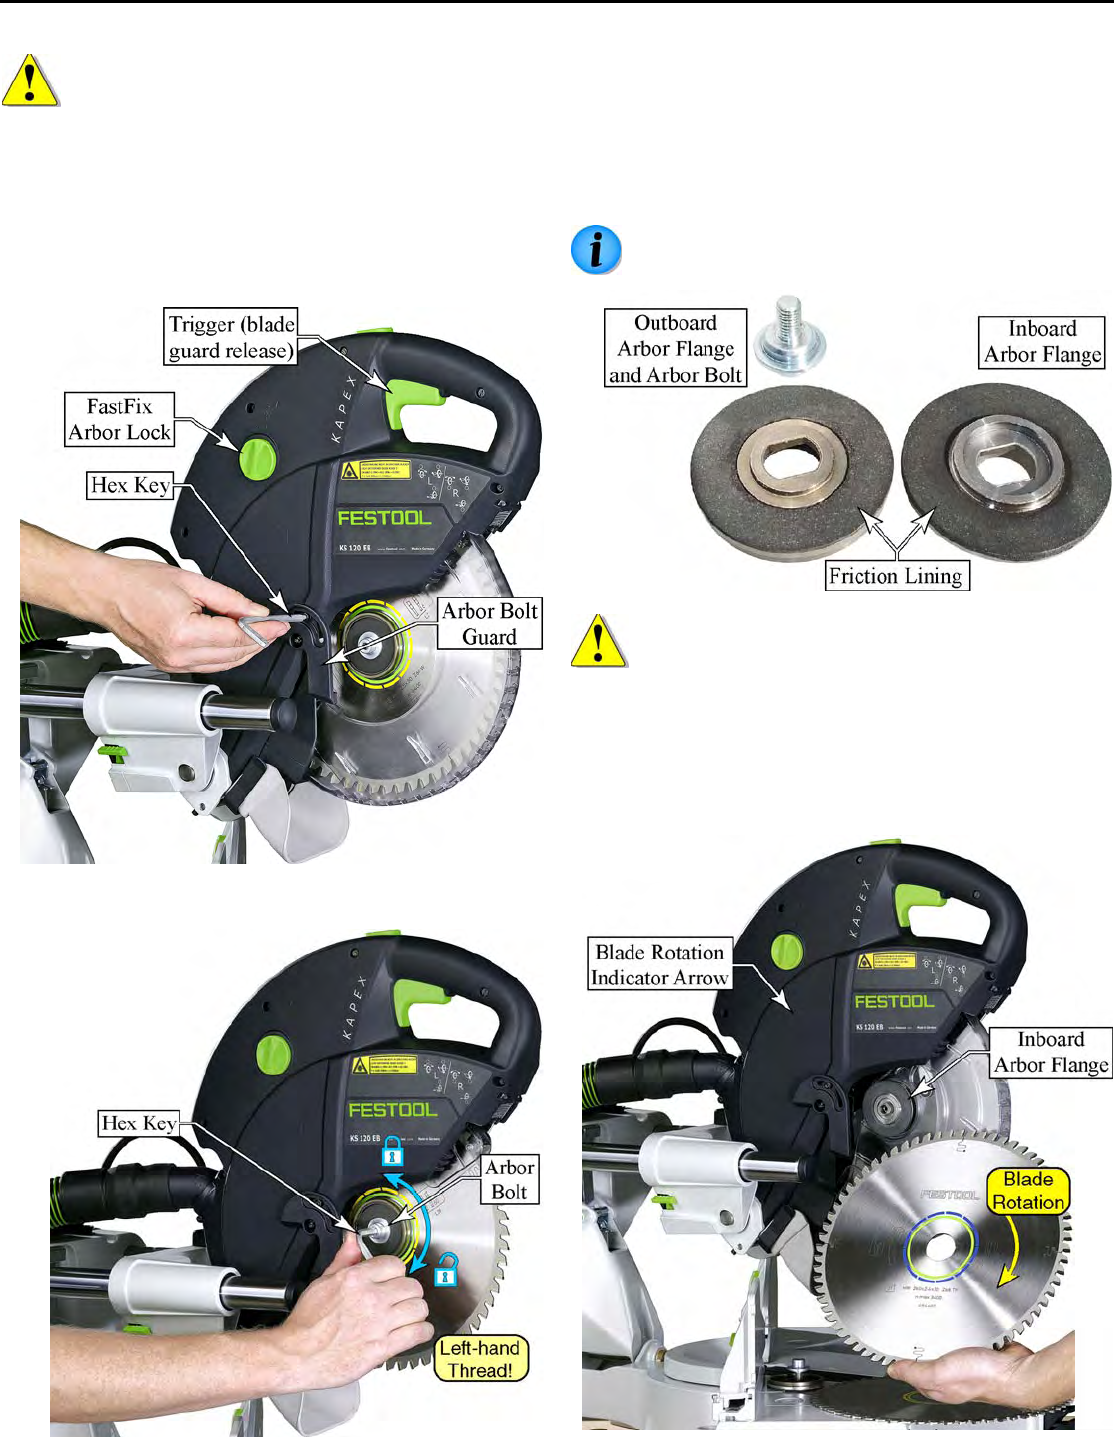
Changing Sawblades
WARNING! To reduce the risk of injury from
contact with a moving part, always unplug the
saw before changing blades.
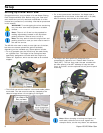
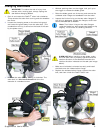
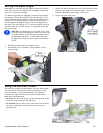
1. Push in and rotate the FastFix
®
arbor lock clockwise.
This prevents the arbor from turning and also disables
the motor.
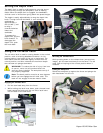
2. Loosen the clamping screw on the arbor bolt guard,
and rotate the guard away from the arbor bolt. (The
combination hex key is stored on the back of the saw
by the power cord.)
3. Unscrew the arbor bolt by turning it clockwise. The
arbor bolt is a left-hand thread and turns the
opposite of a standard screw.
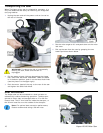
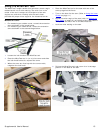
4. Without pushing down on the trigger lock, pull up on
the trigger to release the blade guard.
5. Raise the blade guard out of the way and remove the
outboard arbor flange and sawblade from the arbor.
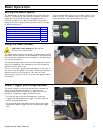
6. Inspect the friction lining on the two arbor flanges. If
the lining is damaged, replace the flanges, as this can
cause the sawblade to wobble.
Note: The friction lining on the arbor flanges
grips the blade, but also permits the blade to slip
slightly, in the event of a binding condition.
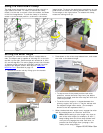
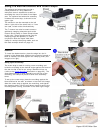
WARNING! When installing a new blade, make
sure the arbor bolt is properly tightened and the
rotation direction of the sawblade matches the
rotation direction indicated on the saw (see image
below).
7. Make sure the blade is oriented correctly and install
the blade onto the inboard arbor flange.
8. Replace the outboard arbor flange, tighten the arbor
bolt, and then unlock the FastFix arbor lock.
Supplemental User’s Manual 9


