13
Making a bevel cut
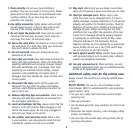
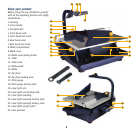
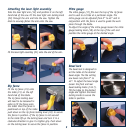
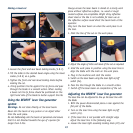
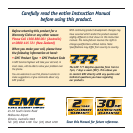
1. Loosen the front and rear bevel locking knobs (5 & 7).
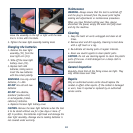
2. Tilt the table to the desired bevel angle using the bevel
scales (4 & 6) as a guide.
3. Tighten the front and rear bevel locking knobs before
making the cut.
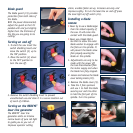
4. Firmly position the tile against the rip fence and pass
through the blade in a smooth action. When making
a bevel cut the rip fence should be positioned on the
right hand side of the blade to better support the tile.
Using the REDEYE
®
laser line generator
system
Warnings. Do not stare directly at the laser beam.
Never aim the beam at any person or an object other
than the work piece.
Do not deliberately aim the beam at personnel and ensure
that it is not directed towards the eye of a person for
longer than 0.25s.
Always ensure the laser beam is aimed at a sturdy work
piece without reflective surfaces, i.e. wood or rough
coated surfaces are acceptable. Bright shiny reflective
sheet steel or the like is not suitable for laser use as
the reflective surface could direct the beam back at the
operator.
Only turn the laser beam on when the work piece is on
the tool.
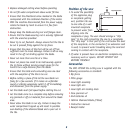
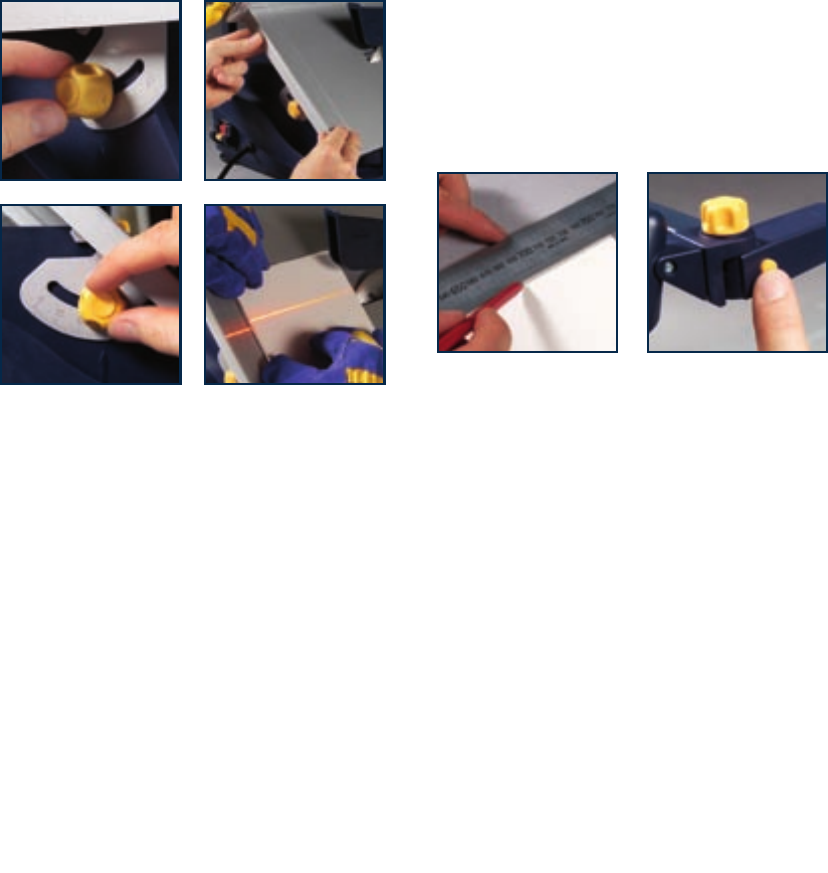
1. Mark the line of the cut on the work piece.
2. Adjust the angle of mitre and bevel of the cut as required.
3. Hold the work piece in position using the laser line to
align the blade with the mark on the work piece.
4. Plug in the machine and start the motor.
5. Switch on the laser beam using the laser light on/off
switch (24).
6. Pass the tile through the blade in a smooth action.
7. Switch off the laser beam on completion of the cut.
Adjusting the REDEYE
®
laser line generator
The laser line can be adjusted to line up the laser line with
the blade.
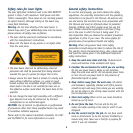
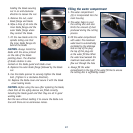
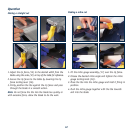
1. With the power disconnected place a ruler against the
flat part of the blade.
2. Turn on the laser line using the laser light on/off
switch (24).
3. If the laser line is not parallel with straight edge
adjust the laser line in the following way.
4. Loosen the laser light assembly locking knob (22) and


