


11
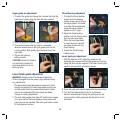
4. Tighten the guide pin locking screws.
CAUTION: Ensure the blade is not pinched by rotating the
band saw wheel one or two times by hand.
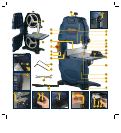
Housing doors
WARNING. Always ensure that the saw is switched off
and unplugged from the power supply before making any
adjustments.
1. The upper housing door (10) and lower housing
door (9) protect against contact with the rotating parts
inside the machine.
2. Both housing doors must be closed and locked while
the machine is in use.
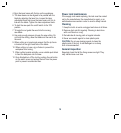
3. To open the housing doors
rotate the upper housing
lock (12) and lower housing
lock (11) in an anti-clockwise
direction using the 5mm hex
key supplied.
4. To close the housing doors
rotate the upper housing lock
(12) and lower housing lock
(11) in a clockwise direction using the 5mm
hex key supplied.
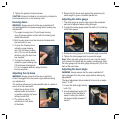
Adjusting the rip fence
WARNING. Always ensure that the saw is switched
off and unplugged from the power supply before making
any adjustments.
The rip fence allows you to make parallel cuts in a piece of
wood, all at the same width.
1. Adjust the rip fence to the
required width and secure it
in position using the rip fence
locking handle (29).
2. The rip fence can be
positioned on both sides
of the blade.
3. Ensure that the fence rests against the wood along its
entire length to give a consistent parallel cut.
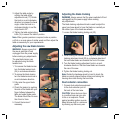
Adjusting the mitre gauge
1. The mitre gauge is used to help support the workpiece
and can be adjusted when cutting an angle.
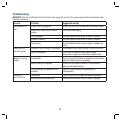
2. To adjust the mitre gauge loosen the knob (31) at the top
of the mitre gauge.
3. Rotate the mitre gauge until the desired angle is reached.
4. Tighten the mitre gauge knob to secure the angle.
Note. When the mitre gauge is not in use it can be stored
on the back of the band saw for greater convenience. Slide
the mitre gauge into the mitre gauge storage slot (32) on the
back of the band saw.
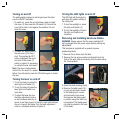
Adjusting the bevel angle
WARNING. Always ensure that the saw is switched off
and unplugged from the power supply before making any
adjustments.
The bevel adjustment allows material to be cut at an angle
from 0° to 45°.
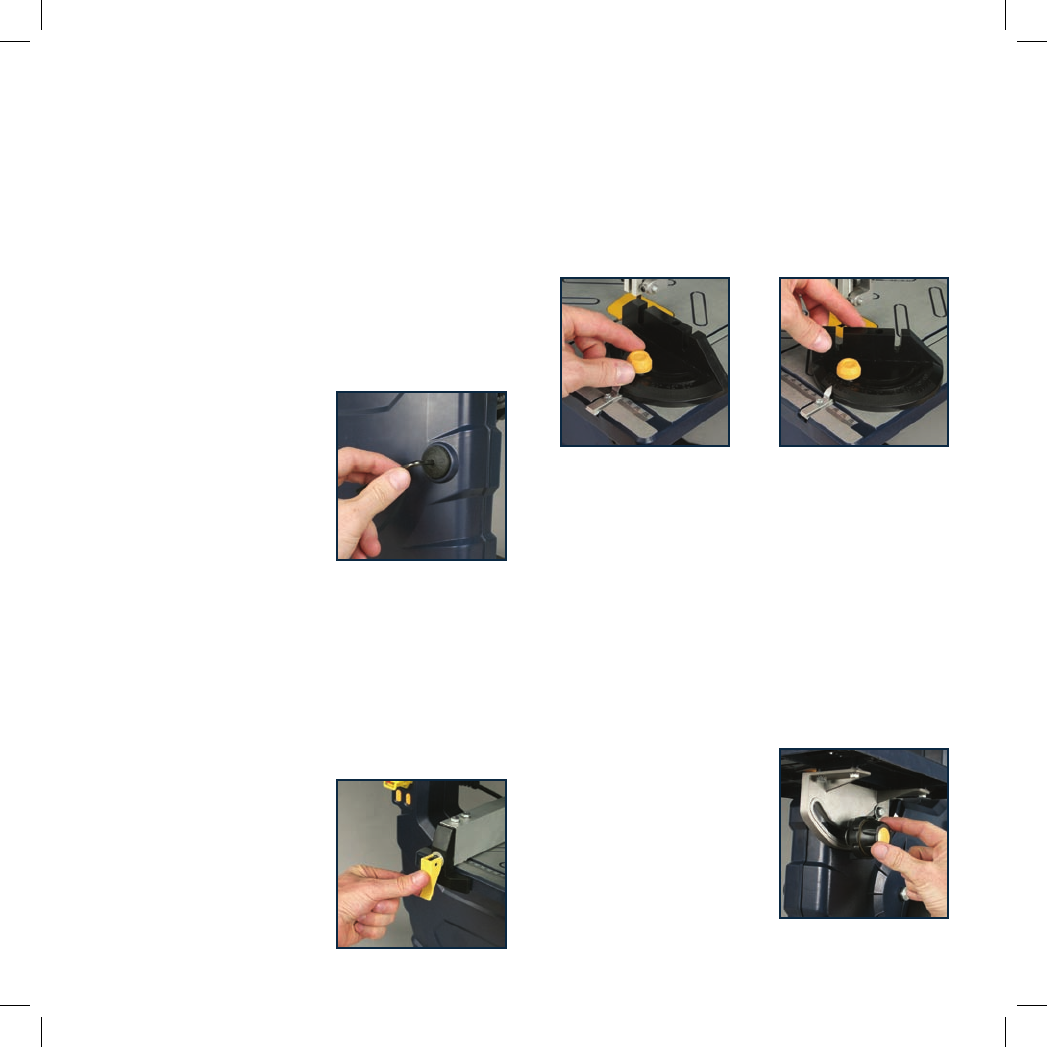
1. Loosen the table angle locking
knob (16).
2. A bevel adjustment scale (19)
is located under the table to
assist in setting the table to
the desired angle between 0°
and 45°.