11
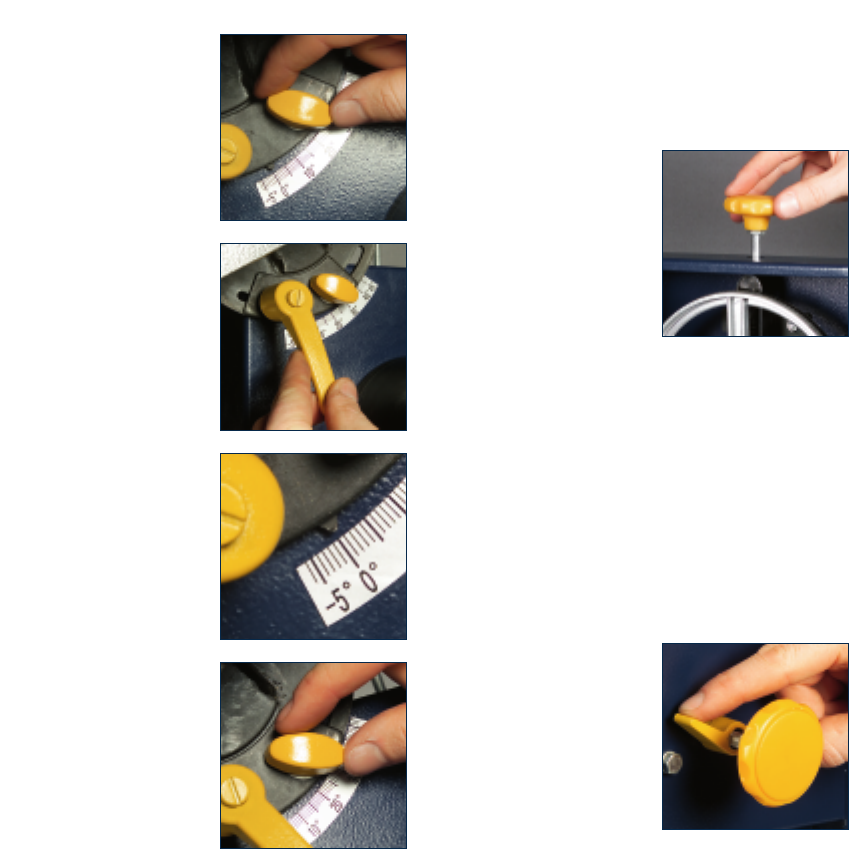
Adjusting the bevel angle
WARNING. Always ensure
that the saw is switched off
and unplugged from the
power supply before making
any adjustments.
The bevel adjustment allows
material to be cut at an
angle from 0° to 45°.
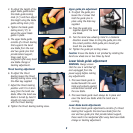
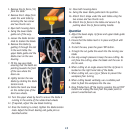
1. Loosen the table locking
knob (20).
2. Loosen the table setting
lever (21). The lever works
on a cam allowing you to
pull it towards you and
back into the original
starting position if you run
out of room.
3. A bevel adjustment scale
(22) is located under the
table to assist in setting
the table to the desired
angle between 0° and 45°
4. Tighten the table setting
lever (21) and the table
locking knob (20) to
secure the table in place.
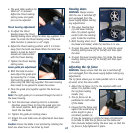
5. When greater precision is
required, make a practice
cut first on a scrap piece
of similar wood and then
adjust the table as
necessary for your
requirements.
Adjusting the saw blade tension
WARNING. Always ensure that the saw is switched off
and unplugged from the power supply before making any
adjustments.
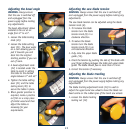
The saw blade tension can be adjusted using the blade
tension knob (8).
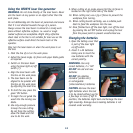
1. To increase the blade
tension turn the blade
tension knob (8) in a
clockwise direction.
2. To reduce the blade
tension turn the blade
tension knob (8) in an
anti-clockwise direction.
3. Fully raise the upper blade
guide (15).
4. Check the tension by pushing the side of the blade with
your finger halfway between the table and upper blade
guide. The blade should flex no more than 2-3 mm.
5. Correct the tension if necessary.
Adjusting the blade tracking
WARNING. Always ensure that the saw is switched off
and unplugged from the power supply before making any
adjustments.
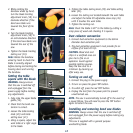
The blade tracking adjustment knob (18) is used to
adjust the upper band saw wheel to have the blade run
dead centre on the rubber tyres of the band saw wheels
1. Loosen the blade tracking
locking nut (19)


