


8
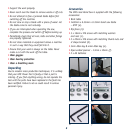
Mounting
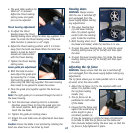
1. It is best to attach the band saw to a firm, stable surface
at a convenient working height. A workbench is ideal.
2. Drill four holes in the workbench to match the four
holes in the base of the saw.
3. Attach the band saw to the work bench using 8mm
bolts (inserted from the top), lock washers and nuts.
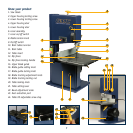
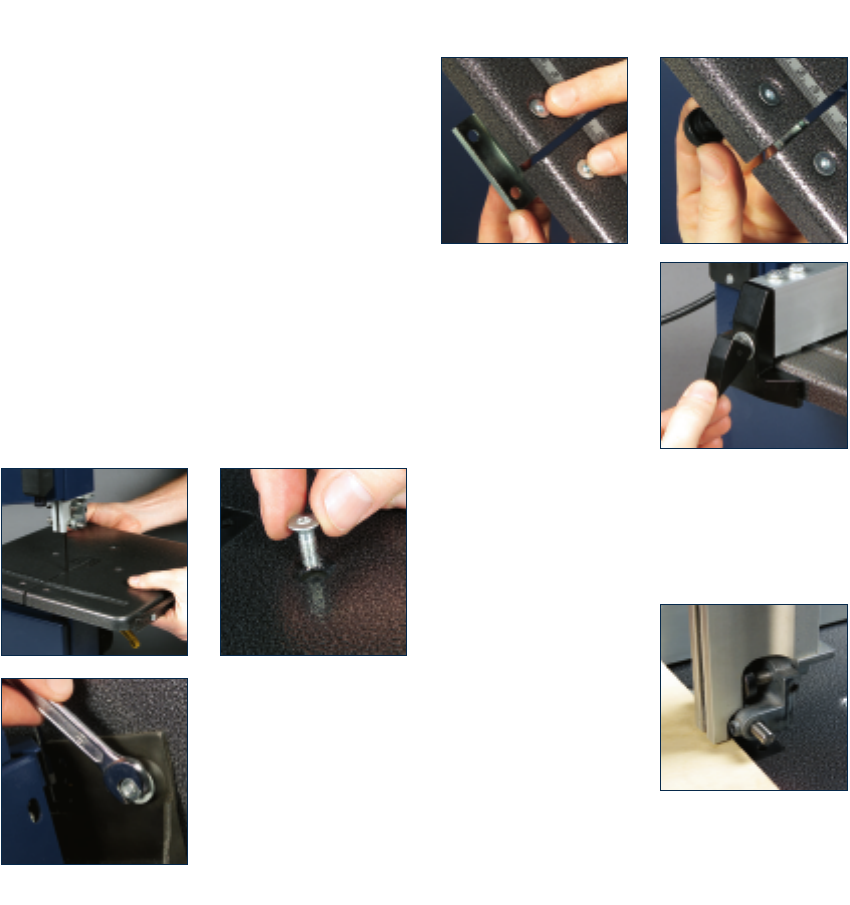
Assembly
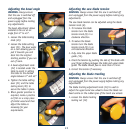
The band saw is shipped partly disassembled and the work
table (11) and rip fence (13) have to be installed prior to
use.
1. Place the work table on the table trunnion (10) by
threading the saw blade through the slot in the table.
2. Align the work table so that the blade runs through the
centre of the table insert’s slot (12).
3. Fasten the work table to the table trunnion using the
three screws, three plain washers and three nuts.
Caution: Make sure the screws are tightened securely to
ensure they do not loosen in use.
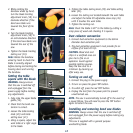
4. Attach the U shape under the work table using the two
screws and two thumb nuts.
5. Attach the rip fence to the
table and secure it by
pushing down the rip fence
locking handle (14).
It may be necessary to
rotate the lever anti-
clockwise to be able to
slide the rip fence over the
table and then clockwise
before locking the lever
over, so that the rip fence is fully tightened in place.
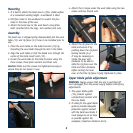
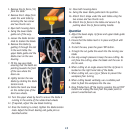
Upper blade guide adjustment
WARNING. Always ensure that the saw is switched off
and unplugged from the power supply before making any
adjustments.
1. The upper blade guide
(15) protects against
unintentional contact with
the saw blade.
2. In order for the upper blade
guide to provide adequate
protection against contact
with the band saw blade, it
must always be set as close
as possible against the
workpiece (maximum distance 3mm).