


12
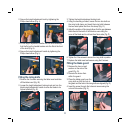
5. Tighten the nut sufficiently so that the guard rests on the
table top but will lift when the workpiece is pushed into
the blade.
Note. The blade guard should return to its rest position after
the workpiece has been cut.
CAUTION. The saw blade guard must be in position at all
times to prevent contact with the blade. It should lift up and
onto the workpiece when the workpiece is passed through
the saw.
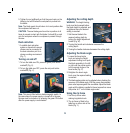
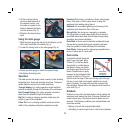
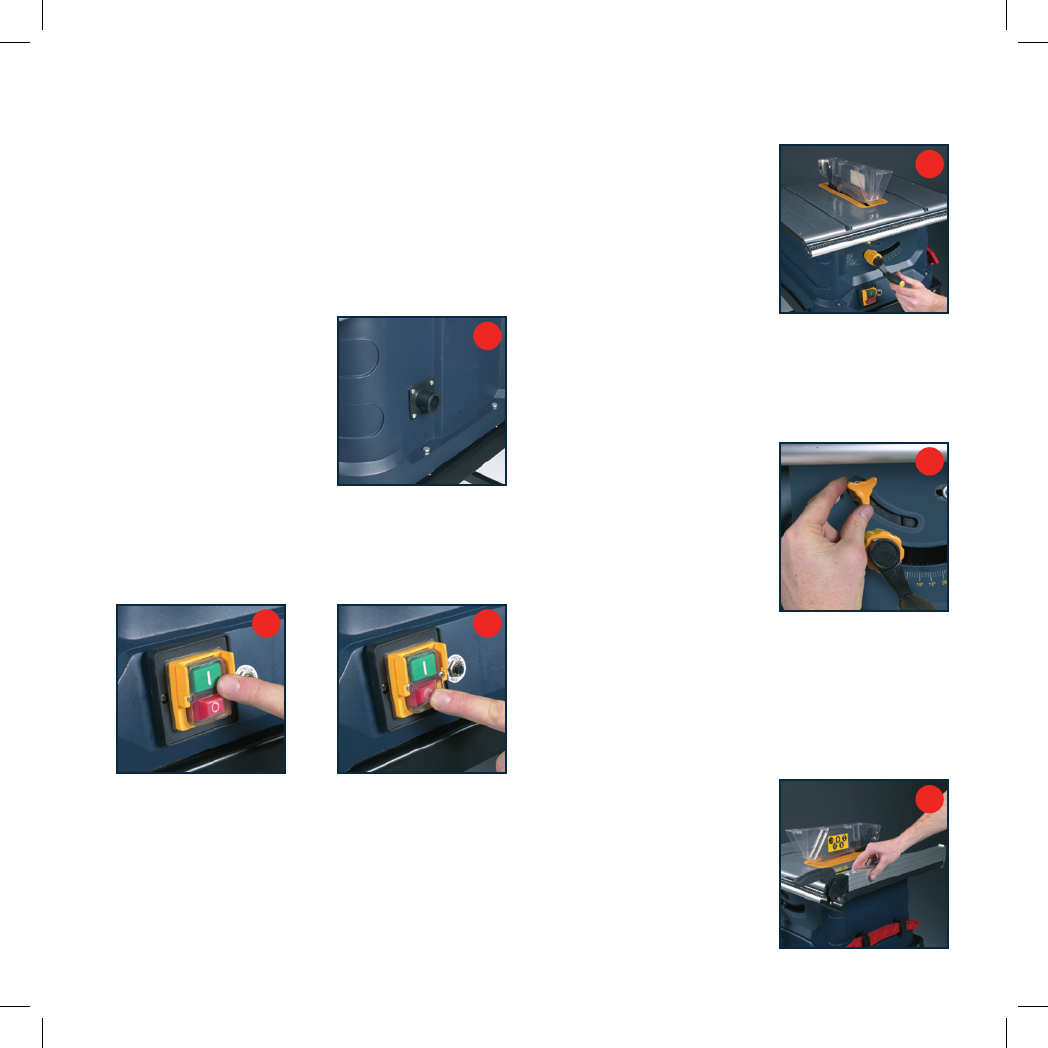
Dust extraction
1. A suitable dust extraction
system or household vacuum
cleaner can be connected to
the dust extraction port for a
cleaner working environment
(Fig. T).
Turning on and off
1. To turn the table saw ON, press the green push button
marked
I (Fig. U).
2. To turn the table saw OFF, press the red push button
marked
O (Fig. V).
U
V
Note. This saw is fitted with an electromagnetic switch. In
the case where the power supply is turned off to the saw,
the saw must be turned on by pressing the green ON button
after the power supply is reconnected.
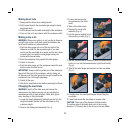
Adjusting the cutting depth
WARNING. The height locking
knob must be loosened before
the blade height is adjusted, and
re-tightened once the desired
setting is reached.
1. Set the saw blade to the
required cutting depth by
turning the height adjustment
handle (Fig. W).
2. Turning the handle anti-clockwise increases the
cutting depth.
3. Turning the handle clockwise decreases the cutting depth.
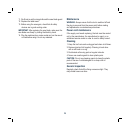
Adjusting the blade angle
1. Loosen the bevel angle
knob and using the height
adjustment locking knob push
the blade assembly to the left
or right until the pointer points
to the required angle on the
bevel scale (Fig. X).
2. Retighten the bevel angle
knob once the required setting
is reached.
3. The blade angle pointer can be adjusted when checking the
accuracy of the blade angle. With the power disconnected,
place a set square against the saw blade. Adjust the blade
angle until the blade is parallel to the set square then move
the pointer to 0° on the blade angle scale.
Using the rip fence
1. Use the rip fence when
making longitudinal cuts.
2. The rip fence is fitted to the
table top on either side of the
blade (Fig. Y).
T
W
X
Y