


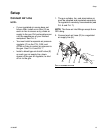
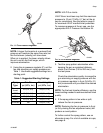

Setup
16 313869B
Flush Spray Gun
Before running any paint through the spray
gun:
1. Flush the gun with a solvent that is compat-
ible with the fluid to be sprayed, using the
lowest possible fluid pressure and a
grounded metal container. See Clean and
Flush Gun, page 20.
2. Perform Pressure Relief Procedure,
page 18.
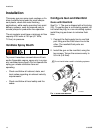
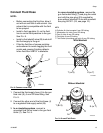
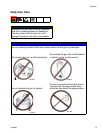
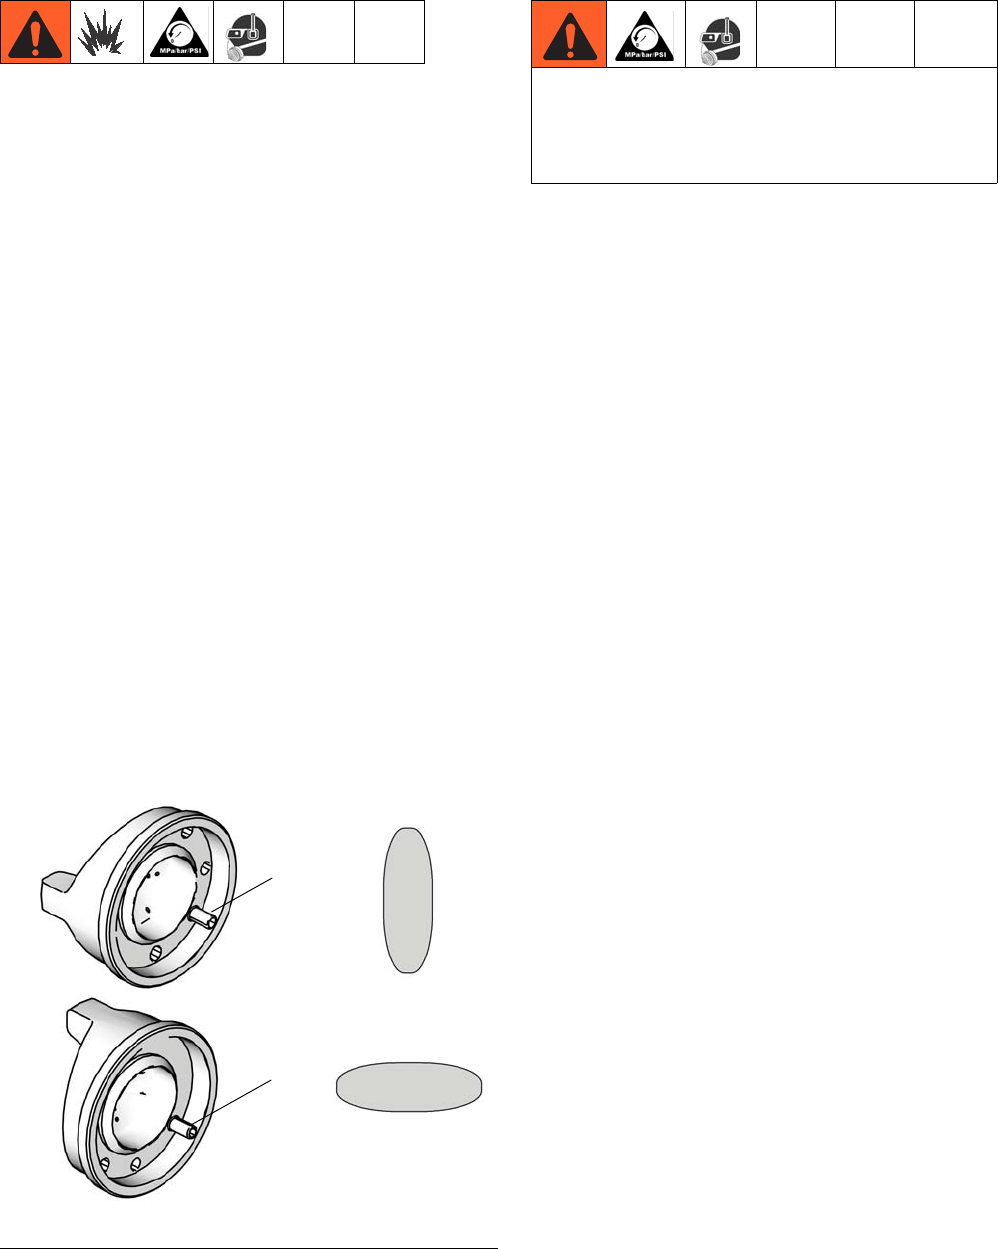
Position Air Cap
Air caps are factory-set with the alignment pin
(A) set to a vertical spray pattern. To change
the air cap to a horizontal spray pattern, use a
1/16 in. hex wrench to unscrew the alignment
pin (A) and relocate it to the horizontal spray
pattern hole. When relocating the pin use low
strength thread locker. Torque to 1.5-2.5 in-lb
(0.2-0.3 N•m). Do not overtighten. Refer to
FIG. 10.
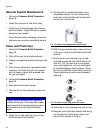
Adjust Spray Pattern
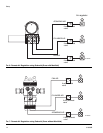
Use the fluid pressure regulator to adjust the
spray gun fluid flow. All models are equipped
with a fluid control knob to make precise fluid
flow adjustments.
Follow these steps to establish the correct fluid
flow and air flow:
1. To achieve desired flow, adjust the fluid flow
using the fluid pressure regulator (L)
installed in the gun fluid line. Typical indus-
trial flow rates will vary with regulator pres-
sures from 5 to 30 psi (34 to 210 kPa,
0.3 to 2.1 bar). If the fluid pressure is too
low at the desired flow rate, install a smaller
nozzle. If the fluid pressure is too high,
install a larger nozzle.
For spray guns equipped with the fluid con-
trol knob, you can make flow rate changes
at the spray gun. Rotate the fluid control
knob clockwise to reduce the flow.
FIG. 10: Position Air Cap
Vertical Pattern
Horizontal Pattern
ti8171a
ti8170a
A
ti8172a
A
Do not exceed 100 psi (0.7 MPa, 7 bar)
maximum fluid and air pressure. Higher
pressures can cause parts to rupture and
result in serious injury.