


G0518 Drum / Flap Sander -25-
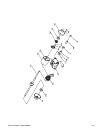
SECTION 8: SERVICE ADJUSTMENTS
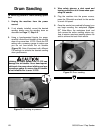
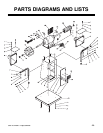
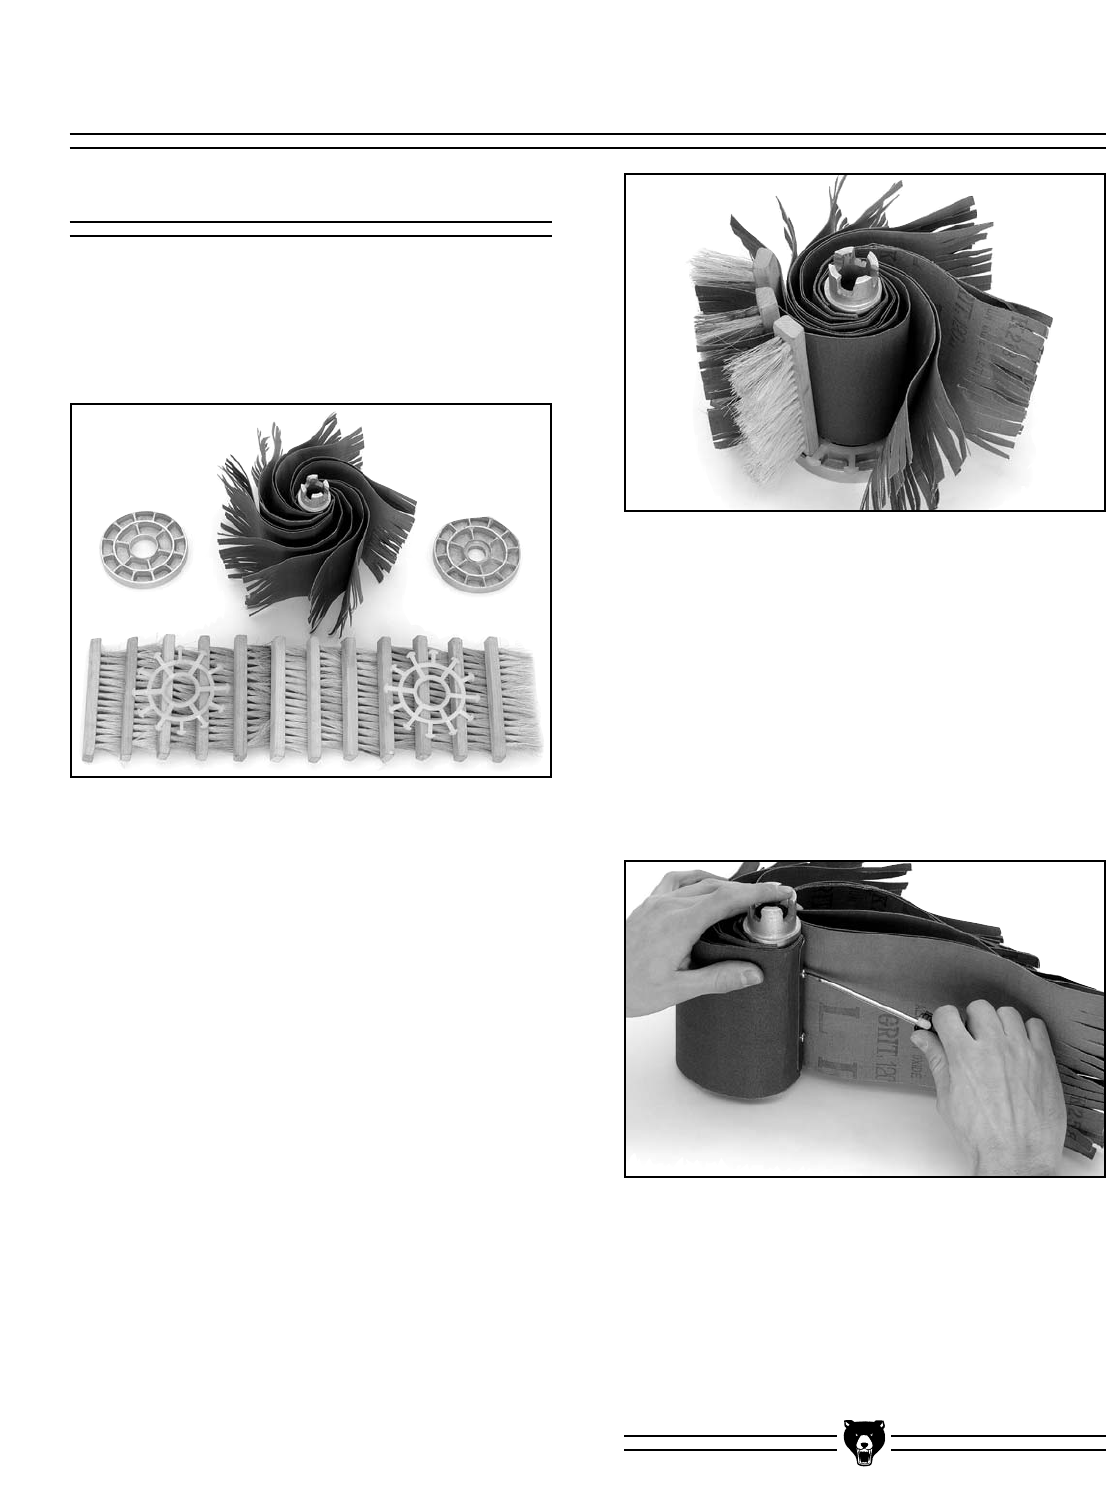
Figure 24. Flap sander components.
Figure 26. Removing sandpaper clamps.
To reveal fresh sanding surfaces on the flap
sander:
1. Unplug the machine from the power
source!
2. Loosen the arbor nut that secures the flap
sander to the arbor.
3. Remove the flap sander from the arbor and
disassemble it down to the components
shown in Figure 24.
4. Using scissors or tin snips, cut off the worn
portion of the sandpaper from every flap.
Note–Every flap must be the same length
after they have been cut.
5. Cut approximately (15) 2" slits into the end of
each flap.
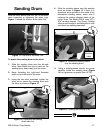
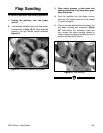
6. Begin to re-assemble the flap sander as
shown in Figure 25, until fully assembled.
Periodically the sandpaper flaps and brushes will
need to be replaced. Brush sets (Model H2491)
can be ordered from the Grizzly Catalog, as well
as various grits of 6" wide sandpaper rolls.
To replace the sandpaper flaps:
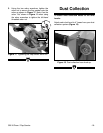
1. Once disassembled, remove the clamps that
secure the sandpaper flaps to the center post
(Figure 26).
2. Cut new 6" wide sandpaper flaps to 12" long.
3. Using the clamps, attach the new sandpaper
to the center post in groups of two per clamp.
4. Cut the sandpaper slits and re-assemble as
described earlier on this page.
Flap Sander
The flap sander is comprised of many pieces.
When the sanding surfaces of the flap sander
begin to wear, they can be adjusted to reveal a
fresh sanding surface. Figure 24 shows the com-
ponents of the flap sander.
Figure 25. Re-assembling the flap sander.