


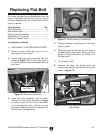
G0605X/G0606X Extreme Series 12" Table Saw
-51-
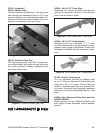
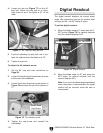
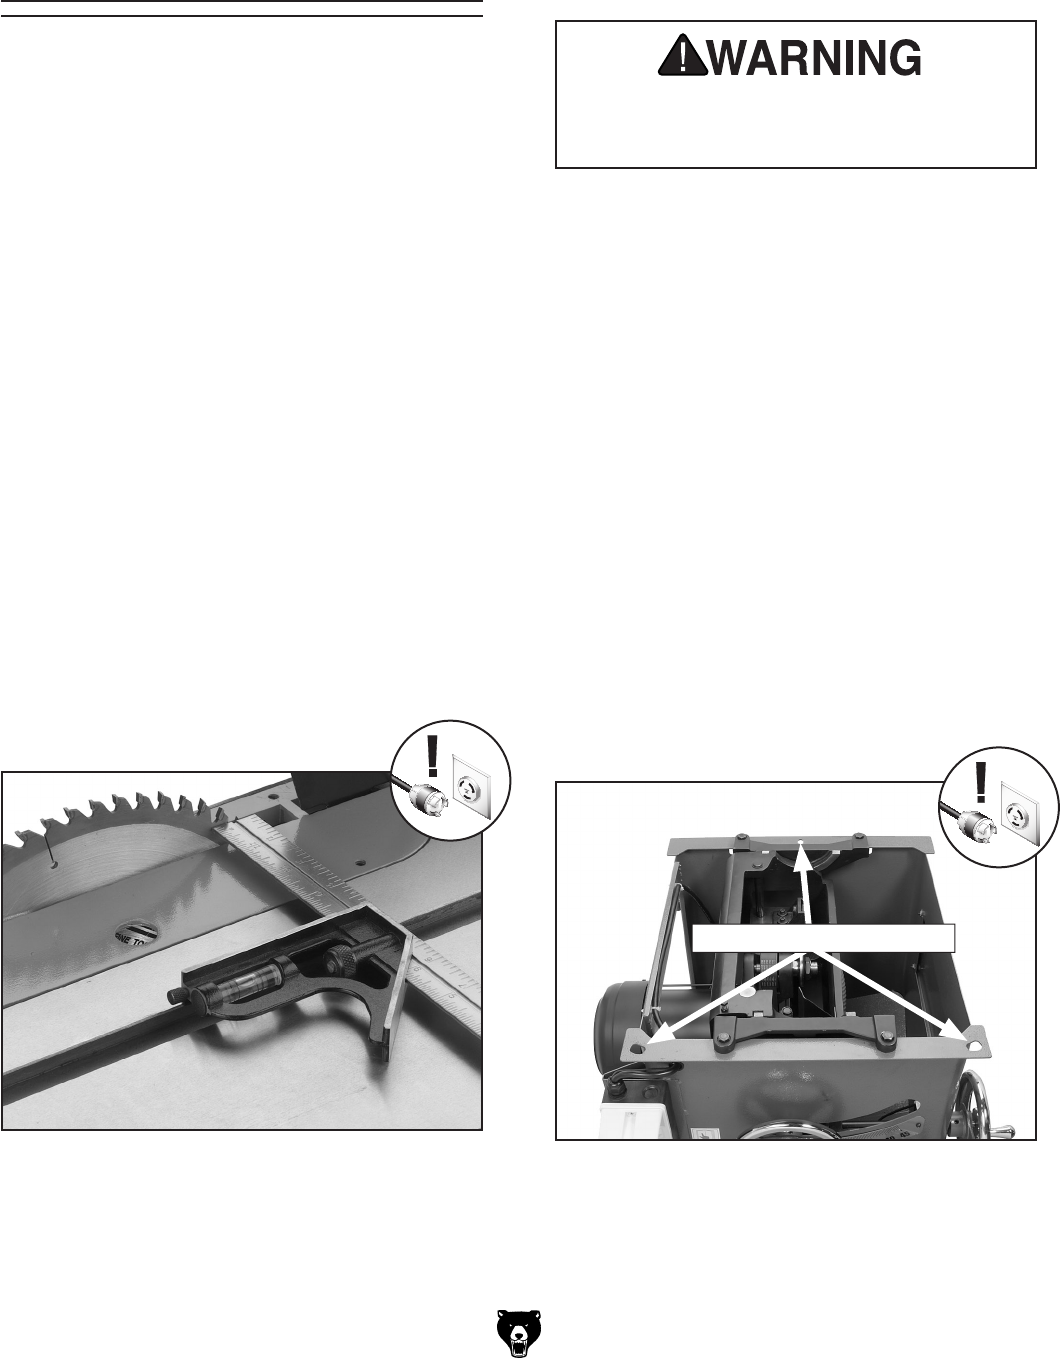
Miter Slot to Blade
Parallelism
3. With the end of the adjustable square just
touching the tip, lock the square in place.
Now, mark the carbide tip with a marker
where you made this measurement.
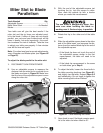
Figure 80. Example of adjusting blade to miter
slot.
4. Rotate that tip to the other end of the table
insert.
5. Slide the adjustable square down to the other
end of the table insert, and compare the dis
-
tance from the marked blade tip to the end of
the adjustable square.
— If the blade tip does not touch the end of
the adjustable square similar to the first
measurement, the table will need to be
adjusted.
—If the blade tip measurement is the same
on both sides, go to Step 8
.
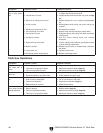
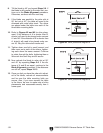
6. To adjust the table, loosen the three bolts in
the table mounting locations (see
Figure 81)
and slightly tap the table.
Repeat Steps 2-6
until satisfactory. Do not forget to tighten the
table mounting bolts when finished.
The saw blade is dangerously sharp. Use
extra care when handling the blade or
working near it. Serious injury is possible.
7. Now check to see if the blade remains paral-
lel to the miter slot when tilted to 45°.
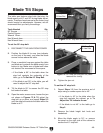
Figure 81. Table mounting bolt holes.
Table Mounting Locations
Tools Needed Qty
Adjustable Square .............................................
1
Metal Shim Stock .............................. As Needed
Marker .................................................................
Your table saw will give the best results if the
miter slot and the rip fence are adjusted paral
-
lel to the blade. If either of these are not exactly
parallel, your cuts and your finished work will be
lower in quality, but more importantly, this condi
-
tion increases the risk of kickback. Take the time
to adjust your table saw properly. A few minutes
now will be time well spent.
Note: For safest and most accurate adjustments,
use a Superbar and Master plate (see
Figure 66
on Page 43).
To adjust the blade parallel to the miter slot:
1. DISCONNECT SAW FROM POWER!
2. Use an adjustable square to measure the
distance from the miter slot to a carbide tip on
the blade as shown in
Figure 80. Make sure
that the face of the adjustable square is even
along the miter slot.