-14-
G0621 Wood/Metal Bandsaw
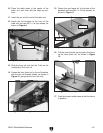
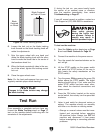
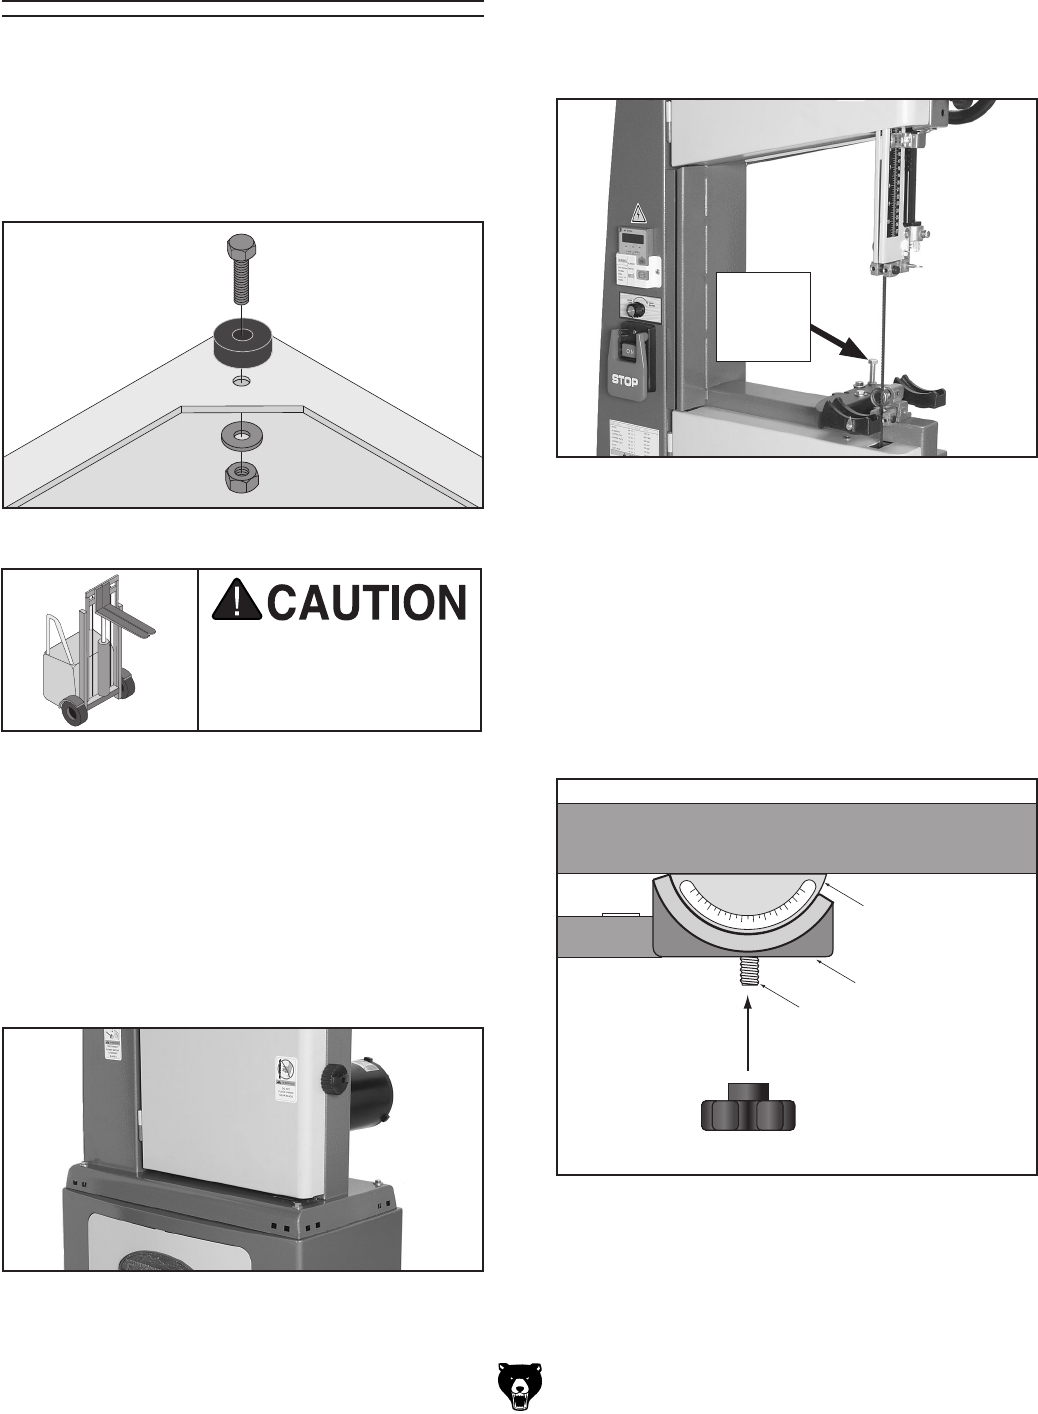
Figure 6. Bandsaw mounted to stand.
The bandsaw is heavy
and awkward to lift. Use a
forklift or other powered
lifting aid.
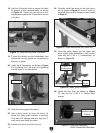
Figure 7. Positive stop bolt installed.
Positive
Stop
Bolt
Assembly
5. Thread a
3
⁄8"-16 hex nut half way up the posi-
tive stop bolt (Hex Bolt
3
⁄8"-16 x 3
1
⁄2").
6. Thread the positive stop bolt into the trunnion
base so it is installed as shown in
Figure 7.
To assemble the bandsaw:
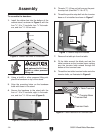
1. Install the rubber feet into the bottom of the
cabinet stand, as shown in
Figure 5, with the
four
5
⁄16"-18 x 1" hex bolts, four
5
⁄16" flat wash-
ers, and four
5
⁄16"-18 hex nuts.
Figure 5. Rubber foot order of installation.
2. Using a forklift or other powered lifting aid,
place the bandsaw on top of the stand.
3. Align the mounting holes on the bandsaw
base with those in the stand.
4. Secure the bandsaw to the stand with the
four
5
⁄16"-18 x 3" hex bolts, eight
5
⁄16 flat wash-
ers, and four
5
⁄16"-18 hex nuts (Figure 6).
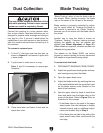
7. Remove the table pin from the table.
8. Fit the table around the blade and rest the
table trunnions on the trunnion base, making
sure the trunnion bolts extend through the
bottom of the trunnion base.
9. Thread the two table trunnion knobs onto the
trunnion bolts, as illustrated in
Figure 8.
Figure 8. Table installation on trunnion base.


