SECTION 5: SHOP MADE SAFETY
ACCESSORIES
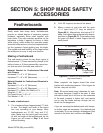
Making a Featherboard
Material Needed for Featherboard Mounted
with Clamps
Material Needed for Featherboard Mounted in
Miter Slot
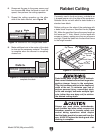
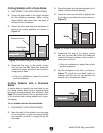
To make a featherboard:
1.
Step 3
Featherboards
2.
3.
Figure 80
Figure 80
A
B
30°
2"-3"
1
⁄
16
"-
1
⁄
8
"
Kerf
1
⁄
16
"-
1
⁄
8
"
Kerf
2"-3"
10" (Minimum)
Initial Cut
Progressively
Longer Cuts
3
⁄
8
"
3
⁄
8
"
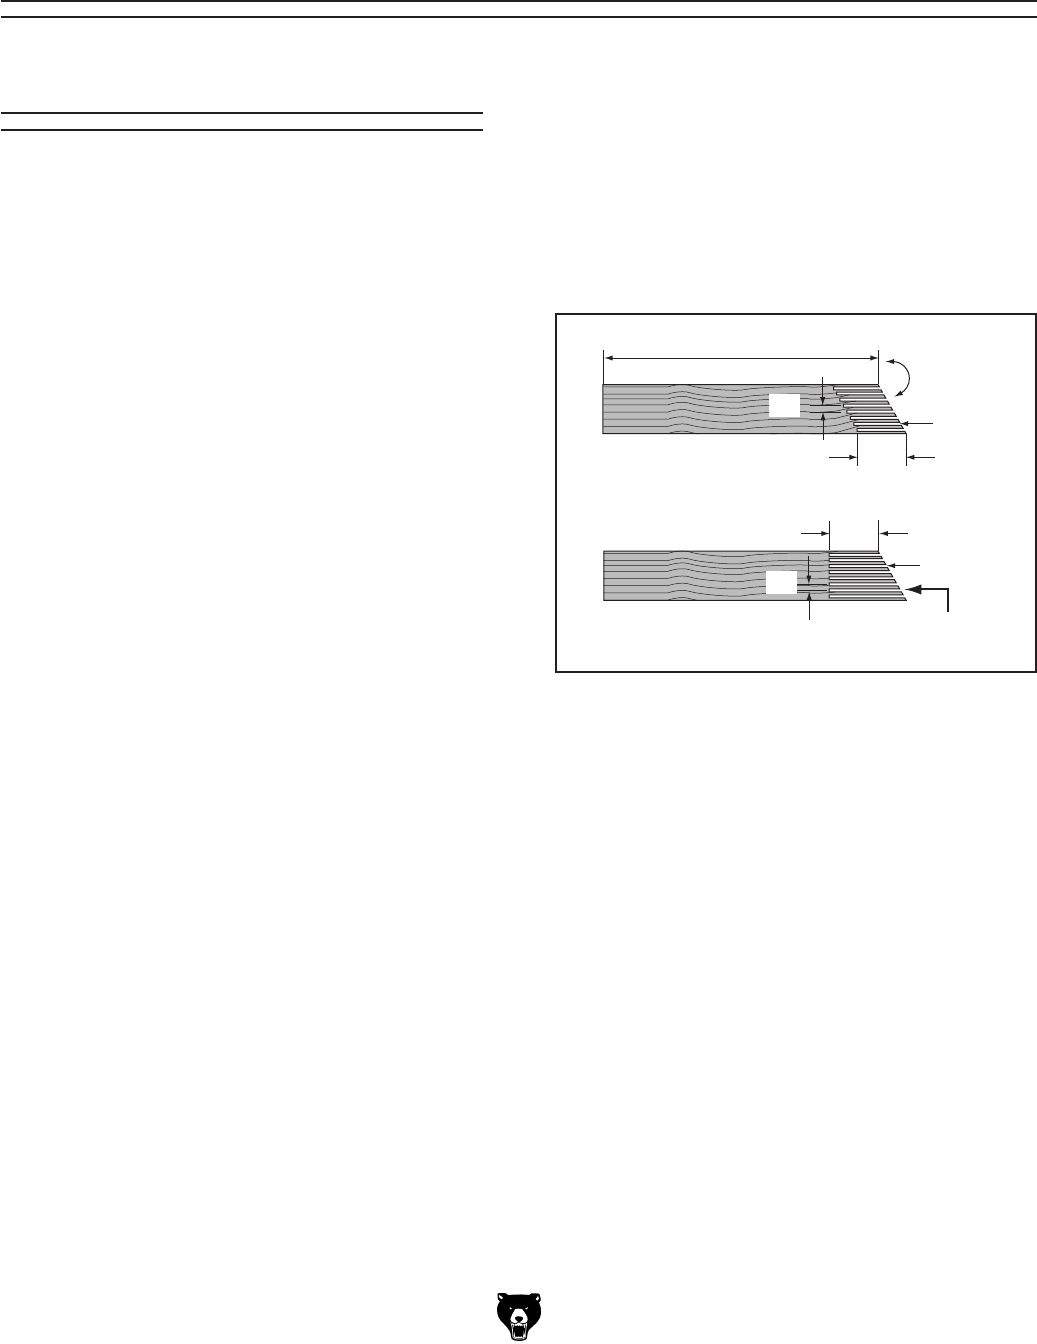
Figure 80.
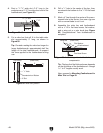
Note:We recommend using a bandsaw for mak-
ing fingers because it tends to be safer. A table
saw can be used, but it will over-cut the underside
of the ends, produce a thicker kerf, and require
you to stop the blade half-way through the cut,
which can be dangerous.
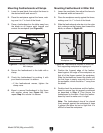
If you are securing the featherboard with clamps,
no further steps are necessary. Your featherboard
is complete! If you are making a featherboard that
mounts in the miter slot, continue with Step 4.


