G1148 15" Bandsaw
-11- G1148 15" Bandsaw
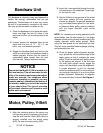
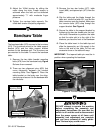
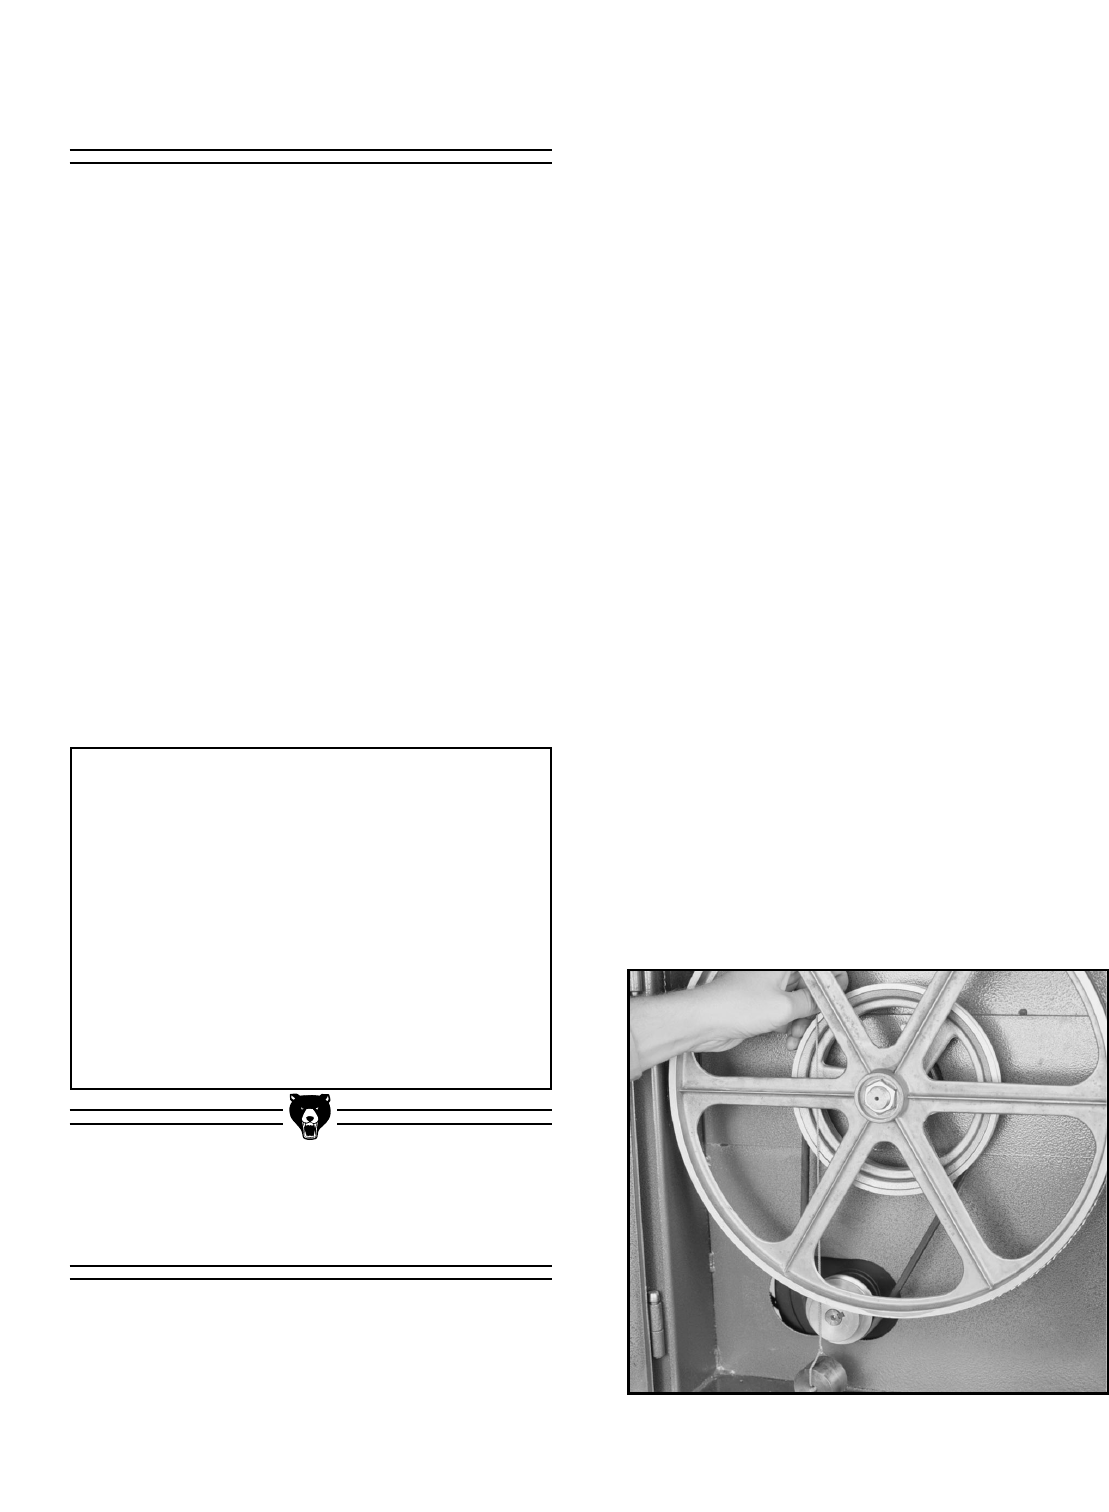
Figure 4. Adjusting pulley alignment
Motor, Pulley, V-Belt
Bandsaw Unit
This bandsaw is relatively heavy and awkward to
handle. We strongly recommend that you get
assistance. The bandsaw unit is also very unsta-
ble until it is permanently mounted to the stand.
Use care so the bandsaw unit does not tip.
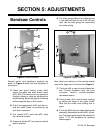
1. Place the bandsaw on the stand with assis-
tance and align the four (4) holes in the
base over the four (4) mounting holes in the
stand.
2. Loosely secure the bandsaw base to the
stand with the four (4)
3
/8" - 16 x 3" hex
bolts, nuts, and washers provided.
3. Wiggle the bandsaw back and forth on the
stand to ensure that the bandsaw stand is
seated properly. Ensure that the stand is
symmetrical when viewed from the front
and the side. Tighten fasteners securely.
NOTICE
Ensure that the Model G1148 is located on a
flat, level surface.This will maximize the sta-
bility of the machine and ensure that adjust-
ments are accurate. For conditions where
permanent mounting is possible, you may
consider adding L-brackets at the bottom of
the stand to enable you to bolt the machine
to your shop’s floor. This type of mounting
will minimize vibration and provide a more
stable work environment.
2. Insert the 4 carriage bolts through the slots.
Use washers on the underside. Finger tight-
en the nuts for now.
3. Slip the V-Belt into the grooves of the wheel
and motor pulleys. Be sure grooves you
choose are aligned. For general woodwork-
ing, use fastest blade speed (i.e. the small-
er diameter wheel pulley groove combined
with the larger diameter motor pulley
groove).
NOTE: For resawing and cutting operations with
wider blades, use the slow speed (i.e. the larger
diameter wheel pulley groove combined with the
smaller diameter motor pulley groove). When
using the slow speed, do not feed stock too fast.
This will cause possible blade breakage, stalling,
and extremely poor cuts.
4. Check for proper pulley alignment by plac-
ing a plumb line on the outside edge of the
upper pulley so that it overlaps the motor
pulley. If the line touches both pulleys even-
ly, the pulleys are aligned. If the line does
not touch both pulleys evenly, wiggle the
motor until the pulleys come into alignment.
If proper alignment is still not attained,
loosen the setscrew (#62) on the motor pul-
ley and push the pulley in or out to achieve
proper alignment. Remember to retighten
the setscrew when finished. See Figure 4.
1. Align the mounting slots on the motor over
the mounting slots on the base of the band-
saw. Be sure that the V-Belt (#28), which is
already installed over the wheel pulley
(#30), fits over the motor pulley (#29).


