


-14- G3105 Combination Sander
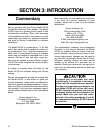
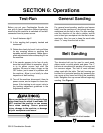
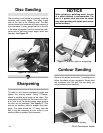
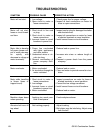
Disc sanding is well suited for finishing small flat
surfaces and curved edges. The down (right)
side of the disc is the working area. The disc
moves fastest and removes the most material at
the outer edge. A miter gauge that fits in the slot
in the table is provided. Use it to secure the work-
piece and to hold the proper angle when disc
sanding. See Figure 10.
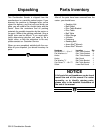
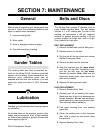
Tilt table to the desired sharpening angle and
tighten the locking knobs. Using C-Clamps,
attach a suitable wood scrap to the table. This
wood table should allow the flat shank of the chis-
el or knife to sit flat so the proper angle against
the disc can be achieved. See Figure 11. This
acts as an auxiliary table to support the work-
piece. This table should be
1
⁄16" away from the
belt. It may be necessary to cut a notch in your
auxiliary table to achieve this clearance.
Disc Sanding
Sharpening
Figure 10. Disc sanding.
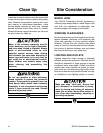
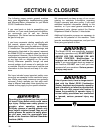
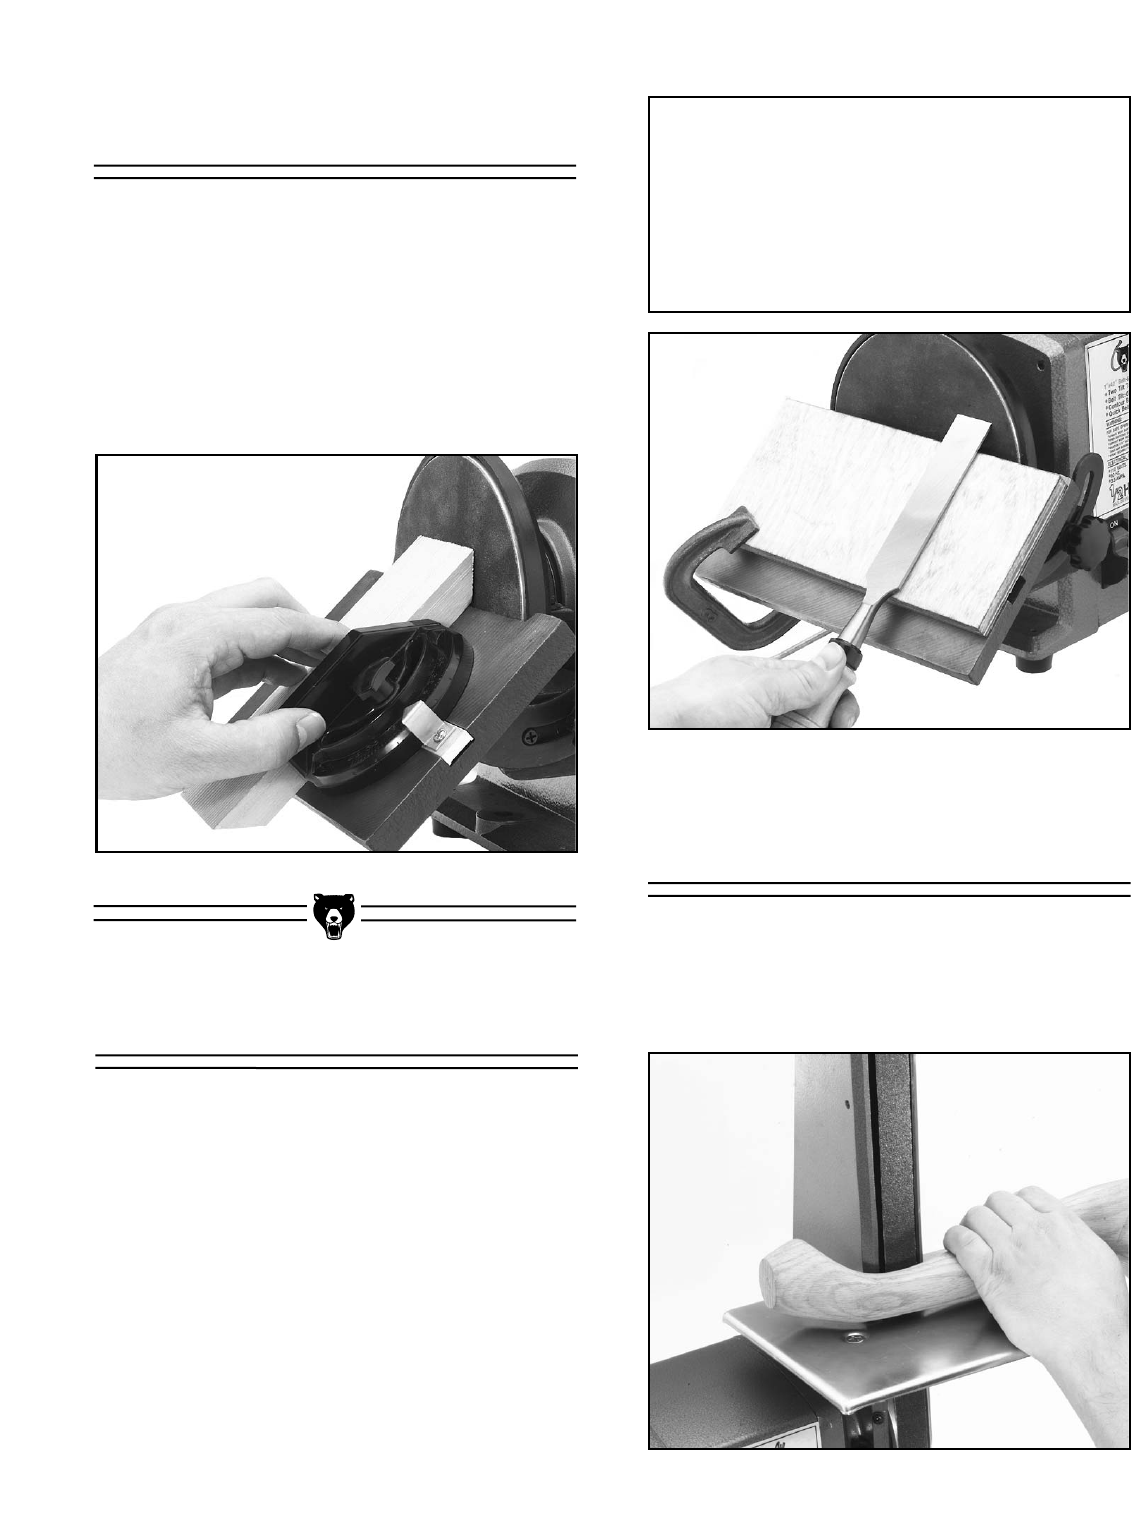
Contour Sanding
Remove the platen to allow the 1" sanding belt to
follow the shape of your workpiece. Slowly feed
the workpiece into the belt. Do not apply too
much pressure while sanding.
Figure 11. Auxiliary table for sharpening.
Figure 12. Contour sanding.
NOTICE
When grinding or polishing metal, the use
of a metal abrasive is recommended. The
use of a grease stick may also be neces-
sary when grinding soft metals such as alu-
minum or brass.