


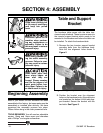
Table and Support
Bracket
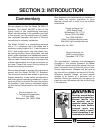
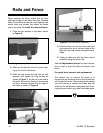
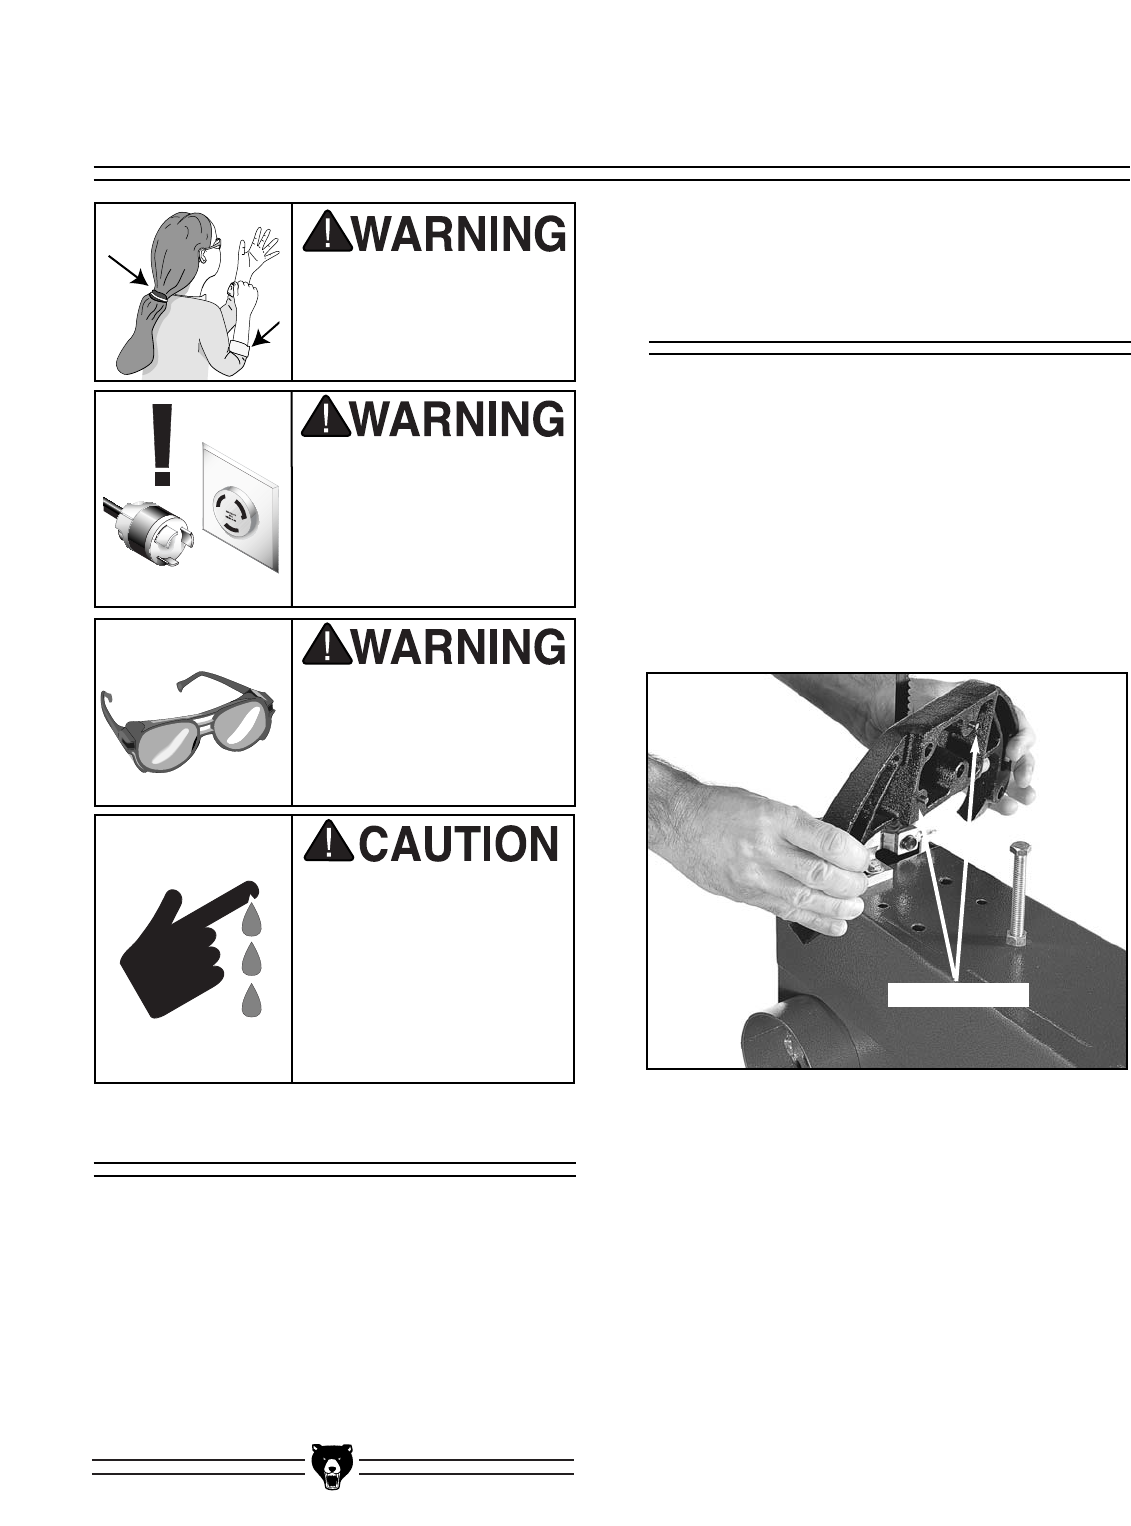
2. Position the bracket over the alignment
holes on the bandsaw body. Alignment pins
are located on the bottom of the table sup-
port bracket. Secure the bracket with the
two bolts. See Figure 3.
Figure 2. Alignment pins on bracket support.
-10- G4186Z 18" Bandsaw
SECTION 4: ASSEMBLY
Beginning Assembly
Most of your Model G4186Z Bandsaw has been
assembled at the factory, but some parts must be
assembled or installed after delivery. We have
organized the assembly process into steps.
Please follow along in the order presented here.
TOOLS REQUIRED: You will need an adjustable
square, 12mm and 14mm open end wrenches
and a Phillips
®
and regular screwdriver.
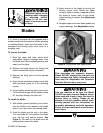
Alignment Pins
The bandsaw table comes with the table trun-
nions already attached. These trunnions mount to
the trunnion support bracket which needs to be
mounted to the bandsaw unit before the table can
be installed. To attach the bandsaw table:
1. Remove the two trunnion support bracket
mounting bolts from the bandsaw body.
Note the two alignment holes shown in
Figure 2.
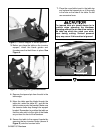
Keep loose clothing out
of the way of machinery
and keep hair pulled
back.
Wear safety glasses dur-
ing the entire assembly
process. Failure to com-
ply may result in serious
personal injury.
Disconnect power to the
machine when perform-
ing any maintenance or
assembly. Failure to do
this may result in serious
personal injury.
Some metal parts may
have sharp edges on
them after they are
formed. Please examine
and file the edges of all
metal parts before han-
dling them. Failure to do
so could result in injury.