-20- G5787 Meatcutting Bandsaw
Changing Blades
In the event that you need to change blades or
remove the current blade for cleaning purposes,
follow the instructions below:
1. Unplug the power!
2. Remove the force plate from the end of the
table.
3. Slide the table off the rollers and remove it
from the bandsaw unit.
4. Remove the stainless steel blade covers.
5. Move the blade guides away from the blade,
so the blade can easily slide out and away
from the blade guide assembly.
6. Remove the V-belt.
7. Release the tension from the blade by turn-
ing the blade tension bolt counterclockwise.
8. Remove the thumbscrew that holds the
upper cover in place, then pull the upper
cover off of the bandsaw unit.
9. Put on a pair of leather gloves to protect your
hands from the sharp edges of the blade.
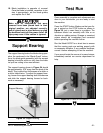
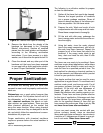
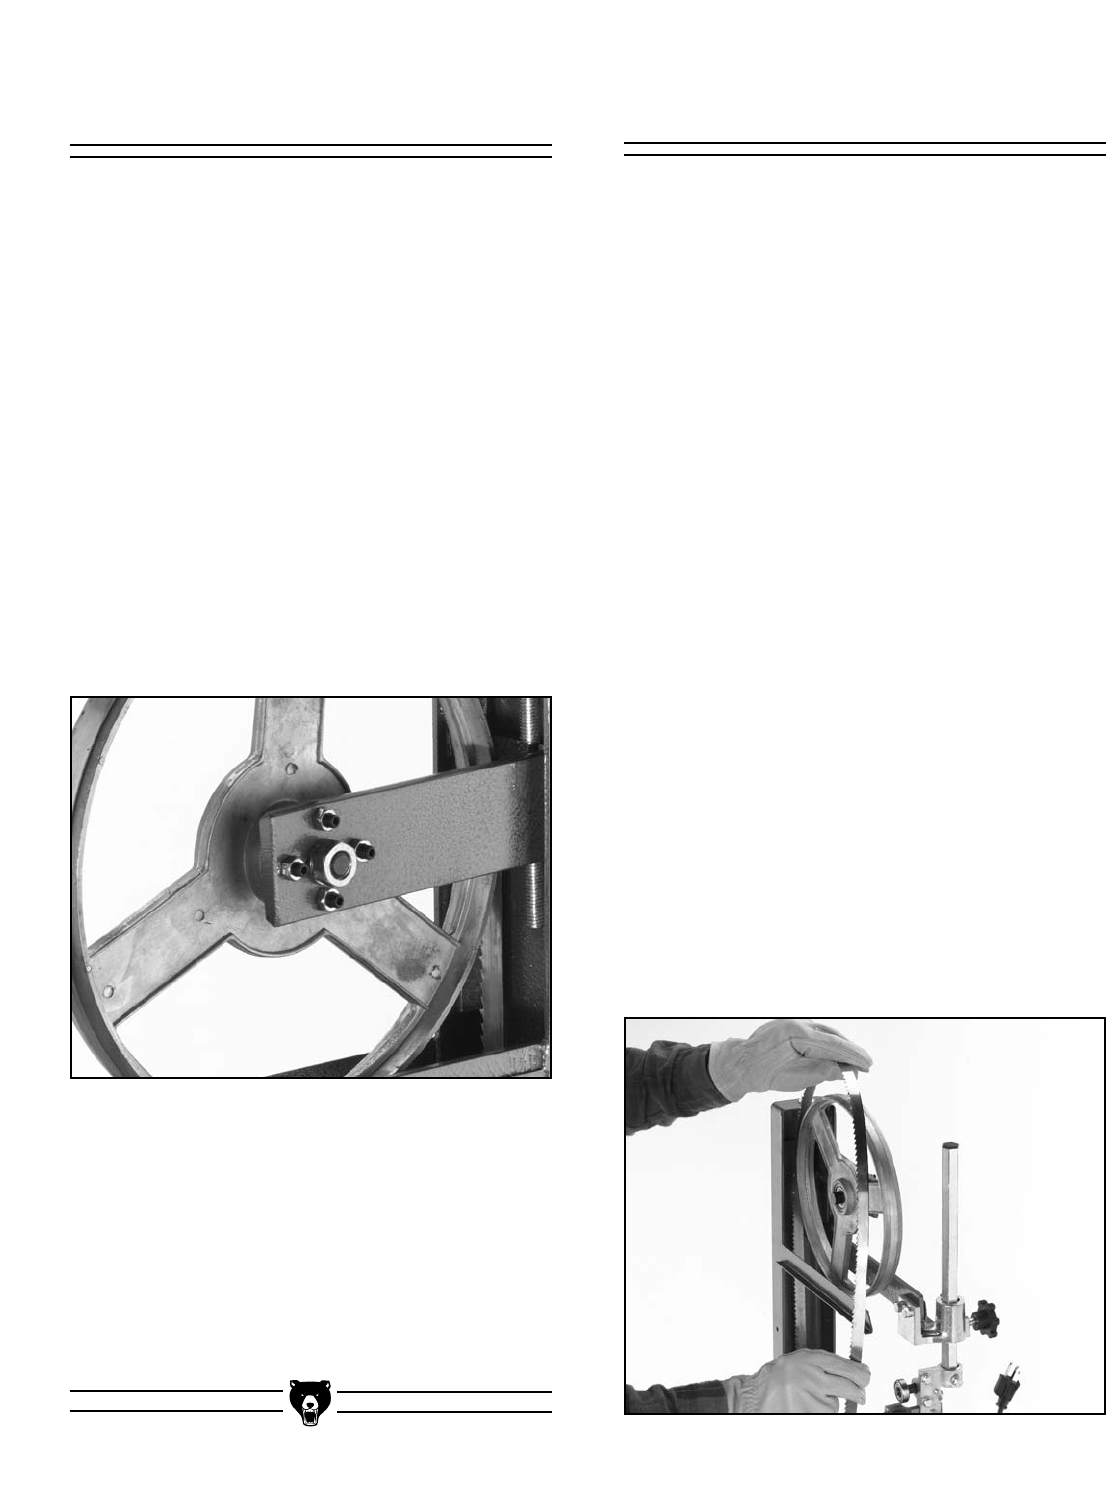
Carefully remove the blade as shown in
Figure 33.
Figure 33. Removing the bandsaw blade.
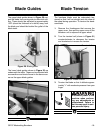
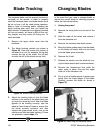
Figure 32. Blade tracking controls.
Blade Tracking
The bandsaw blade must be properly tracked (or
centered) on the wheels. In order to properly
track the bandsaw blade, the blade tension must
be set to how it will be used during operation.
Make a habit of checking and/or adjusting the
blade tracking after each time you adjust the
blade tension. A blade that is not properly tracked
will not cut smooth, will have a difficult time cut-
ting straight, and may come off during use. To
track the blade:
1. Remove the upper wheel cover from the
bandsaw.
2. The blade tracking controls are shown in
Figure 32. Each bolt moves that portion of
the wheel in or out. For example, the top bolt
controls the top of the wheel, the left bolt
controls the left of the wheel and so forth.
3. Adjust the tracking bolts so that the blade
remains in the center of the wheel when you
you spin the wheel by hand. After the blade
appears to be tracking correctly, spin the
wheel at least three full times to ensure that
the blade remains centered, and then
replace the upper wheel cover, turn on the
machine and test the blade tracking. If there
are problems, repeat steps 1-3.


