-18-
G9743 7" x 12" Metal-Cutting Bandsaw
Starting the machine:
1. Read the entire instruction manual.
2. Make sure all tools and foreign objects have
been removed from the m
achine.
3. Put on safety glasses and secure loose
clothing o
r long hair.
4. Connect the bandsaw to power.
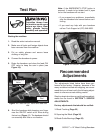
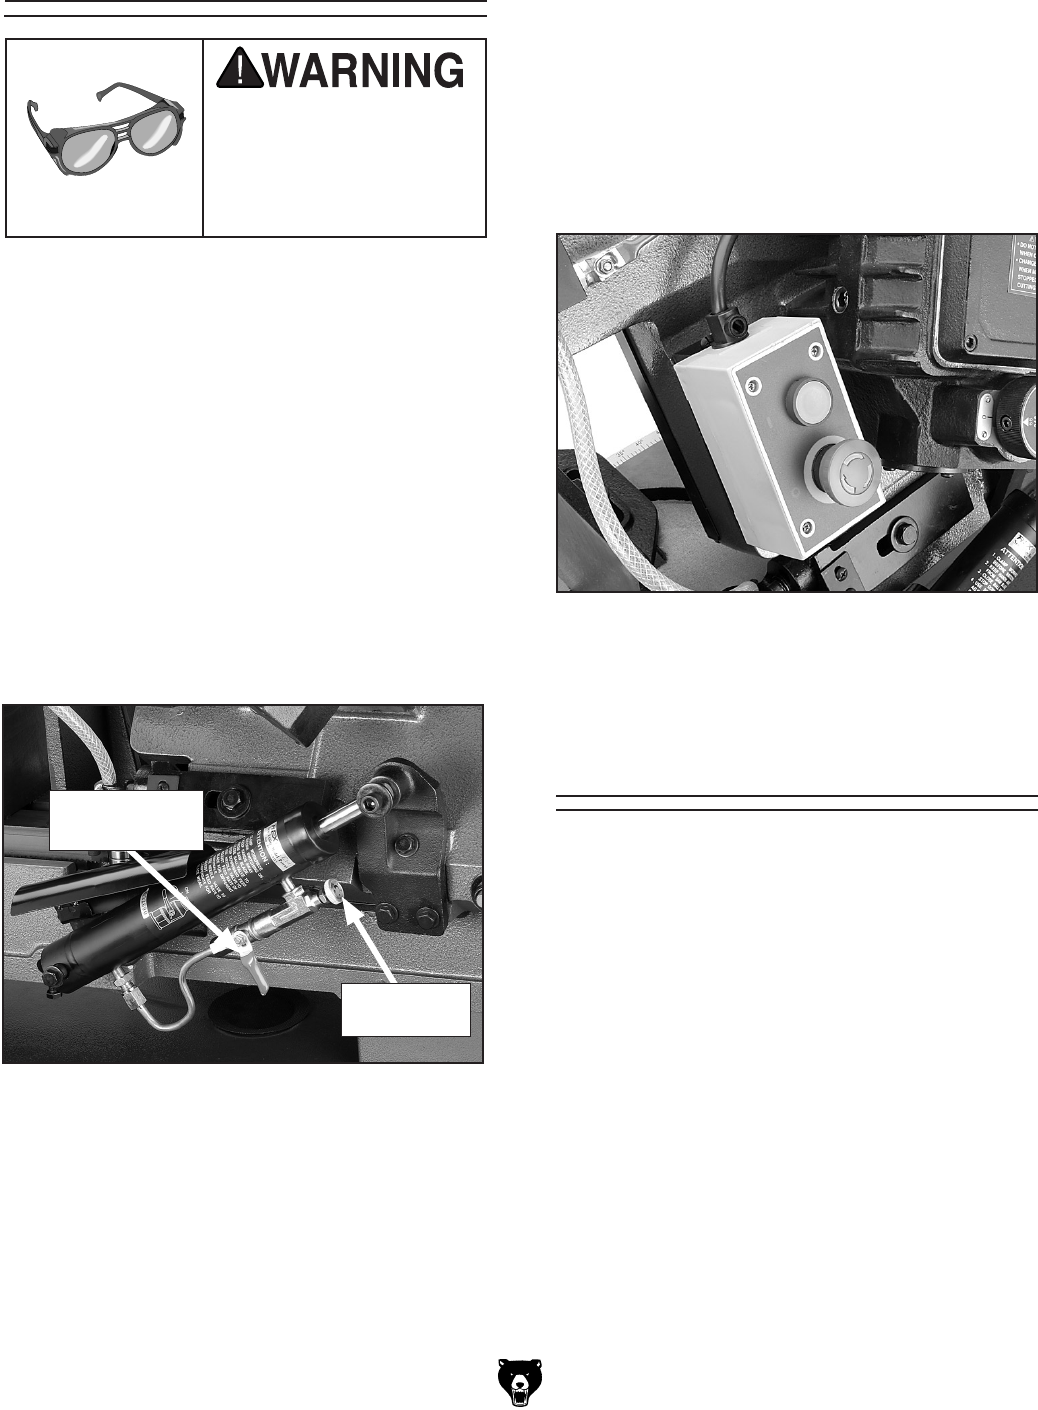
5. Raise the bandsaw and close the feed ON/
OFF valve to keep the saw in place
(see
Figure 10).
Projectiles thrown from
the machine could cause
serious eye injury. Wear
safety glasses during
assembly and operation.
The adjustments listed below have been per-
formed at the factory. However, because of the
many variables involved with shipping, we recom
-
mend that you at least verify the following adjust
-
ments to ensure accurate cutting results.
Step-by-step instructions on verifying these adjust-
ments can be found in SECTION 7: SERVICE
ADJUSTMENTS.
Factory adjustments that should be verified:
1. Blade Tracking (Page 33).
2. Squaring the Blade (Page 34).
3. Blade Guide Bearings (Page 35).
Recommended
Adjustments
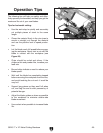
Figure 11. ON/OFF switch.
Test Run
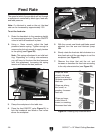
Figure 10. Feed ON/OFF valve and feed rate
dial.
Feed ON/OFF
Valve
Feed Rate
Dial
Note: If the EMERGENCY STOP button is
pressed, it needs to be twisted until it pops
out or the bandsaw will not start
.
— If you suspect any problems, immediately
stop the bandsaw and correct before con
-
tinuing.
—If you need any help with your bandsaw
call our Tech Support at (570) 546-9663.
6. Start the bandsaw while keeping your finger
near the
ON/OFF switch at all times during
the test run (
Figure 11). The bandsaw should
run smoothly with little or no
vibration.


