


G9743 7" x 12" Metal-Cutting Bandsaw
-33-
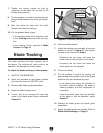
Blade Tracking
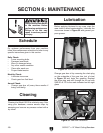
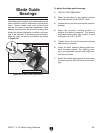
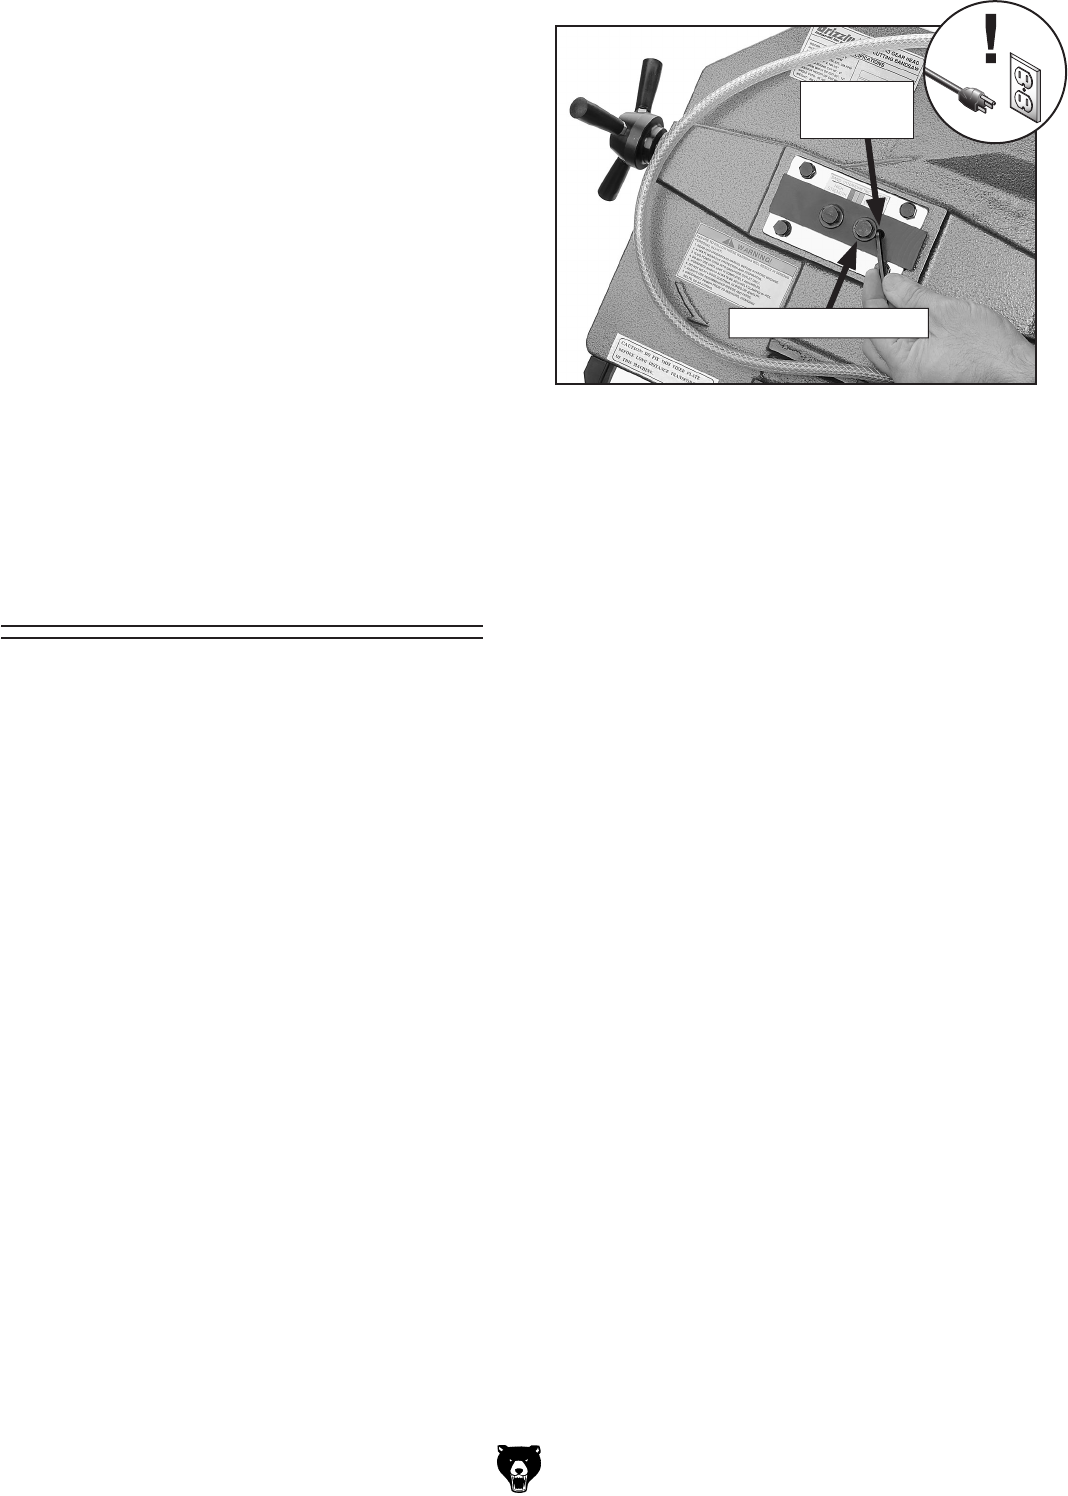
Figure 37. Adjusting tracking set screw.
Tracking
Set Screw
6. Relax the blade tension.
7. Adjust the tracking set screw with a 4mm hex
wrench as shown in
Figure 37, then tighten
the cap screw loosened in
Step 4.
—Tightening the set screw will move the
blade closer to the shoulder of the wheel.
—Loosening the set screw will move the
blade away from the shoulder.
8. Tension the blade.
9. Put the gearbox in neutral by moving the
gear change knob between two of the speed
positions and spin the wheel by hand.
—If the blade tracks along the shoulder of
the wheel (without rubbing), the blade is
tracking properly and this adjustment is
completed.
—If the blade drifts away from the shoulder
of the wheel or hits the shoulder, repeat
Steps 4-7.
10. Replace the blade guard and blade guide
assemblies.
11. Adjust the blade guides as needed. Refer to
Blade Guide Bearings on
Page 35.
7. Tighten the tension handle as tight as
necessary so the blade will not slip on the
wheels during start up.
8. Put the gearbox in neutral by moving the gear
change knob between two of the speed posi
-
tions.
9. Spin the wheel by hand until the blade
resumes the previous tracking.
10. Put the gearbox back in gear.
—If the tracking needs to be adjusted, refer
to the
Tracking procedure in the next sec-
tion.
—If the tracking is fine, proceed to
Blade
Tension on Page 34.
Lower Cap Screw
The blade tracking has been properly set at
the factory. The tracking will rarely need to be
adjusted if the bandsaw is used properly.
To adjust the blade tracking on the bandsaw:
1. UNPLUG THE BANDSAW!
2. Raise the bandsaw to the highest position
and close the feed rate ON/OFF valve
.
3. Remove both blade guide assemblies.
4. Open the wheel access cover.
5. Loosen, but do not remove the lower cap
screw in the blade wheel tilting mechanism
(Figure 37).