Model H8125 9.6V Mini Grinder Kit -9-
SECTION 4: OPERATIONS
Charging the Battery
To prevent potential problems during ship-
ment, batteries are usually shipped with
little or no charge. You must charge your
new batteries before initial use.
Note: The time to fully charge a battery is
approximately 3–3
1
⁄2 hours.
To charge the battery:
1. Make sure the AC/DC adapter is not
connected to a power supply.
2. Connect the battery charger to the AC/
DC adapter.
3. Press the two side tabs on the battery
and slide the battery from the grinder.
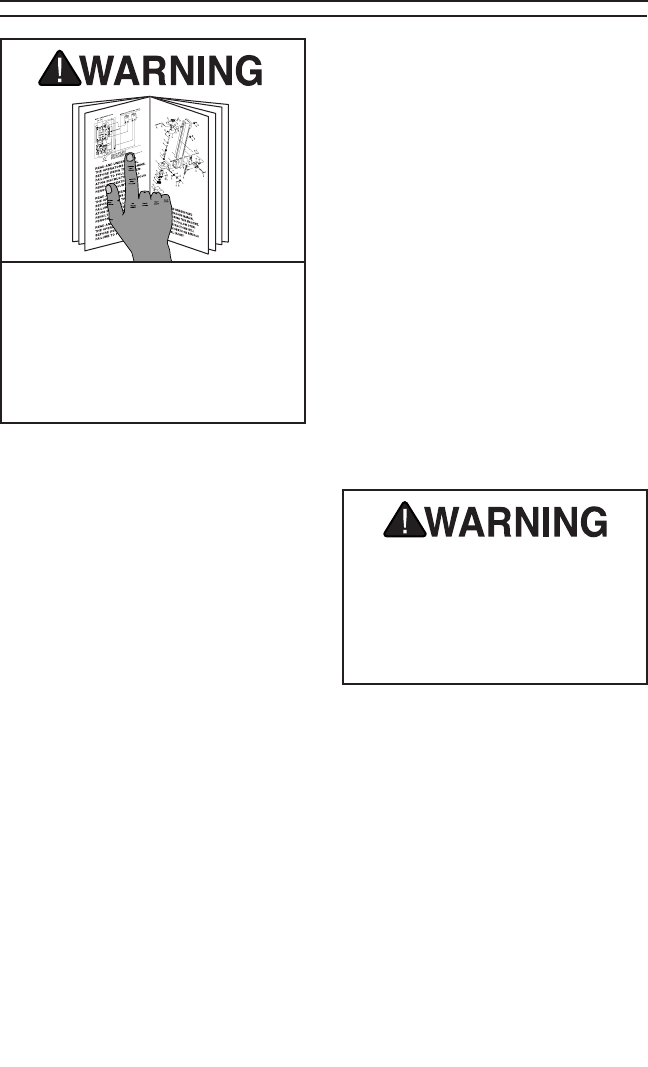
Read the manual before operation.
Become familiar with this machine, its
safety instructions, and its operation
before beginning any work. Serious
personal injury may result if safety or
operational information is not under-
stood or followed.
4. Position the flat part of the battery bot-
tom to the front of the charger, align
the metal contacts on the battery with
the metal flanges in the battery pack,
then firmly press the battery into the
charger.
5. Plug the AC/DC adapter into a 110-
120V power outlet—the green light on
the charger will turn ON.
Note: DO NOT leave the battery in
the energized charger indefinitely. The
charger will NOT turn OFF automati-
cally.
6. After 3–3
1
⁄2 hours in the energized char-
ger, the battery will be fully charged.
Remove the battery from the charger
and unplug the AC/DC adapter.
To install the battery:
1. Align the arrows on the battery with the
arrows on the grinder base.
2. Press the battery into the grinder until it
snaps into place.
Make sure the grinder switch is
turned all the way to the right and
is in the "0" (OFF) position before
installing the battery. Failure to heed
this warning could result in serious
personal injury.


