Page 8 SKU # 41831
SUGGESTIONS FOR BETTER PLANING
This tool is ideal for finishing wood boards. You can use it to level or remove veneers. You can level
warped boards. You can convert rough boards into finished wood. You can shape boards to a desired size.
Select your wood with care.
1. Be sure your wood is dry and properly cured. Green or wet wood will continue to shrink and may warp
after planing.
2. Do not use splintered wood, or wood which may splinter while being worked. Some species such as
Eucalyptus or Bamboo are prone to splintering and are not suitable for planing.
3. Do not use any boards with loose knots, or knots which are significantly harder than the surrounding
wood. These can break out or come loose during planing, which can jam the machine.
4. Check your workpiece for foreign objects, such as nails, screws or stones which may be embedded in
the wood. Remove any foreign objects before planing, or select another workpiece. Foreign objects
may come loose and be ejected from the machine causing a hazard. Foreign objects may also damage
the knife blades.
Plan the best way to handle warped and bowed boards.
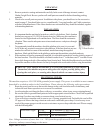
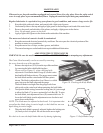
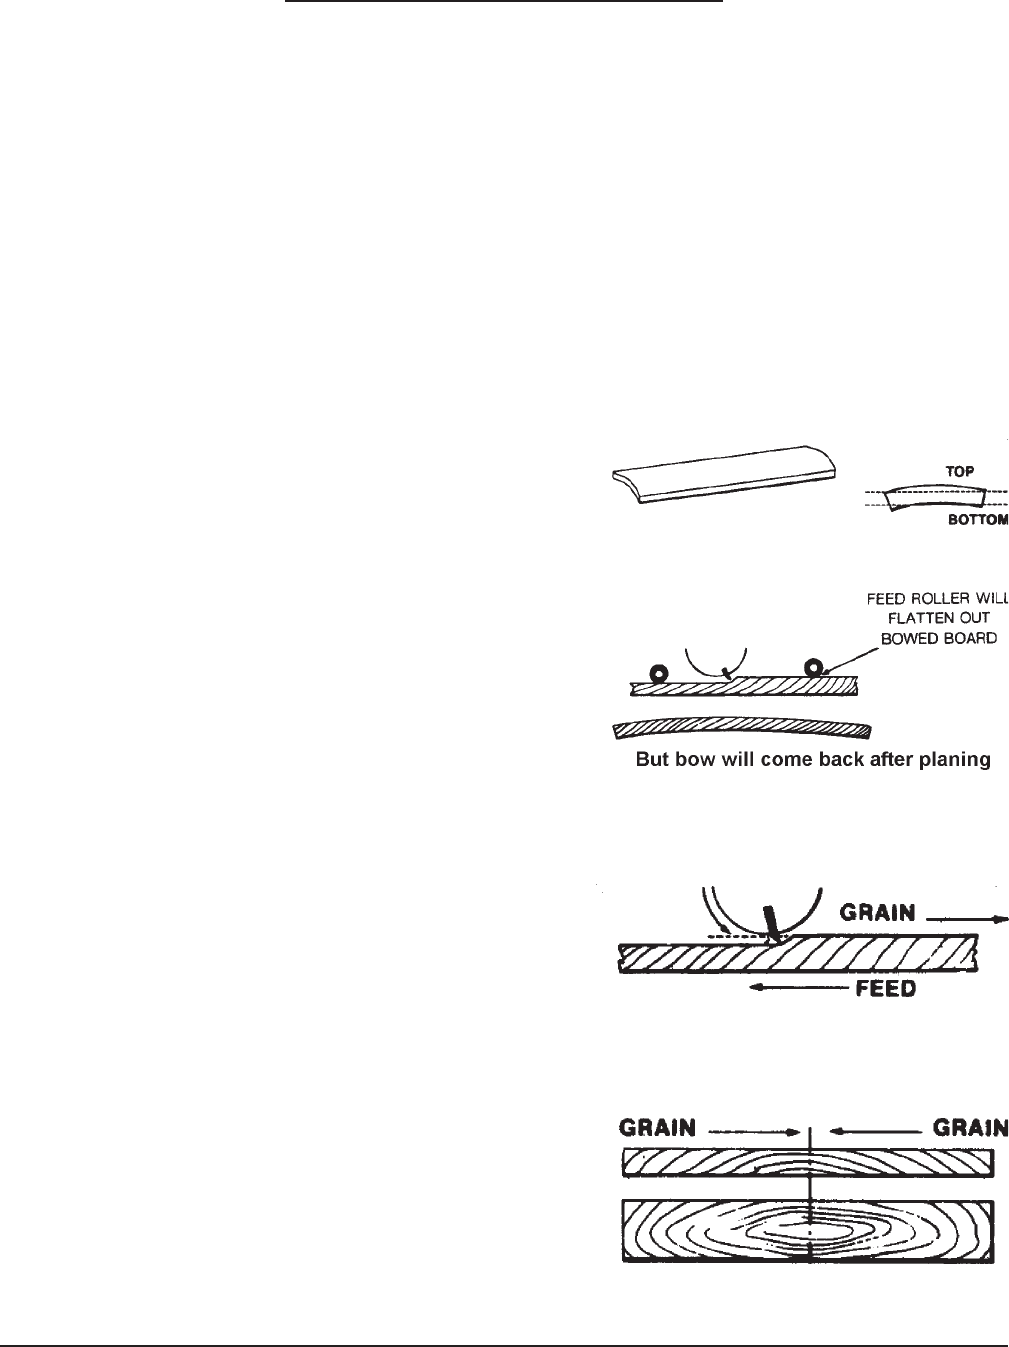
1. Boards which are warped across the width of the board
(“cupped” boards) should have the top planed flat first,
then turned over and the bottom planed flat.
2. Depending on the width of the board, you can reduce
waste in planing cupped boards by ripping them
lengthwise first, then planing both resulting pieces.
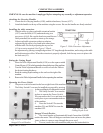
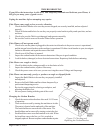
3. Boards which are warped lengthwise (“bowed” boards)
are difficult to succesfully straighten out. The feed rollers
in the planer will effectively straighten out bowed boards
as they pass through. But the board will remain bowed
when freestanding. If the bowed board cannot be used as
is, it is best to select another board.
It is important to consider wood grain when planing.
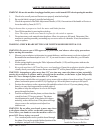
1. It is best to cut in such a way that the planer’s knife
blades are cutting with the grain. This will reduce
chipping, and result in a smoother finished surface. You
can identify the grain direction by looking at the edge or
end of the board. You can also often feel the grain with
your fingers.
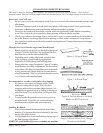
2. In some boards, the grain direction reverses part way
along the board. If possible, cut such boards at the
transition point, and plane each piece separately.
Avoiding Kickback.
1. Always insert boards for planing into the front of the
machine. The insertion direction is indicated by the arrow
on top of the left belt cover.
2. Anti-kickback devices are installed along the top edge of
the front opening of the planer.
WARNING: Avoid kickback by never overloading the machine.
Figure 6. A Cupped Board
Figure 7. A Bowed Board
Figure 8. Feed the Board so the Knife
Blades cut WITH the Grain
Figure 9. Boards Whose Grain Changes
Direction in the Middle.


