Page 17SKU 65345 For technical questions, please call 1-800-444-3353.
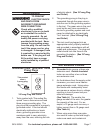
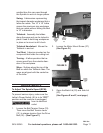
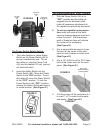
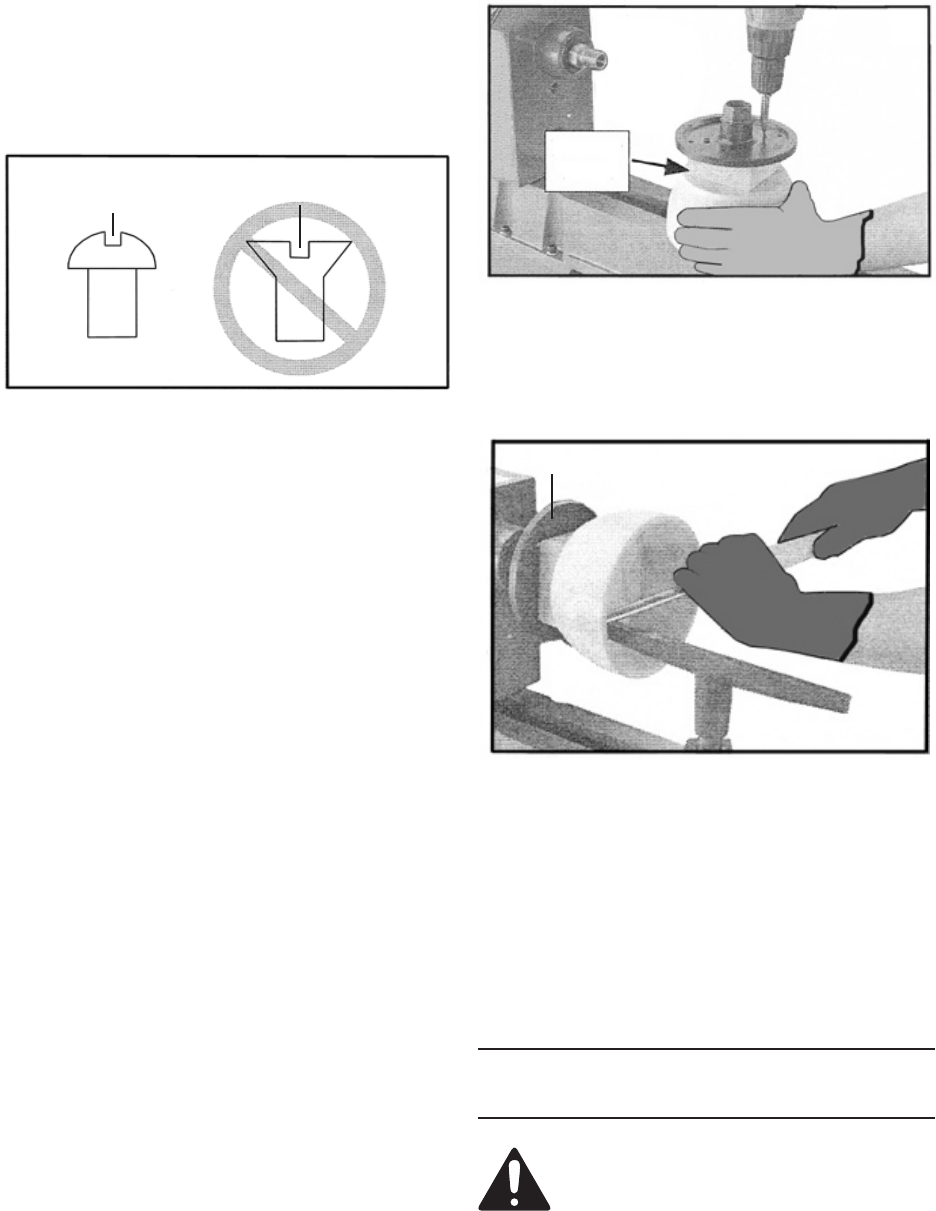
Center the Faceplate (13) on the 15.
workpiece and attach it through the
Faceplate mounting holes with non-
tapered head wood screws.
(See Figure T.)
FIGURE T
USE
ONLY
NON-TAPERED
WOOD SCREWS
DO NOT USE
TAPERED HEAD
SCREWS
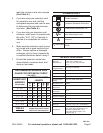
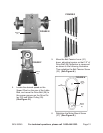
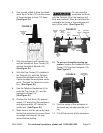
16. NOTE: Faceplate turning is typically
done with open-faced workpieces like
bowls. If screws cannot be placed in
the workpiece, then a backing block
can be glued to the workpiece and
attached to the Faceplate (13) with
screws. (See Figure U.)
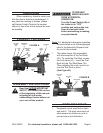
To mount the workpiece to a backing 17.
block, make the backing block from
a piece of scrap wood that is at on
both sides. (See Figure U.)
Mark the center of the backing block. 18.
(See Figure U.)
Drill a 14” diameter hole through the 19.
center of the backing block.
(See Figure U.)
Glue the center of the backing block 20.
to the center of the workpiece. Clamp
the backing block to the workpiece,
and wait for the glue to dry according
to the glue manufacturer’s recom-
mendation. (See Figure U.)
FIGURE U
BACKING
BLOCK
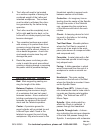
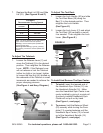
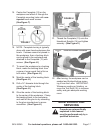
21. Thread the Faceplate (13) onto the
Headstock Spindle (14) and tighten
securely. (See Figure V.)
FIGURE V
FACEPLATE
(13)
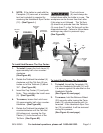
FACEPLATE TURNING PROCEDURE
22. After turning, the workpiece can be
sanded and nished before remov-
ing it from the Lathe. IMPORTANT:
Whenever sanding or nishing, re-
move the Tool Rest (35) to increase
safety and gain adequate working
room.
MAINTENANCE AND
SERVICING
Procedures not specically
explained in this manual
must be performed only by a
qualied technician.


